Now’s the time to prepare a good-quality seedbed, says Lucy Chamberlain
With soil temperatures warming and windowsills overflowing, many gardeners are desperate to begin sowing directly outside during April. You’d think that making a seedbed would be a simple task, and it is – but if you want a perfect bed you can’t rush it.
Seeds that are sown indoors are mollycoddled because you can give them the ideal conditions for germination – outdoor seeds aren’t quite so lucky! The success of sowing outdoors relates directly to the quality of your seedbed. So, avoid disappointment by following my simple steps below.

How to make the perfect seedbed
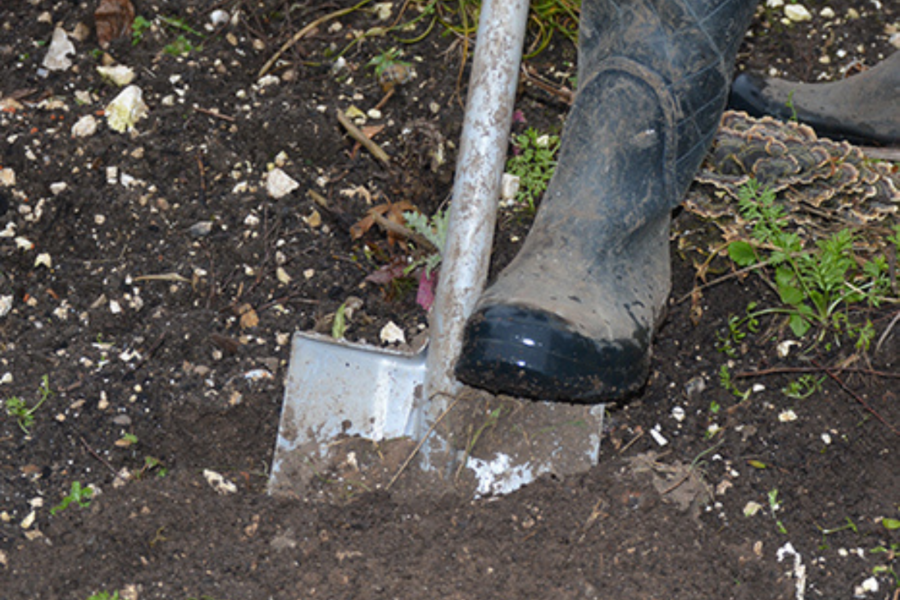
1. Roughly dig over the area you want to sow into using a spade. Remove all traces of weeds and woody roots – don’t worry at this stage if the soil forms into clumps because they’ll break down later. Leave the bed for at least a day so that the soil surface dries out a little.
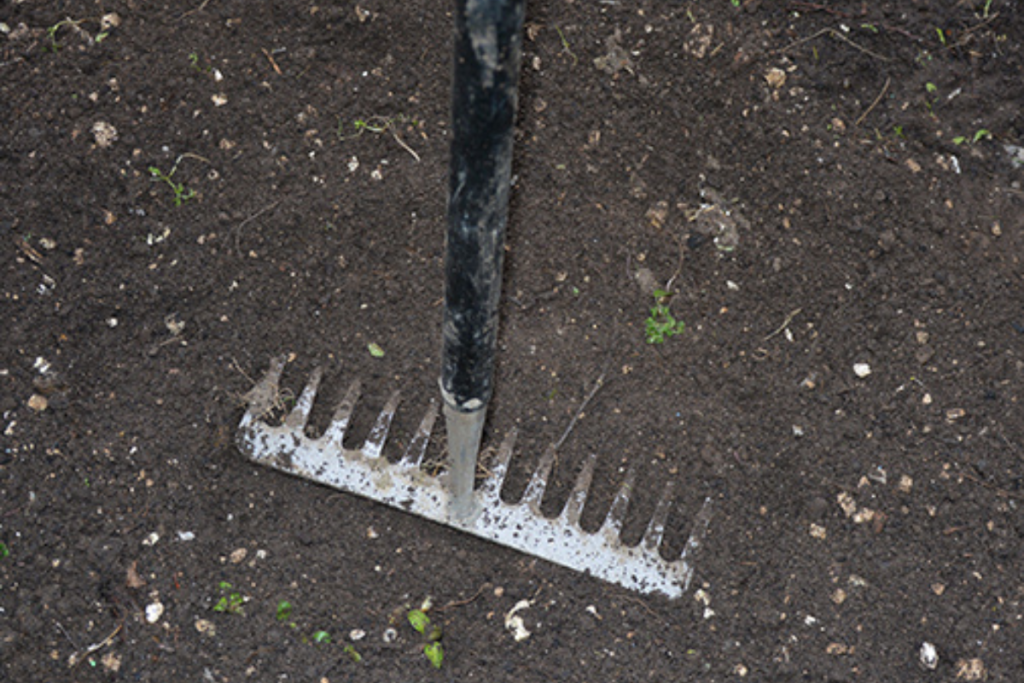
2. Once the soil is drier, break down any clumps of earth using the back of a fork or rake. Clods are bad news for seeds because they can prevent good contact with the earth. Whack the soil with the fork or rake – you’ll be out of puff, but that’s a sign you’re doing it right!
3. You may now need to leave the soil a few more hours, again so that the surface can dry out. Once it’s workable, rake it over thoroughly – your seedbed will now really take shape. Rake repeatedly until all stones are removed and you’re left with a fine, crumbly bed.
Top tip
Crops such as carrot, beetroot, parsnip, spinach, chard, turnip, radish and spring onion all prefer to be sown directly outside rather than indoors.
Find more tips, advice and articles like this at the Amateur Gardening website. Subscribe to Amateur Gardening magazine now


