What to do when running repairs run out of steam
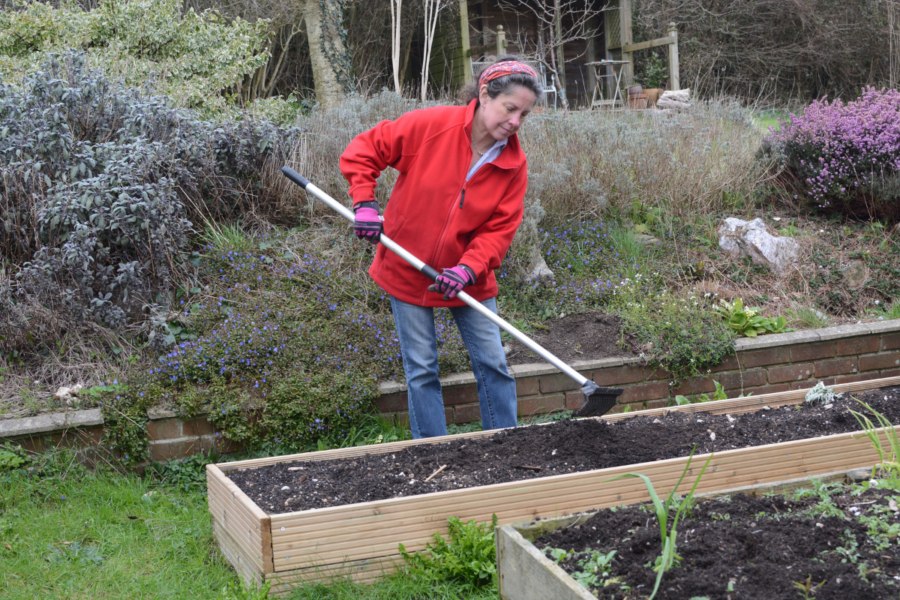
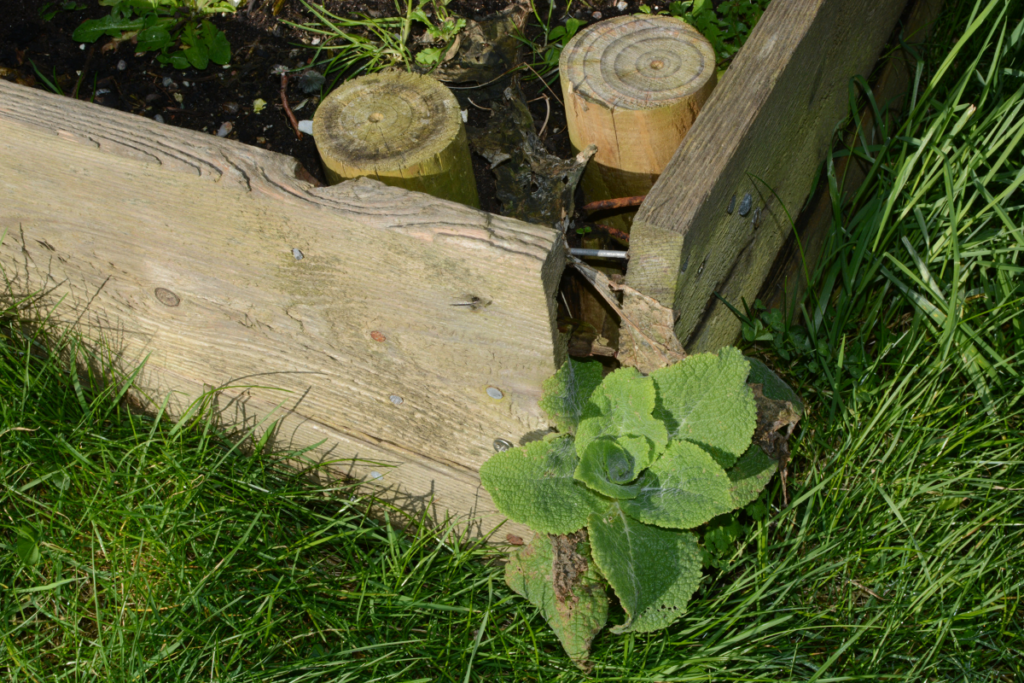
For the past few months we’ve been carrying out a series of running repairs on one of our raised beds that was slowly rotting away. The inevitable happened last week, when one of the side panels came completely away from the framework, spilling soil and compost everywhere. On closer inspection, all the wood was slowly disintegrating so we decided to replace the whole lot. But what to do with all the soil?
In the end we removed two barrowloads and piled the rest to whichever side of the bed we weren’t working on. The key to long-lasting raised beds is to make sure they have good drainage and to build them somewhere that is sheltered but gets decent amounts of sunshine.
If you have more than one, make sure they are wide enough apart so you can get a wheelbarrow or lawnmower between them as well as a wheelchair for less-able gardeners.
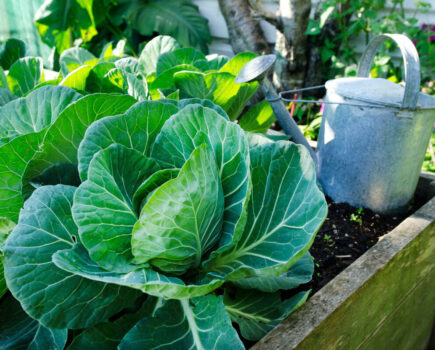
Raised beds are perfect for anyone with disabilities or back pain as they allow you to garden without painful stooping and if built three or four plank-widths high, you can tend your soil and crops while sitting down.
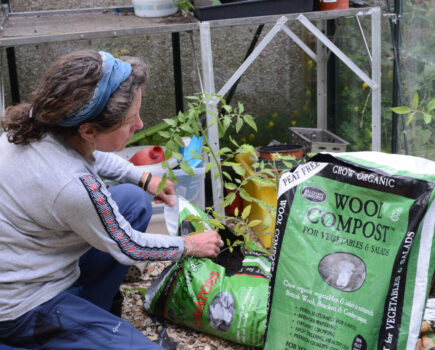
The materials you use is up to you – wood, bricks, stone and corrugated iron are all viable options. We built ours using tanalised decking boards from a local supplier and used zinc-plated screws to hold everything together. The impermeable ideal would be stainless steel screws, but we discovered that they are prohibitively expensive so opted for the cheaper, but acceptable durable, alternative.
Starting this summer’s plants
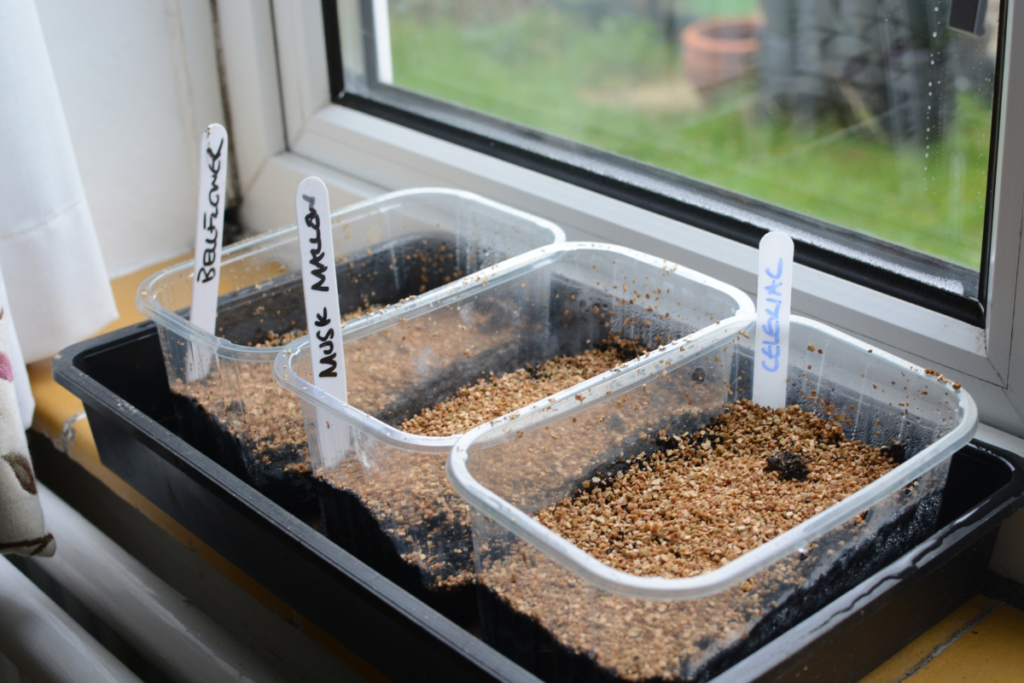
1. I’ve sowed perennial and celeriac seeds in supermarket grape punnets and to my delight discovered that three fit cosily inside a propagation tray, with room for the lid and labels too.
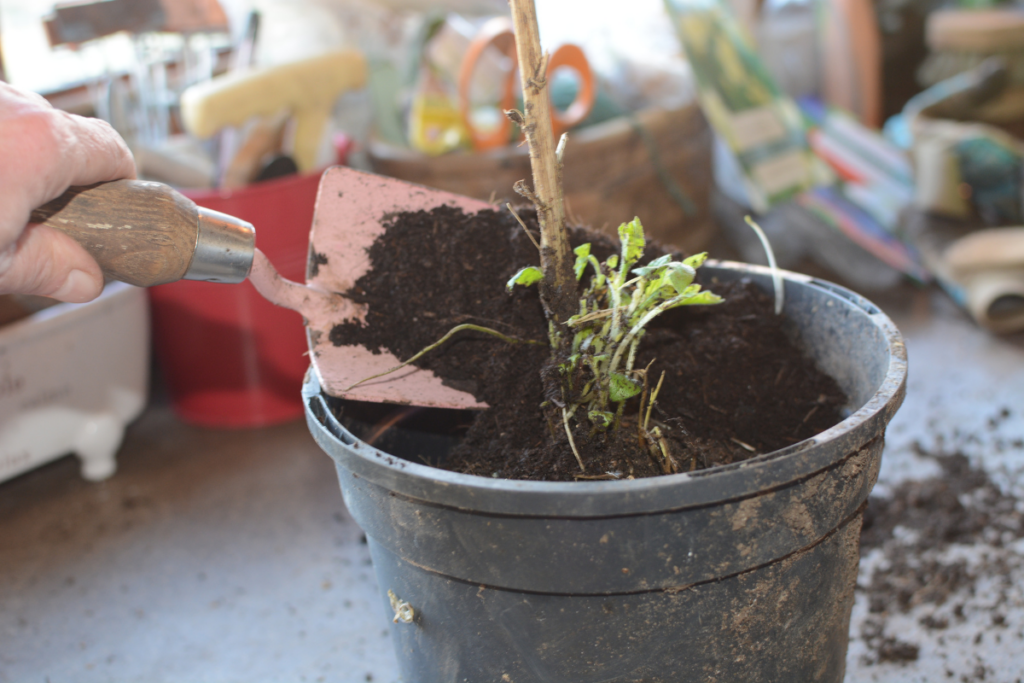
2. While weeding I accidentally dug up one of last summer’s Rudbeckia plants that had already started to produce new shoots. Bad weather was forecast so I potted it up in the greenhouse until later in spring.
How to build a long-lasting raised bed
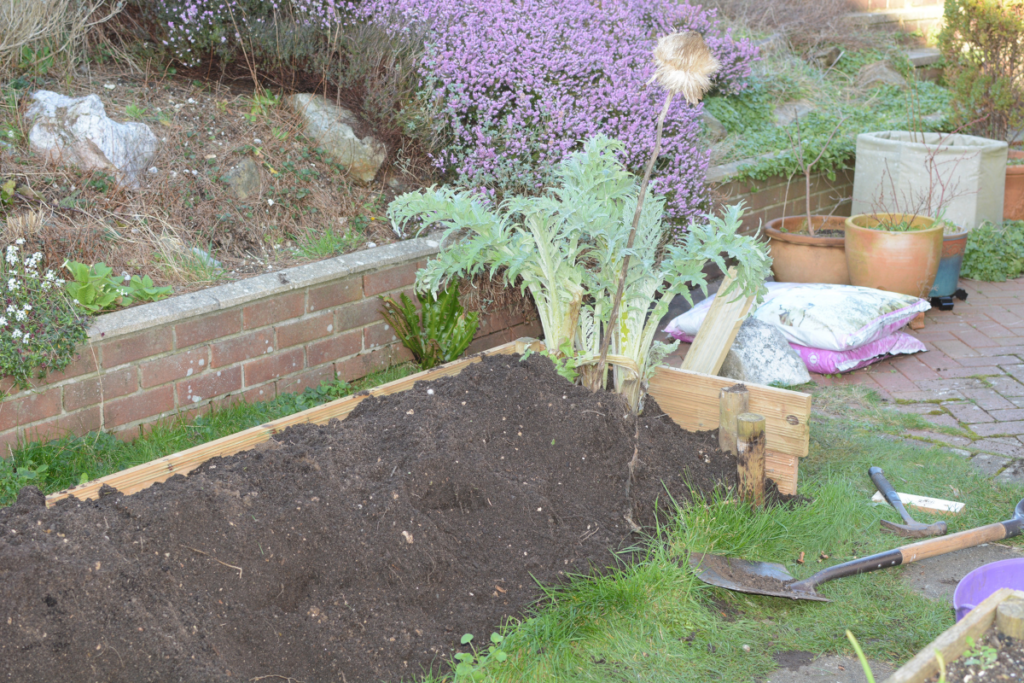
1. We removed one side of the raised bed and piled the remaining soil on the other.
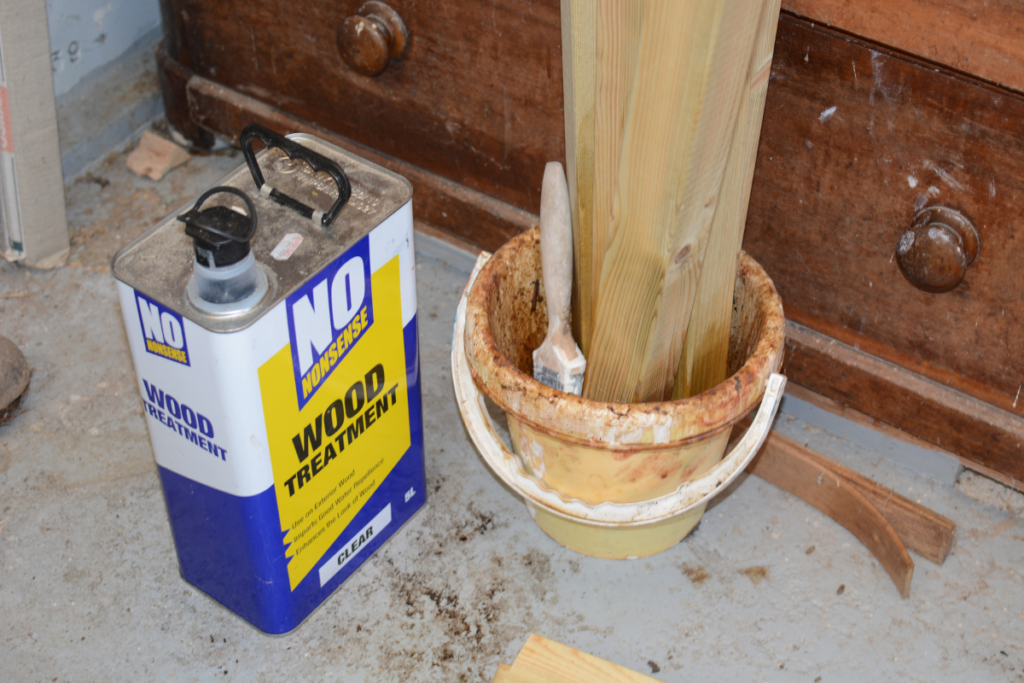
2. To reduce the risk of rotting, we stood the corner posts in preservative before use.
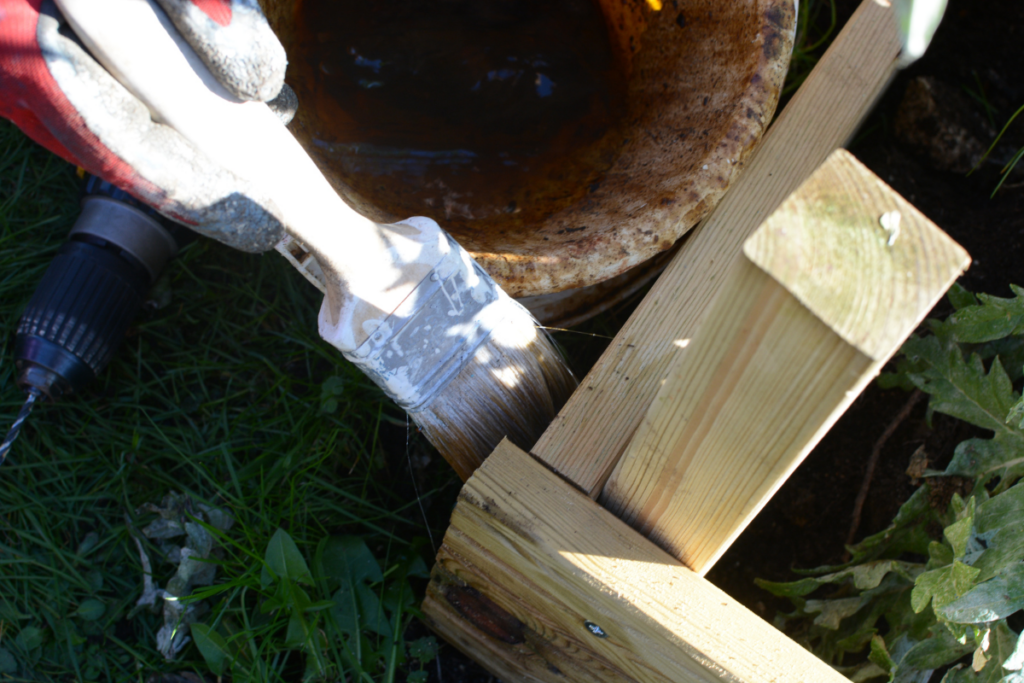
3. Preservative was also brushed onto the nail holes to help keep out the weather.
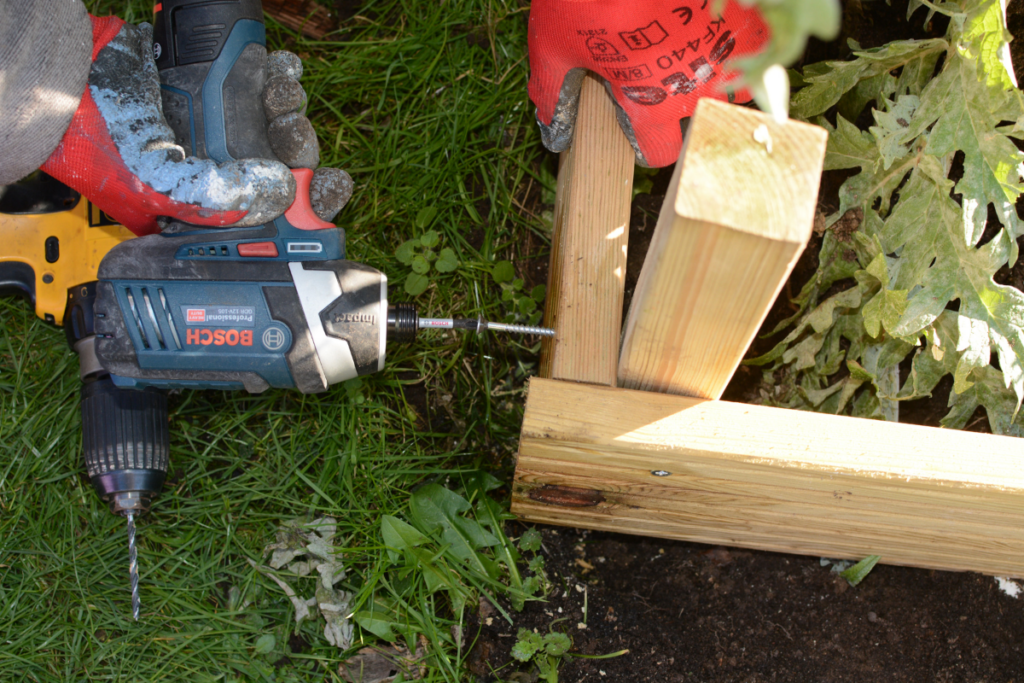
4. Make sure the boards form a tight right angle and are firmly screwed together to hold the weight of soil and plants.
Find more tips, advice and articles like this at the Amateur Gardening website. Subscribe to Amateur Gardening magazine now.