This traditional tool helps stop your plants drying out
So here we are in July and by now I hope that summer has arrived. If not then it is surely turning up soon. We WILL get warm weather at some point. So with hope and some certainly in mind, we’ll then soon all switch to worrying about how to get our plants through the warmer period without them drying out entirely. An olla is the ideal nifty object to help with that, and in this issue, I’ll be showing how to make one of your very own.
An olla is essentially a terracotta implement that you bury next to your plants, that you then fill with water, and which releases a gentle stream of moisture when needed, so you don’t need to water the plants every day.
The materials needed for the project are; two small terracotta pots, pond or silicone-based water tight sealant and a couple of large stones.
Step 1
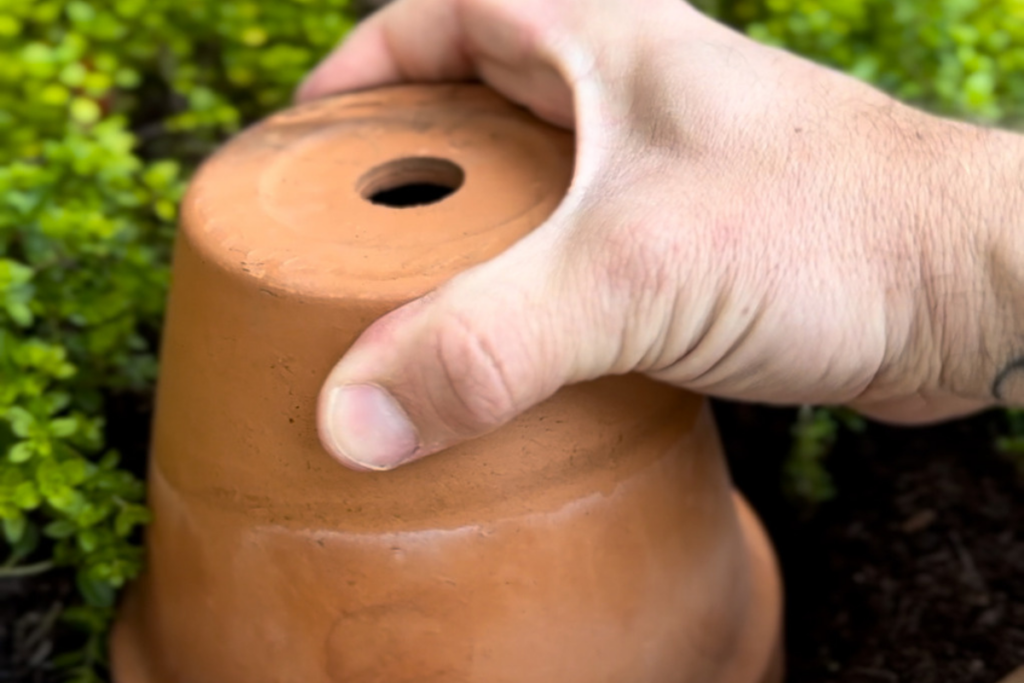
Ensure your two pots are clean and dirt-free. If they’re new then this won’t be a problem but if you’re using old pots like I am, then a good scrub in warm soapy water with a nail brush or scouring pad is your best bet.
Top tip, these pots are available from most DIY stores, but you can also find them very cheaply available at car boot sales and salvage yards.
Step 2
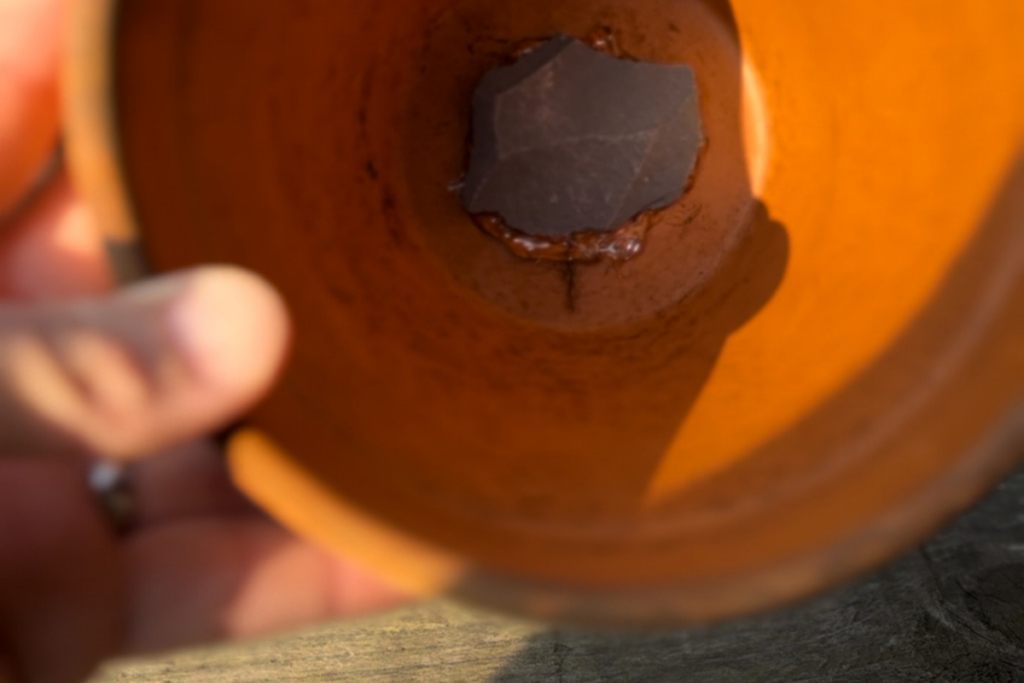
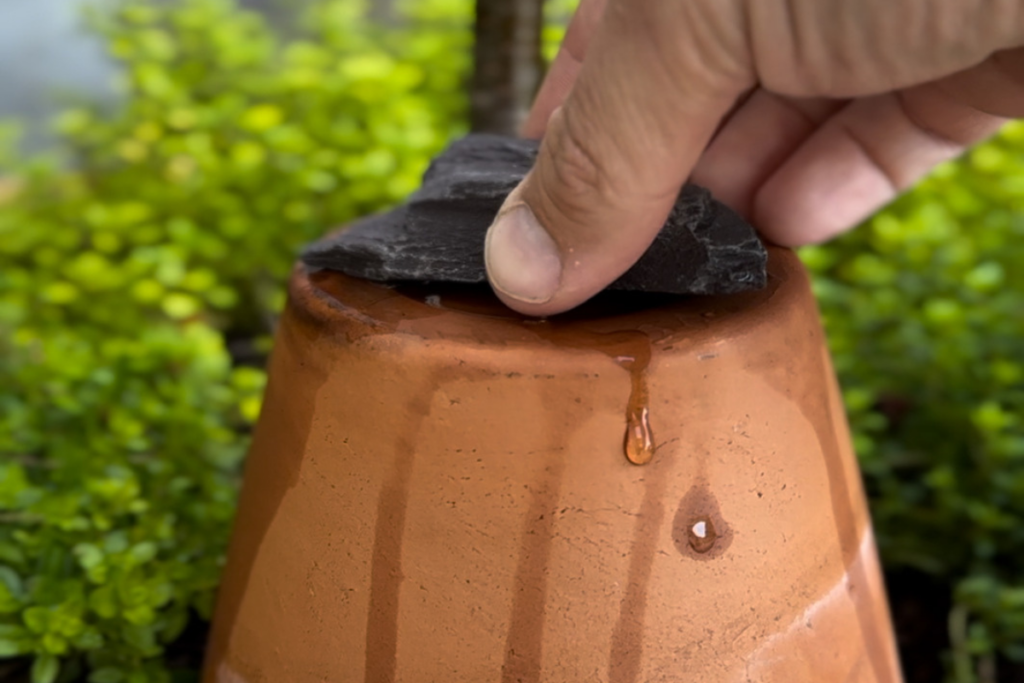
The next step is to seal the hole in the bottom of one of the pots. If you remember my previous project where I made a wildlife pond from a sink, I used a simple silicone to seal the cracks and I’m using that same sealant for this. Add a generous layer of the silicone around the inside of the hole in the pot and then add a large stone or, in my case, a slate chip from our seating area.
Step 3
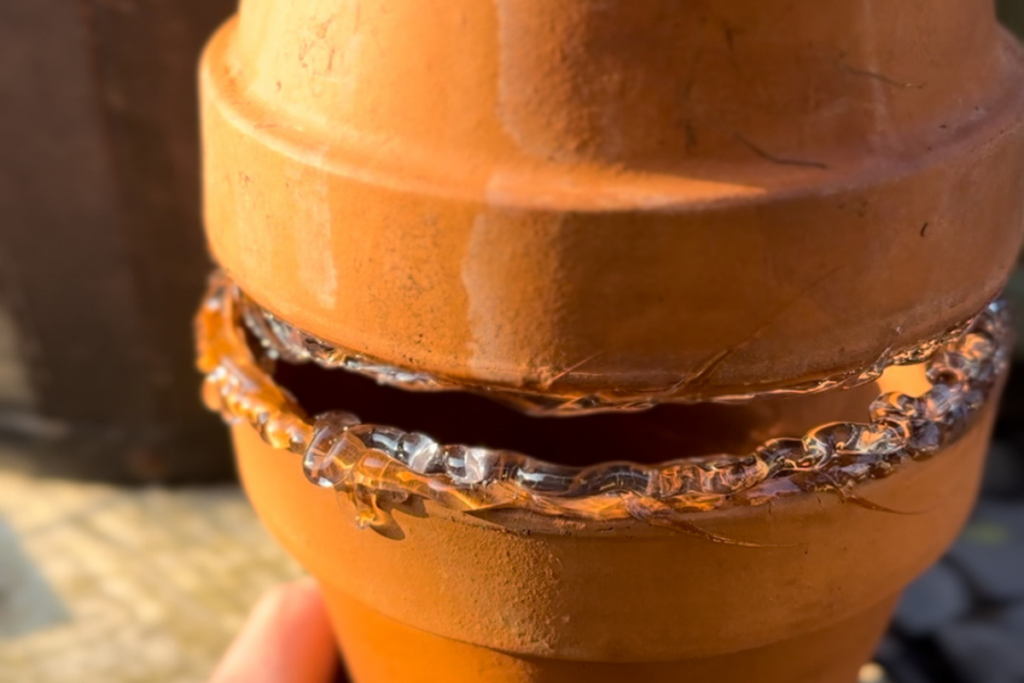
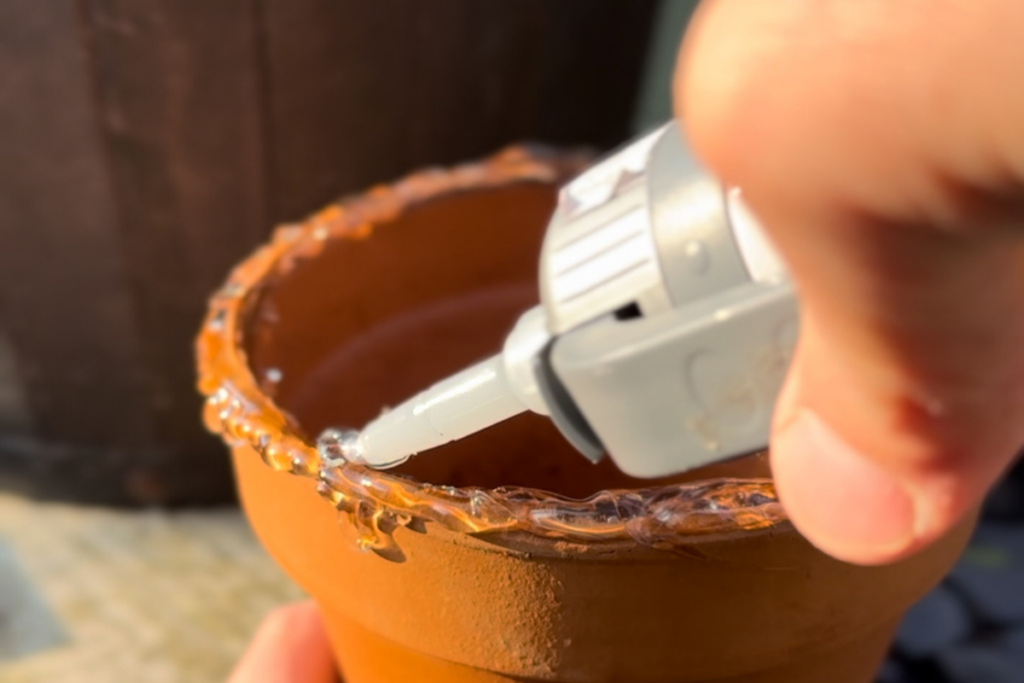
Using the same silicone sealant, add another substantial layer of it around the rim of the top of this pot and add your second pot to this, making sure to push down to secure them both together. This can look a bit messy so using another stone or a cloth, you can smooth out the excess sealant if you like. This will be buried in the end so you won’t see this either way.
Step 4
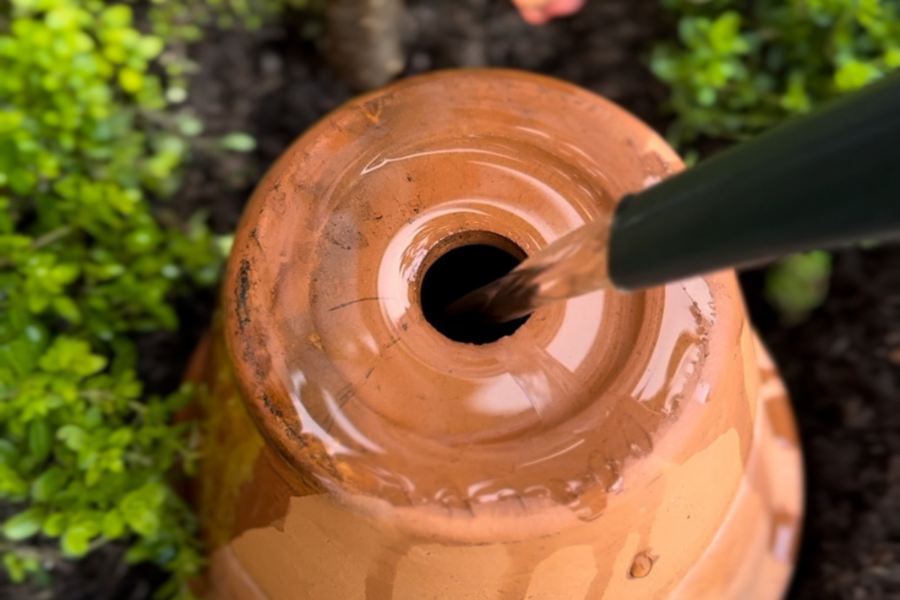
Allow this to dry overnight and once fully set, you’ll be able to choose where you want to use this in your garden. Although they do work well in the ground, this isn’t really necessary as borders and beds hold more moisture than you think, especially with mulching and ground cover. Instead, consider using these in larger pots and containers that are more likely to dry out in hot temperatures. Bury your olla as deep as you can, making sure that the top is still above the soil level. Top up with water and rest another stone on top to stop insects and smaller creatures climbing in.
Find more tips, advice and articles like this at the Amateur Gardening website. Subscribe to Amateur Gardening magazine now