Stephanie Hafferty explains how to use Swiss chard and garlic in your winter war
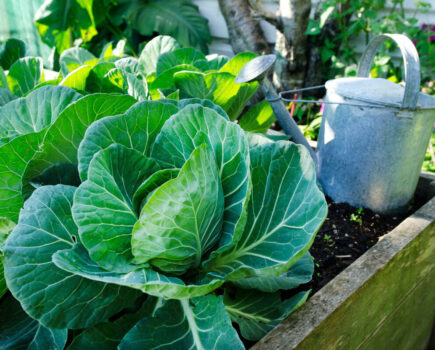
Sparkling frosty mornings ease the homestead garden from the last vestiges of summer into autumn. It is time for the brassicas, leeks and other wintery crops, dwarfed for much of the summer by beans, sweetcorn and sunflowers, to shine.
It’s a lovely time of gathering in and the last plantings of the year. I plant garlic both inside the polytunnel and also in the garden. Undercover garlic grows larger, crops a little earlier, and does not get rust. Popped in-between overwintering salads, greens, herbs and kales, the garlic grows slowly throughout the winter and, next year, when the winter veg has all been harvested, it is easy to plant tomatoes and other summer cropping plants between in the gaps.
Growing garlic
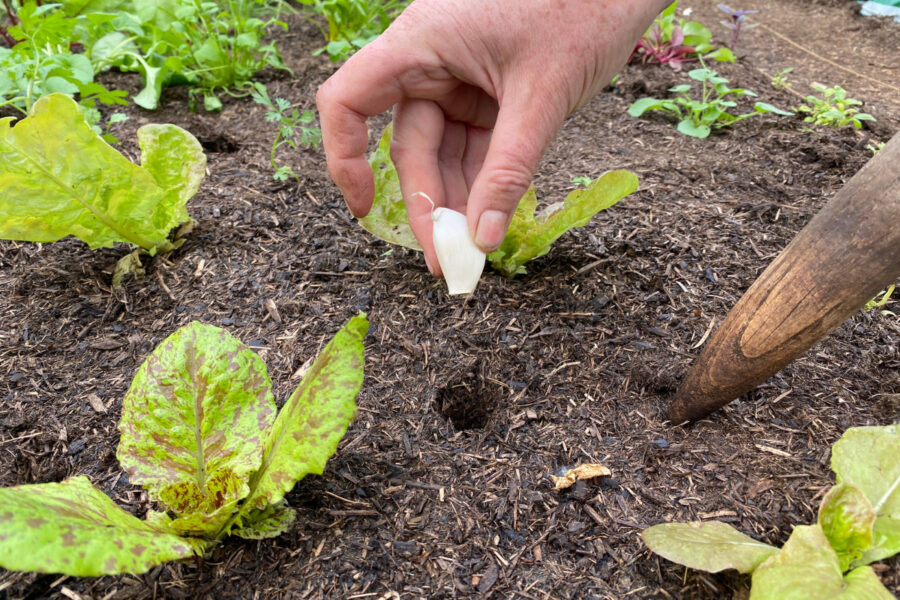
Outside, I plant the garlic in rows about 30cm (12in) apart, which allows plenty of space for intercropping with a green manure (such as Caliente mustard) now and in the spring, salads, annual herbs and carrots.
If you have the space, it is worthwhile growing both hardneck and softneck garlic, along with elephant garlic, which is actually a relative of onions rather than a true garlic. Both elephant and hardneck garlic produce scapes in the spring: flowering shoots which taste fantastic. With a fresh, mild, garlic flavour, scapes are an extra garlicky treat, a boost during the hungry gap. Use them to make pesto, pickles, stir fries and more.
Winter hardy broad beans and their cousin field beans can be planted throughout October. Field beans are more usually grown as a green manure, cut back in the spring to provide bulk for compost heaps, but they are well worth growing as an edible bean too, as they are so flavoursome. Plant in any gaps to protect the soil from the worst of winter weather and help feed soil microbes.
Make room for Swiss chard
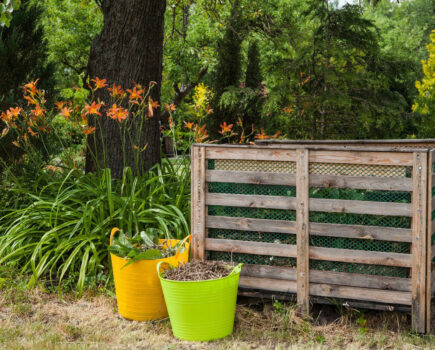
It is important to have more of a wild look in the veg plot over winter, providing habitat for all of the predators and pollinators we need for a healthy ecosystem. I clear away old brassica and chard leaves, and either pop them in a wild corner or the compost heap to reduce habitat for slugs right next to the vegetables.
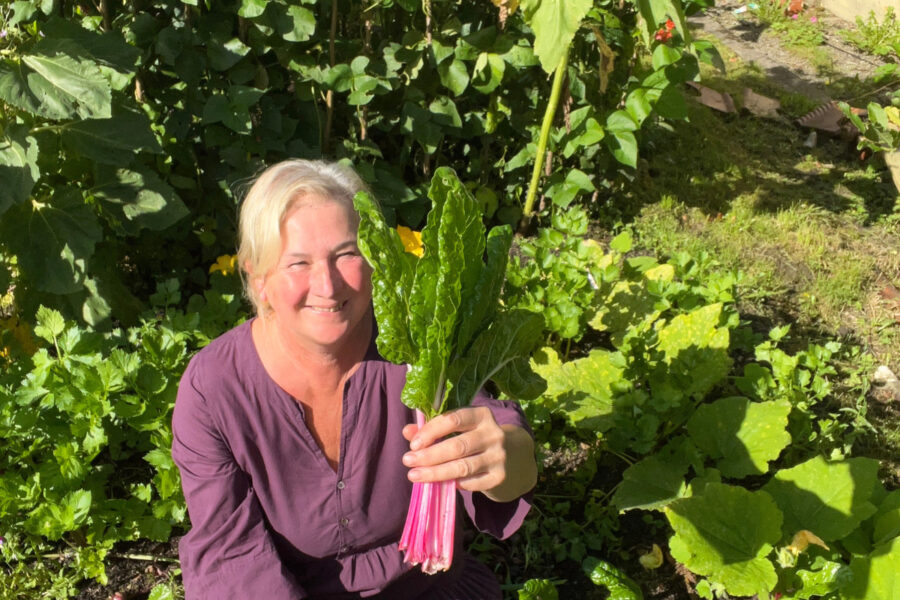
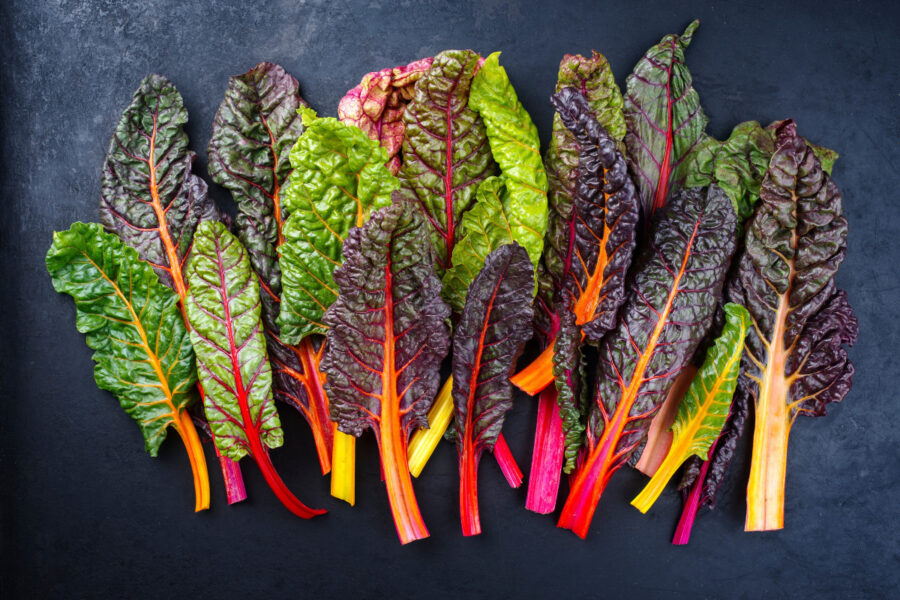
Chard is a remarkable plant. Statuesque and colourful, it grows well outside and undercover. It is also one of the veg I am most often asked: ‘what do I do with it?’
Both the stems, which come in a rainbow colour scheme, and the lush green leaves are edible. It is an excellent source of fibre, vitamins and minerals.
The stems are crisp and crunchy, a bit like celery, and hold their texture well when cooked. Baby leaves are delicious raw, a key addition to winter salad leaves. Chard leaves have a slightly bitter spinach flavour and can be used in the same recipes as spinach. The bitterness diminishes when cooked.
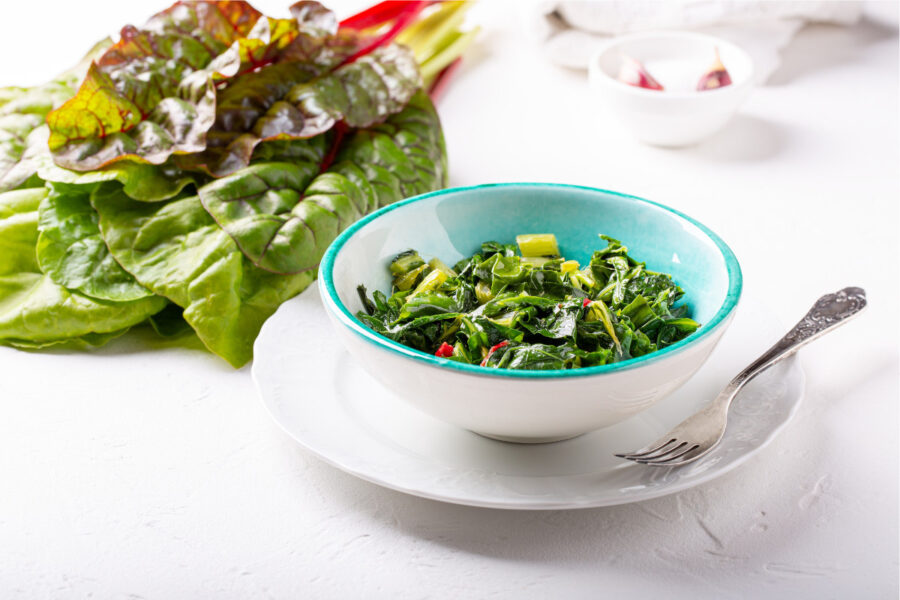
Wilted chard is a quick, delicious side dish. Wash a good handful of chard leaves and stems and drain, but do not dry, as you want the leaves to be wet. Melt a knob of butter (or tablespoon of oil) in a frying pan and add one or two finely chopped garlic cloves. Cook for a minute then add the chard, and season with freshly ground black pepper and crunchy sea salt. Cook for around 5 minutes until the leaves are tender. Taste and adjust seasoning if desired.
Vary the seasoning to suit your meal. Add 2 tablespoons of lemon with the chard for a citrus zing. For a spicy dish, add finely chopped ginger, chilli flakes and a tablespoon or more of soy sauce.
…………………….
Swiss chard pasta with garlicky breadcrumbs
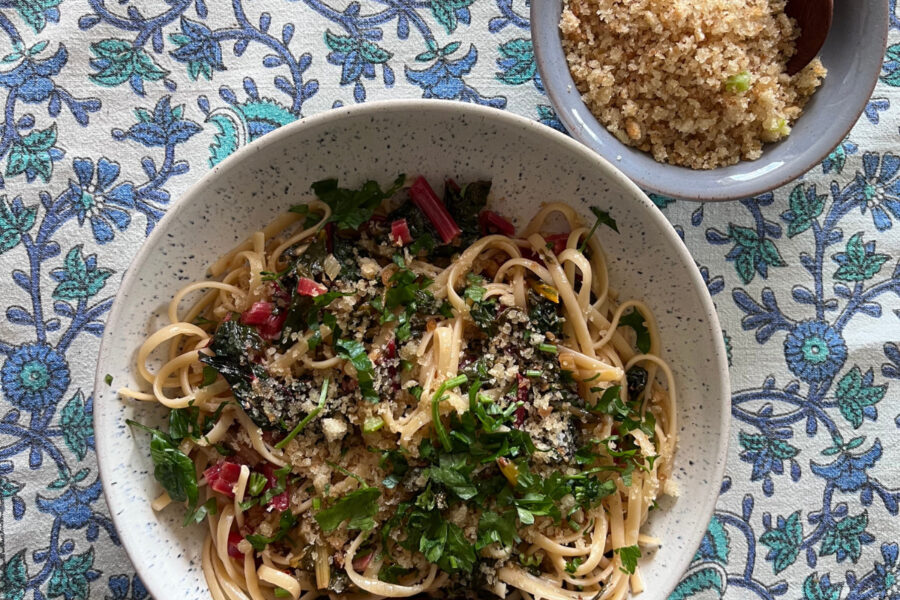
Serves 4 hungry people
This is one of my go-to recipes for a quick, simple and surprisingly delicious meal.
I use homemade breadcrumbs but it also works well with shop-bought panko breadcrumbs. The combination of garlic, breadcrumbs and seasoning is traditionally known as “poor person’s cheese”.
Homemade breadcrumbs: whizz stale bread in a food processor and store in the freezer until needed.
Ingredients
1 bunch of chard: leaves chopped into ribbons, stems finely sliced
4 tbsp olive oil (or other light oil)
4 garlic cloves, finely chopped (more if you like it garlic)
1 tsp dried chilli flakes
100g breadcrumbs
zest and juice of 1 lemon
500g pasta
sea salt and freshly ground black pepper
a small bunch of fresh basil or parsley, chopped
Parmesan or other hard cheese (dairy or vegan, optional)
Directions
1. Heat 3 tbsp olive oil in a frying pan and add 2 cloves minced garlic until it is golden, about 1-2 minutes. Add the breadcrumbs, and season with salt and pepper. Stir until lightly browned then remove to a dish.
2. Cook the pasta according to the packet instructions and drain, reserving 250 ml of the cooking liquid.
3. While the pasta is cooking, heat 1 tbsp olive oil in the same frying pan and add the remaining garlic. Cook until golden then add the chilli and lemon zest. Stir then add the chard, lemon juice and pasta cooking liquid. Cook until wilted and warmed through (3 minutes or so). Taste and adjust seasoning.
4. Combine the pasta with the chard mixture. Sprinkle on the herbs and combine.
5. Serve with the garlic breadcrumbs sprinkled on top and cheese (if using).
……………….
Variations
Swap the chard for kale, spring greens, spinach or other greens in season including mangelwurzel leaves, if you grow those roots for wine.
For a more luxurious flavour, replace the olive oil with butter when cooking the breadcrumbs.
Add finely chopped anchovies with the chard. Add chopped cooked smoked bacon.
Find more tips, advice and articles like this at the Amateur Gardening website. Subscribe to Amateur Gardening magazine now