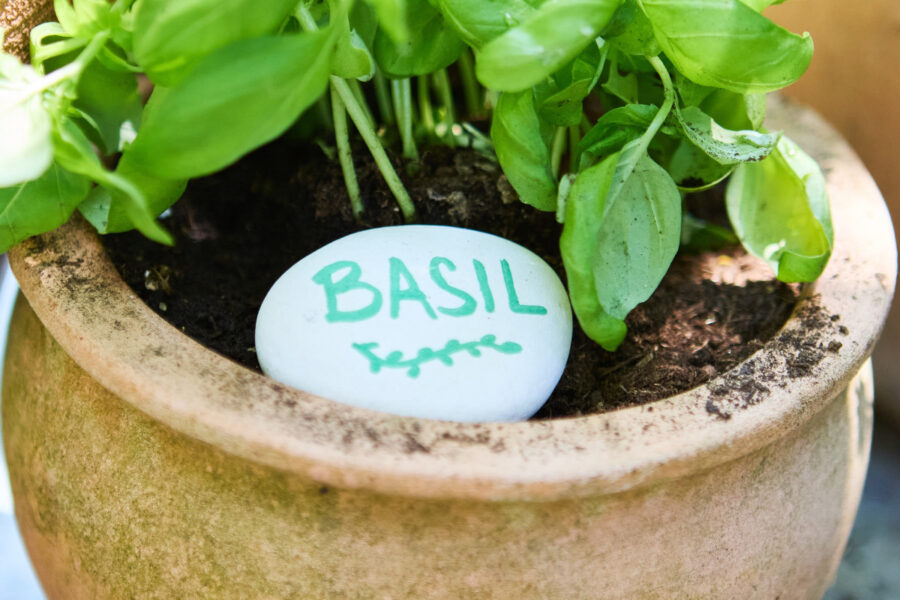
How to make handy plant markers from materials you have lying about
If you’ve been reading my column for a while you’ll know by now that I take great pleasure in finding things down the back of cupboards or tucked away behind compost bags in the shed. The joy of discovering these oddities from past ideas gone by and then turning them into something of real use is incredibly feel good inside. It’s also a nice activity for children, grandchildren or big kids everywhere.
We all know plant labels can be quite boring to look at so I’m repurposing some of my daughter’s old air dry clay (that I actually found tucked away under the stairs!) into some plant labels with real character! This is readily available at craft and hobby shops and comes in a wide range of colours, but terracotta is the obvious choice here to get going with. Easy enough to bend and manoeuvre with tiny hands but be warned – it can get a little messy, so have towels and buckets of water nearby ready to dip your hands into.
Step 1
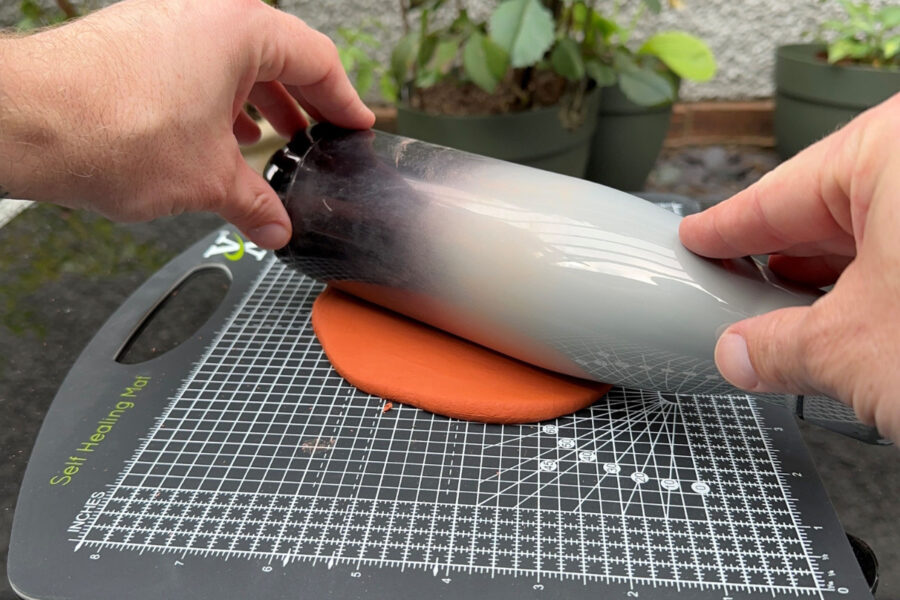
The first stage is to open out the clay and take a remove a portion of it from the pack. My advice is to use a small part, work with that and see if you need to add more. Roll it out to about the thickness of a £1 coin (approximately) – you don’t need a fancy rolling pin here, an old bottle or flask will do.
Step 2
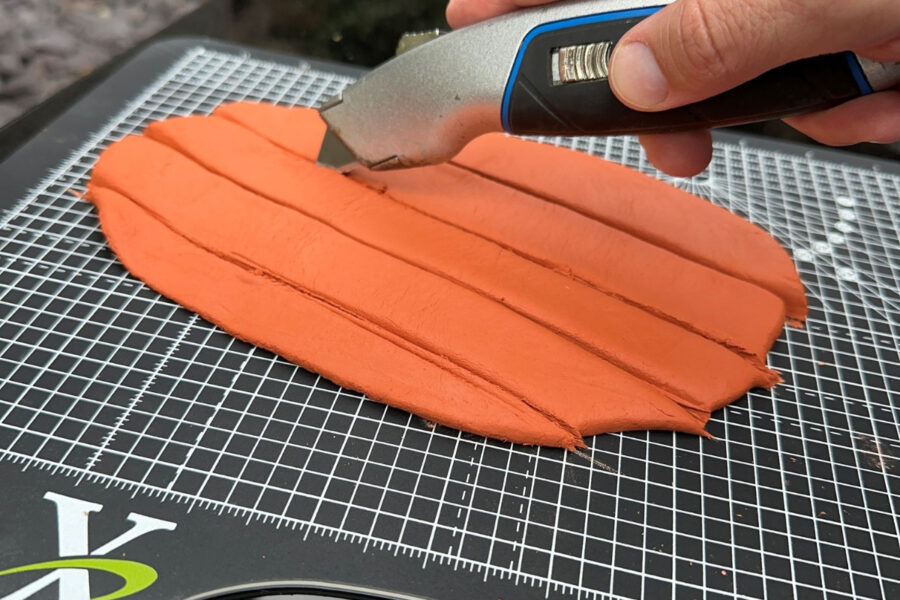
Once rolled out, you’ll want to measure your flattened piece and cut them into strips of roughly the same width, we’re aiming for rustic plant labels, so don’t worry about being too precise with them. Mine are about 4cm (one inch) wide and around 18cm (7 inches) long. When you’ve cut the strips, you’ll want to mould them into a shape you like – mine are quite a conventional shape with a point at one end.
Step 3
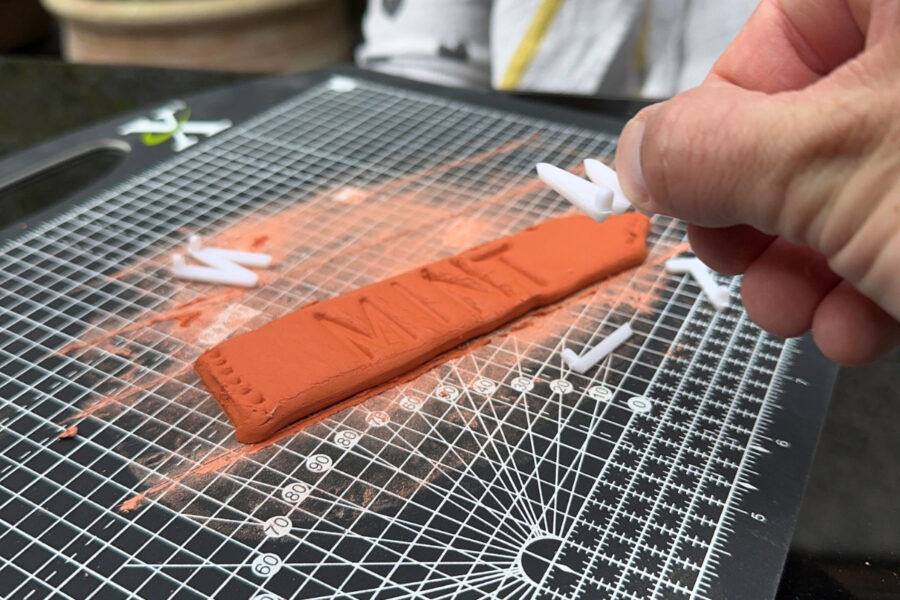
At this stage its time to add whichever embellishments you’d like to! With all of the many craft kits we’ve got at home, we’ve got lots of plastic and wooden letters knocking about, so I’ve used some of the larger ones to imprint on the clay with the words of the plants I intended on using them for – in this case, mint! I’ve also added some patterning around the border of the label, and you could do the same if you wish.
Step 4
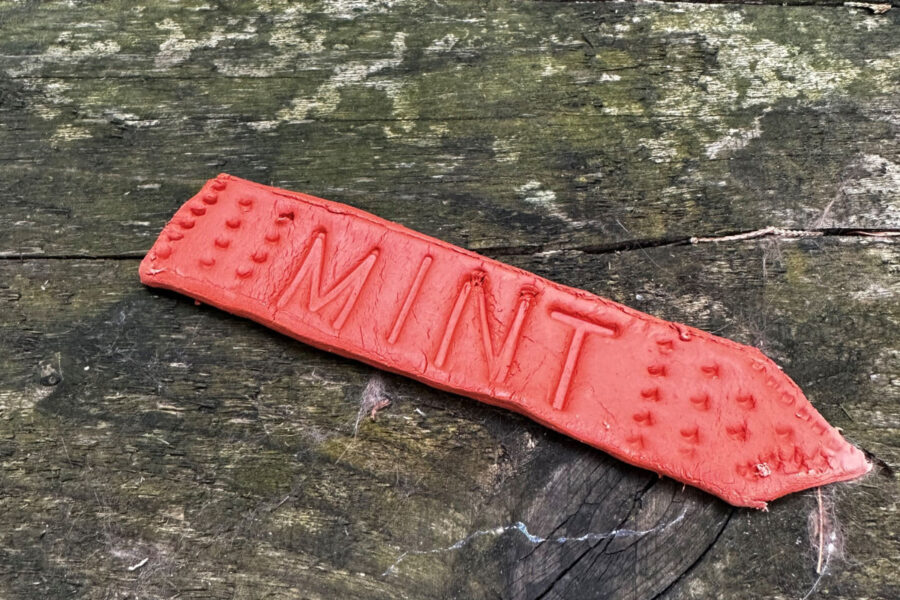
The last stage is to let it dry. Most packets estimate that it should take about 24 hours but, in my case, it took a couple of days for them to be fully dry. Once there, carefully peel them away from the surface you’ve used and put them to use!
NOTE: These won’t last forever, and if they get significantly wet then they really wont last long at all, so they’re great for using with herbs that may stay drier for longer, or houseplants too. I’d recommend removing them when you’re giving plants a heavy drink and adding them back in once the soil is a little drier.
Find more tips, advice and articles like this at the Amateur Gardening website. Subscribe to Amateur Gardening magazine now