Tim Rumball, demonstrates the process. He took some pelargonium cuttings in October, which he describes as quite late in the season. He explains that the previous year was unusual, with plants taking longer to grow and flower.
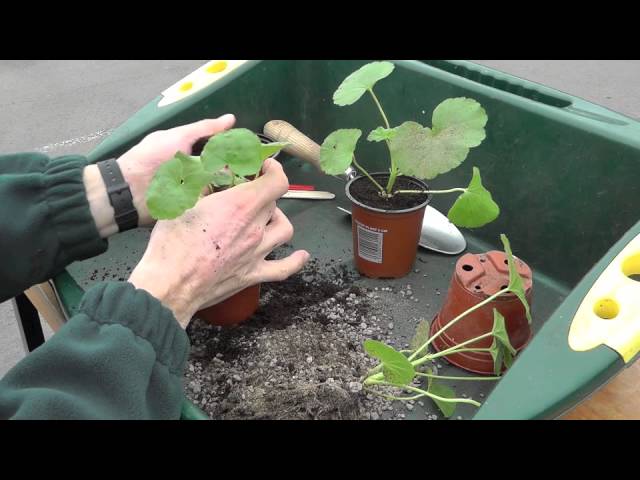
In the video, Tim shows the cuttings he took, explaining how he removed the base leaves and placed them in a pot with gritty compost, topping them with grit, and then placing them on a warm windowsill in the house. He shows that the cuttings have rooted and started to grow top growth, indicating that they are ready to be potted.
Tim then demonstrates the potting process. He carefully removes the cuttings from the initial pot, ensuring not to snap the stems, and then gently separates them. He places each cutting in a separate pot filled halfway with multi-purpose compost. He emphasizes the need to be gentle while potting to avoid damaging the roots or snapping the stems. After placing the cuttings in the new pots, he fills them with more compost, ensuring that the plants are settled and firm in the compost, but not crushed.
The video is detailed and provides a step-by-step guide on potting pelargonium cuttings, ensuring that they are well-settled and ready for growth

