Bob reveals his germination gems and tips for seedling success
We might have already sown ultra-early batches of something such as tomatoes, cucumbers or leeks, more if we’ve warmth and space, many more if we’ve also got artificial light.
Still, we will make the vast majority of indoor sowings in a greenhouse, tunnel or cold frame over the next month or so. It’s only after that we can start sowing hardier crops and flowers in situ, directly in the ground where they’re to mature. Noticeably, most plants sown where they grow do better than those transplanted into place, but only if they come up and survive.
A huge advantage with transplants is eliminating any possible waste of time and opportunity awaiting germination, only to find nothing emerges. We can also plant out just enough, at the exact spacing, and if deemed necessary give temporary protection until they’re established. But there’s no thinning of competing seedlings and weeding both before and after planting, so the task is simpler.
Plus the weather’s becoming more erratic, it’s riskier following the ‘old’ calendar of sowing times, so it makes even more sense to start more crops under cover and then grow them on in safety until the soil’s definitely warm and moist enough for them.
Sow seed in smaller multi-celled trays
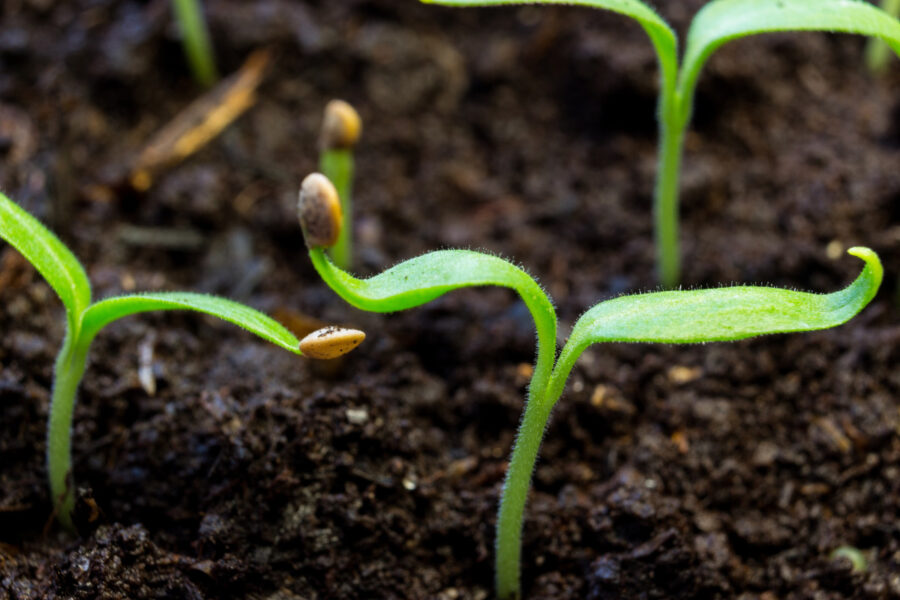
Traditionally, most seeds were thickly sown in a pot or wooden seed tray and then the seedlings were ‘pricked out’ into individual pots. This worked well for large numbers, but only when the seedlings were pricked out within a few days of emergence. Any crowding, even if only for a few days, gave much poorer results.
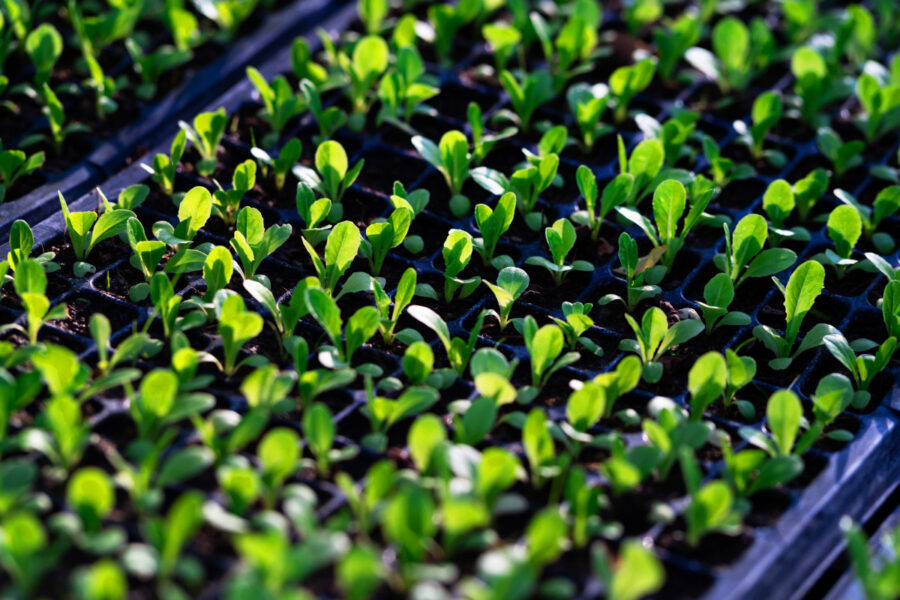
Fortunately it’s now easier to start off each plant in its own tiny container with multi-celled trays in many handy sizes and materials. These mean that each seedling can grow into its own compost without interference from others, and sustains far less damage when moved on.
Naturally it pays to sow two or even three seeds to each cell to be sure of a complete stand, but these really must be reduced to leave only the best as soon as they can be compared.
Invest in the best seed compost you can
Please do not economise on the compost you sow into, only ever consider using dedicated ‘sowing/seed compost’, the best peat-free you can afford. This Is really worth investing in, after all you don’t use much, and failed sowings are really not wanted.
Compare and contrast results and sieve before you sow
I reckon it’s actually worth buying two or three brands and comparing them side by side until you work out which is best. Do consider sieving each just before use, not to remove bits but to re-introduce the air to the packed down material, which your seeds will need to germinate.
Finally, don’t let seedlings outgrow their first pots

Then, once they’re up, don’t leave your superbly raised little plants too long in their cells as that may stunt them. Move them on to small pots (and again later to larger) as soon as their roots can be seen penetrating throughout their compost.
They’ll now need a stronger, richer, ‘potting/general/multi-purpose compost’. Fortunately as seedling plants are more robust than seeds, this is slightly less crucial, but even so it really is worth comparing a few brands rather than putting all your eggs in one basket.
Find more tips, advice and articles like this at the Amateur Gardening website. Subscribe to Amateur Gardening magazine now