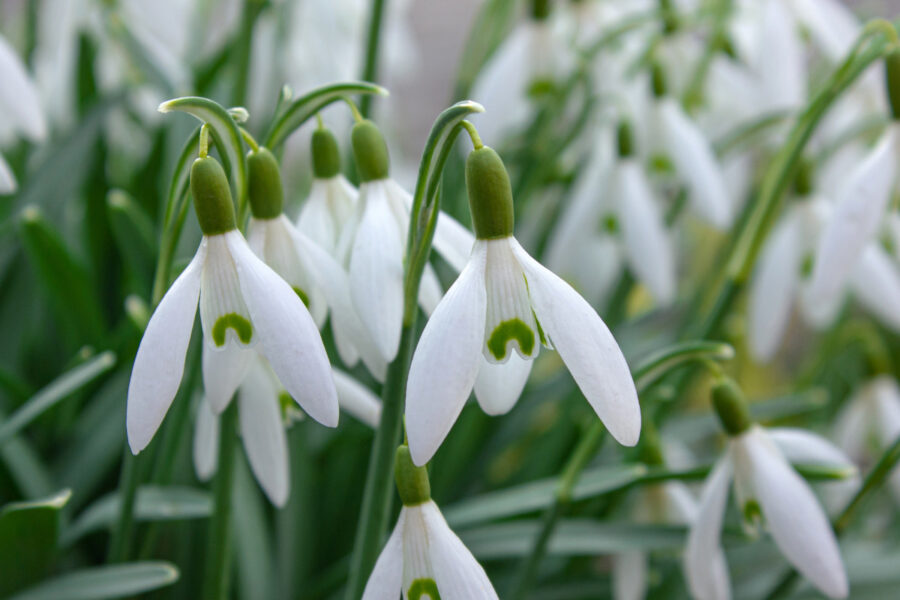
Plant snowdrops ‘in the green’ for a wonderful show
If you take a look at our what’s on and gardens to visit pages you will see that it has all the evidence that the country is coming together and celebrating the dawn of spring and the arrival of the snowdrops.
There are snowdrop sales and festivals all over the place. The appearance of drifts of these little white wonders fills our hearts with joy and hope every year, so it is hardly surprising that galanthophiles, as snowdrop addicts are known, will spend hundreds of pounds to secure rare bulbs.
Three years ago a single rare bulb of Galanthus plicatus ‘Golden Tears’ sold for a staggering £1,850 – not quite as bonkers as the tulip fever of the 17th century perhaps, but still a lot of cash to splash on one small plant.
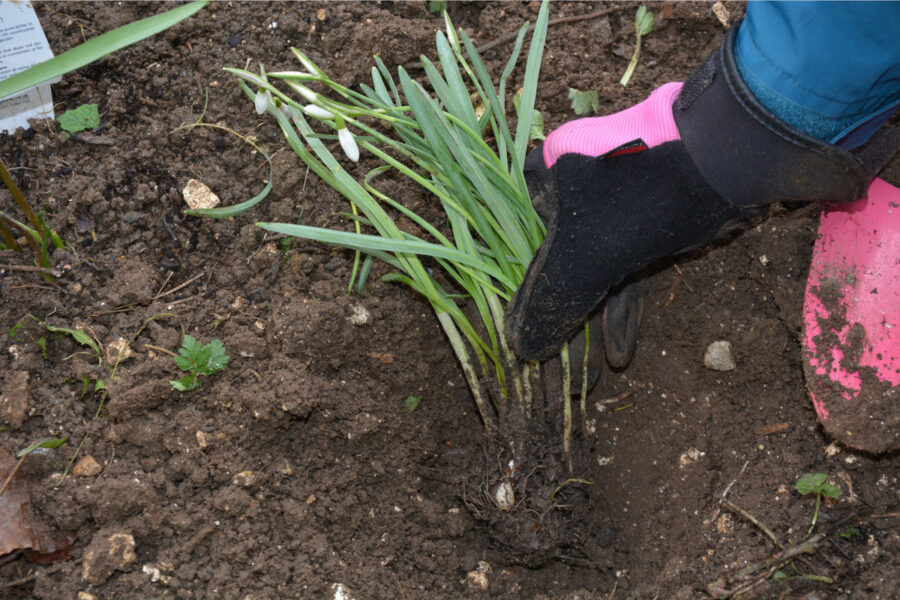
Although we plant most spring-flowering bulbs in autumn, snowdrops are best planted now, when they are ‘in the green’.
This means that the plants are still actively growing, and if put in the ground like this, they have time to bed in before dying back naturally and refuelling their bulbs for next year’s display.
It is often better for plants with small bulbs as they are prone to drying out, rotting, or being pinched by hungry badger, mice and squirrels, but planted ‘in the green’, they will happily settle in and get established when they still have healthy roots and top growth.
Plants in the green usually come in small pots or clumps wrapped in plastic bags to prevent the muddy bulbs and roots from drying out.
As well as snowdrops, you can often find bluebells and yellow winter aconites sold in this way and they are worth buying for the hopeful spring beauty they will bring to your garden.
Planting snowdrops
Growing plants will do best
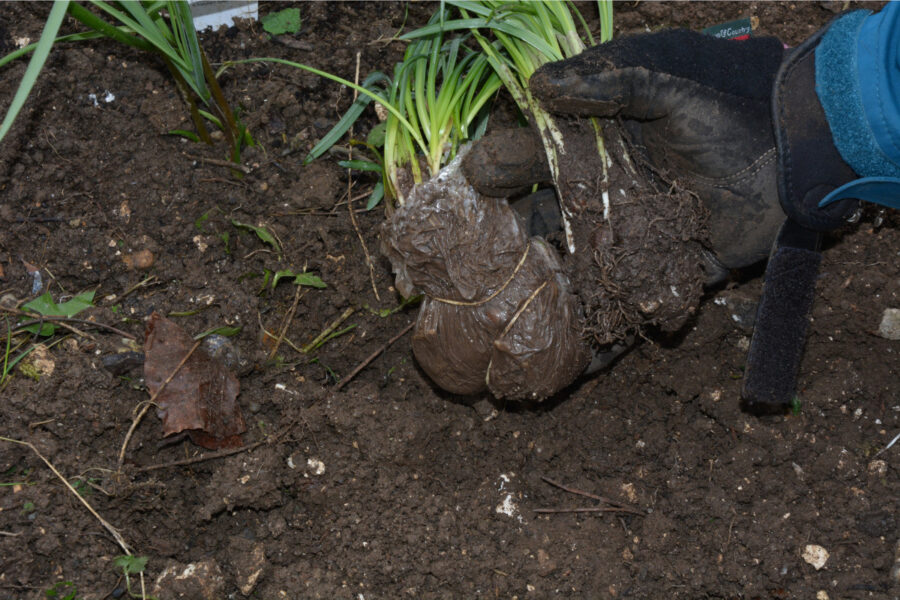
1. Make sure your snowdrops in the green are healthy, with firm bulbs and good top growth. Keep their roots wrapped up until you plant them – but don’t let them dry out and plant as soon as you can. If the soil is waterlogged or frozen, pop them into pots of peat-free multipurpose compost.
2. When you come to plant, get your snowdrops in the ground at the same depth they were growing before – you can tell by the tidemark of soil around the stems and leaves. Firm the soil around them and water well, then let them die back naturally.
Getting hellebores ready to shine
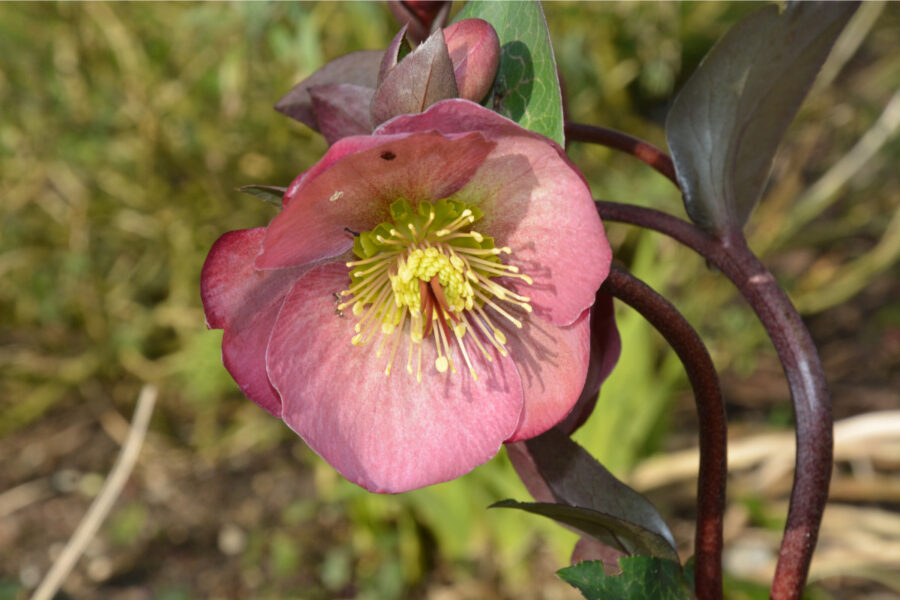
Another wonderful early sign of spring, one that may appear even before the snowdrops, is the hellebores.
From where I sit in the kitchen I can see three plants around the garden, and when in bloom their flowers in various shades of pink are easily visible from the house, reassuring me that warmer days are on the way.
I love hellebores, because they are so easy to grow – in our free-draining chalky soil at least – and their free-seeding ways means that most years I have lots of seedlings to plant elsewhere in the garden or give away to friends and family.
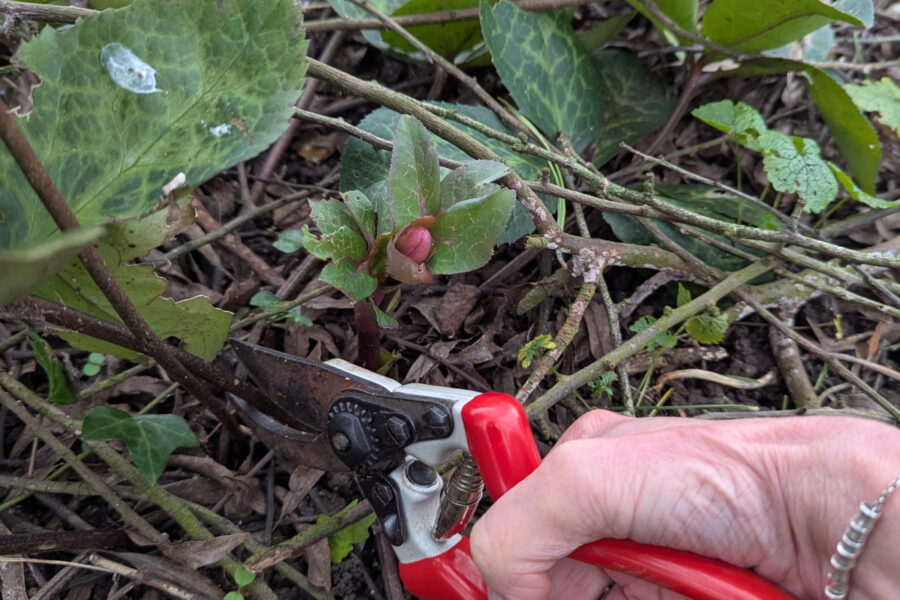
At this time of year as the buds are poking through and starting to open, you need to cut away last season’s old, tattered leaves to make room for new growth and also lessen the risk of diseases being transferred from the old foliage to the new shoots.
They will also thank you for a mulch of well-rotted compost or manure, though wait a few days if the soil is frozen otherwise the blanket of mulch will simply hug the chill against the soil for longer.
Find more tips, advice and articles like this at the Amateur Gardening website. Subscribe to Amateur Gardening magazine now