Editor and resilient gardening expert Kim Stoddart outlines her pick of the most reliable, low-maintenance crops
The sheer joy of harvesting freshly picked produce from your garden offers so many
benefits. From money-saving, wellbeing and the freshest possible fruit and vegetables, home-grown edibles are exciting and nurturing in equal measure.
Yet, let’s face it, some fruit and veg have a reputation for being just that bit more ‘bling’. Picture-perfect heritage tomatoes from the vine, plump and fresh as you like, sweetcorn cobs, giant cucumbers, luscious, interestingly-shaped salad leaves…. Yet why should they take all the glory when more traditional, less racy vegetables still have an incredibly valuable role to play? Here are some further ideas to help you on your productive and varied veg patch growing way…
Let’s celebrate all carrots great and small
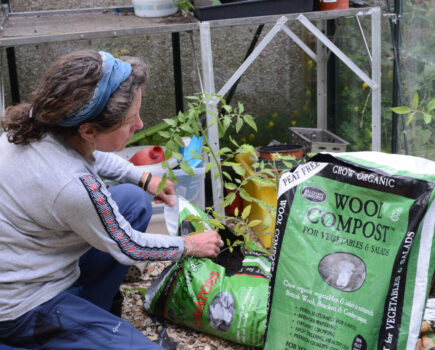
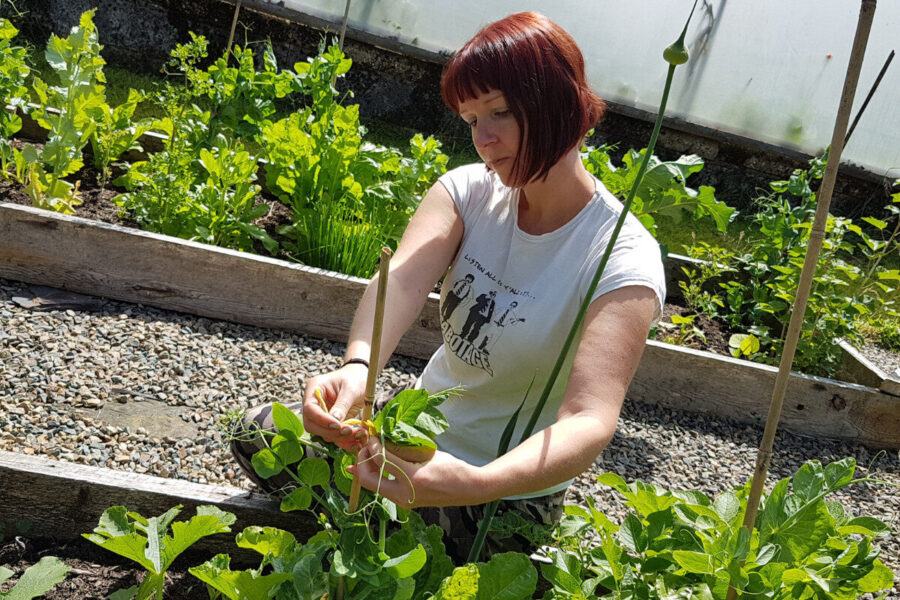
I grow my edibles in a free-spirited, mixed way which means that gaps between plants are filled with what I have available to maximise use of space and available edibles.
I just leave a good 2m (7ft) between hungry plants of the same family, such as fruits like tomatoes and cucumbers, peas/beans and brassicas. This introduces a fun, foraging element to the harvesting of food, helps with natural pest control and will also work to protect the ground from drying out so quickly as I’m filling gaps as I go, which means less watering is required with lots of ground cover in beds.
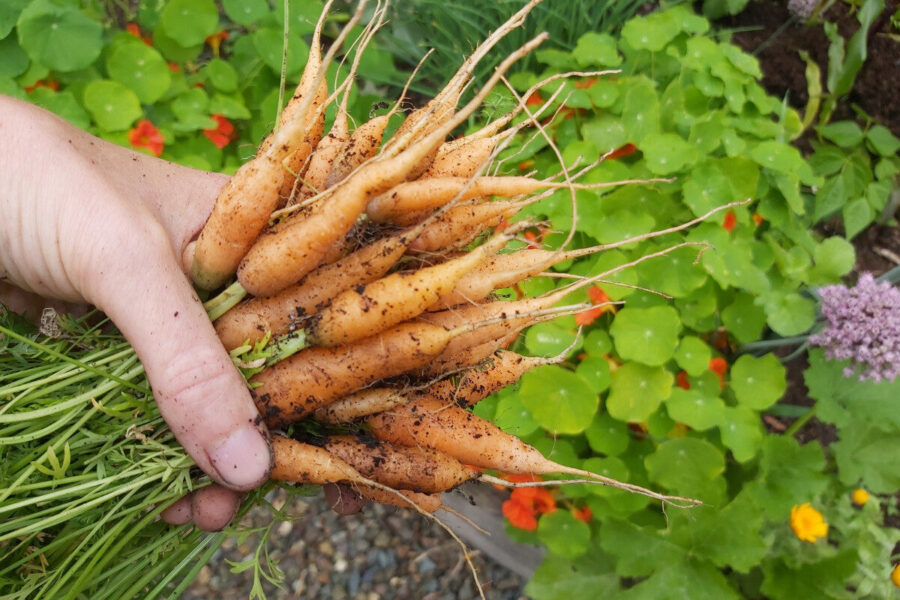
Carrot-wise, variety is the spice of life and I grow carrots in modules (four or five per cell) and plant them out in gaps as they are. In this way the carrots’ sensitive roots aren’t damaged. If you love baby carrots as I do then a few more seeds per cell can work well and you can keep succession planting for more regular harvests.
Baby carrots never get boring, so I think of carrot thinning as getting the cream of the crop. They can be cooked whole and if you leave a little of the top still attached become a main event in a variety of home-cooked dishes.
I grow carrots throughout the year with the sole intention of eating many of these small ones. They are so much sweeter and creative to cook with than their full size compadres.
Fuss-free brassica growing
I’m always for the easier option as I want my time spent gardening to be enjoyable and not high-maintenance which is why I’ve ditched cabbages, broccoli, sprouts and cauliflower which have more exacting water requirements and take up a lot of space as they sit slowly fattening over the season. These days I get my brassica fix in the following useful ways instead.
Longer-lasting leaves
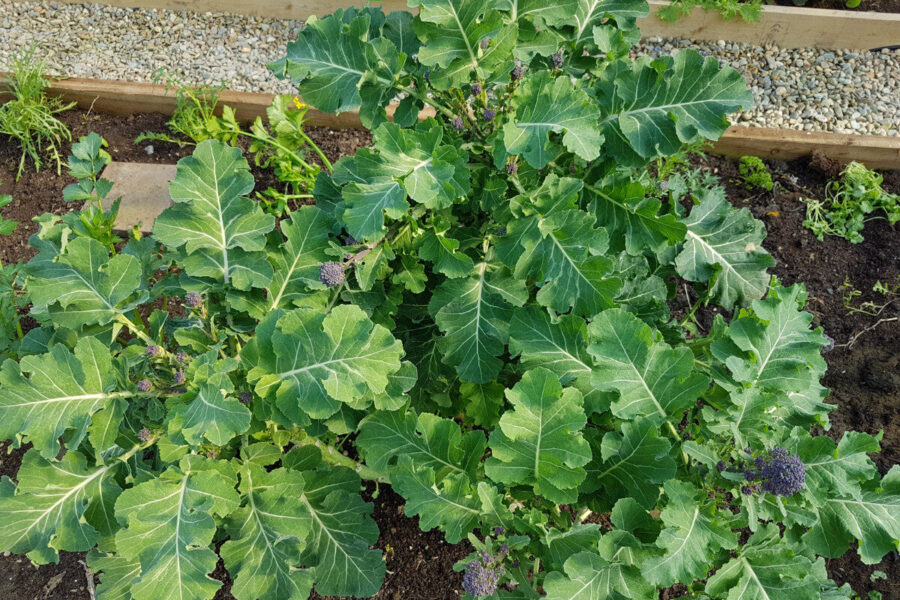
Purple sprouting broccoli and kale come out tops for me because they will dutifully keep providing; the more you pick, the more you harvest and if you leave them in the ground after their second season they will keep producing for at least a few years. Although you can’t viably save seeds from them, their lovely pretty flowers are edible and look great to decorate food, they attract pollinators to your plot and by cutting them back you can save energy in the plant to enable it to carry on producing. You can also investigate officially perennial varieties to grow such as Daubenton Kale and look at the humble but very production and potentially longer growing Swiss chard. Just cut back leaves before they set flower to enable to grow on and on.
A nice cauliflower alternative
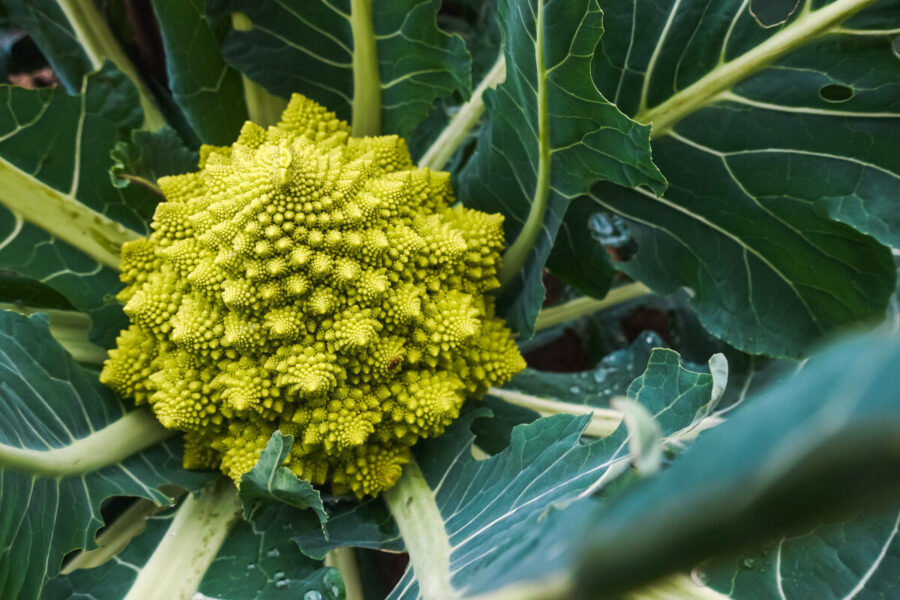
Romanesco is a cross between cauliflower and broccoli in terms of flavour, and this rather pretty Italian brassica is easier to grow. Cauliflowers require constant watering and attention all year round, whereas this hardier relative doesn’t. The key threat tends to be slug and snails so wait till seedlings are bigger before planting out and check beds first to remove any slippery suckers present.
Planting instructions
- Romanesco likes alkaline soils in a sheltered spot, so add some lime if yours is acidic.
- Sow seeds between April and June and plant out your seedlings when they are around 10cm (4in) tall, giving each plant plenty of space to grow.
- They need regular watering and compost-rich soil for good leafy growth and are usually ready to harvest from September (or August if you want smaller heads).
Jerusalem Artichoke

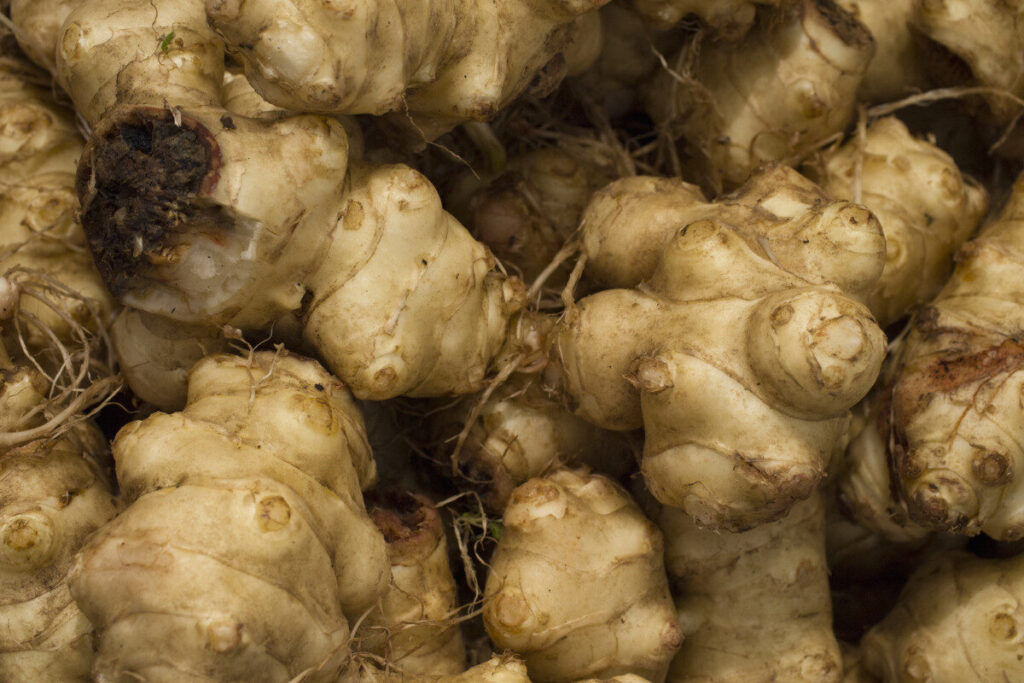
Not fashionable, but very fruitful and low-maintenance to grow. Jerusalem artichokes are great for use on the veg patch as a windbreak around the edges, though ironically, these tall attractive plants don’t act as a windbreak for the human digestive system! They have the opposite effect in fact, because they are a prebiotic food which helps feed the healthy gut bacteria so they are incredibly good for you.
Planting instructions
- Jerusalem artichokes prefer a sunny spot, though they can tolerate light shade.
- Plant tubers in spring, around 15cm (6in) deep, 30cm (12in) apart in rich, free-draining soils.
- They can be harvested from October but will keep well in the soil until you are ready for them through till late spring.
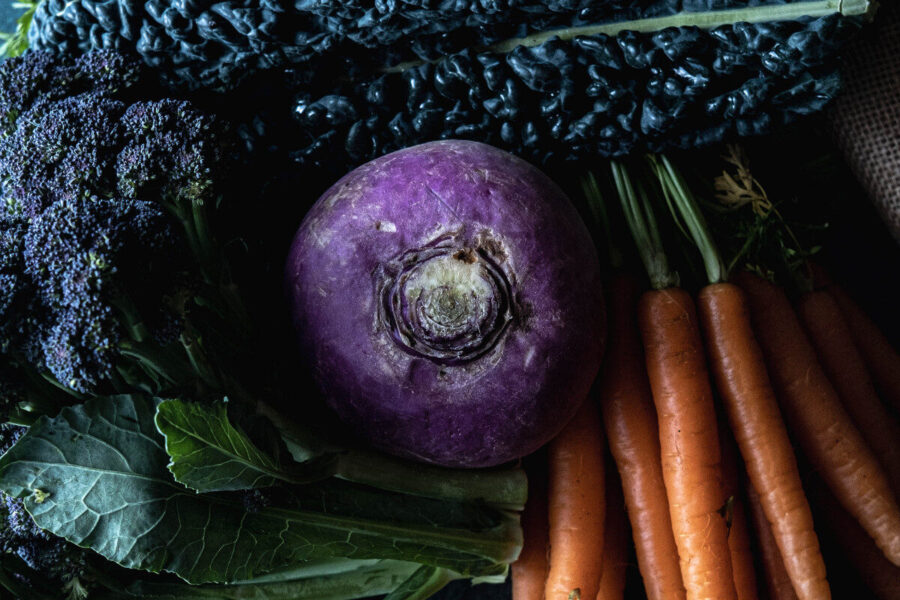
Seeing the wider potential of turnips and swedes
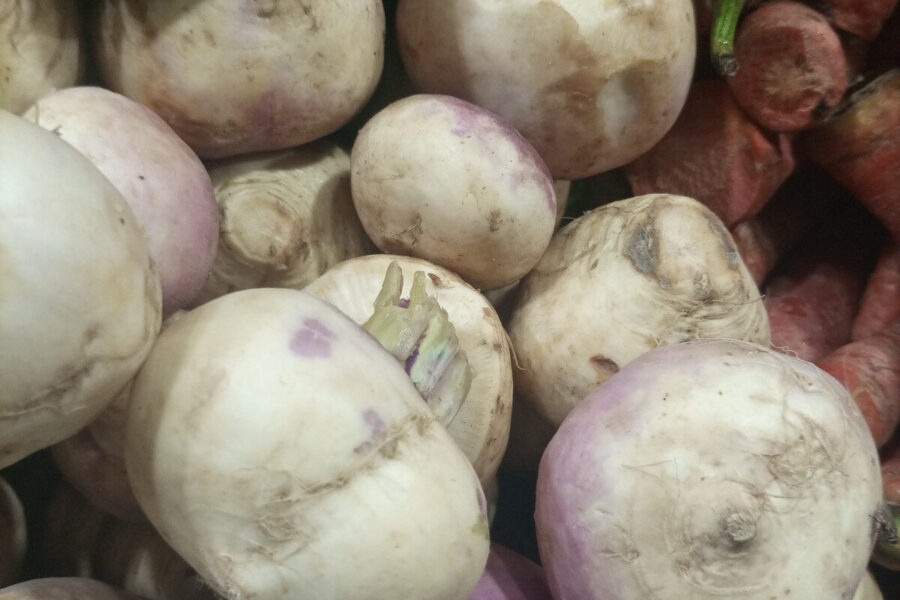
Swedes and turnips are not the most glamorous of veg, there is no denying this. Yet they have a charm and an important place on the winter veg patch, which is when they arguably come into their own.
To make them more interesting, try harvesting some small, as baby roots, to open up whole new roasting opportunities which are guaranteed to excite. The leaves are also rather attractive in a range of dishes and these veg lend themselves well to fermentation techniques for longer lasting benefits.
Baby leaves can be added to salad and left in the ground over winter, and these hardy leaves come in very useful early in the hungry gap part of the year.
Planting instructions
- Sow early-harvest turnips between March and June for a summer crop, and maincrop ‘neeps’ are sown in the summer and pulled in autumn.
- They like a sunny spot with rich, free-draining soil full of well-rotted organic matter.
- Hardy swedes – the full name of Swedish turnips – grow best if sown directly in spring and early summer in a shallow drill.
- Protect from pests with a cloche and thin/(eat baby roots) to allow room for some roots to fatten.
Find more tips, advice and articles like this at the Amateur Gardening website. Subscribe to Amateur Gardening magazine now