Basal cuttings are a cheap and easy form of propagation
As plants start to grow again we can begin to take new growth as cuttings to make more plants for free. It is a more reliable way of plant propagation than collecting seeds, for the plants that grow from the cuttings will be identical to their parent, whereas seeds can deviate and create something new and different. Though having said that, there is something fun in, for example, sowing aquilegia seeds you have harvested and being amazed at the varieties that emerge.
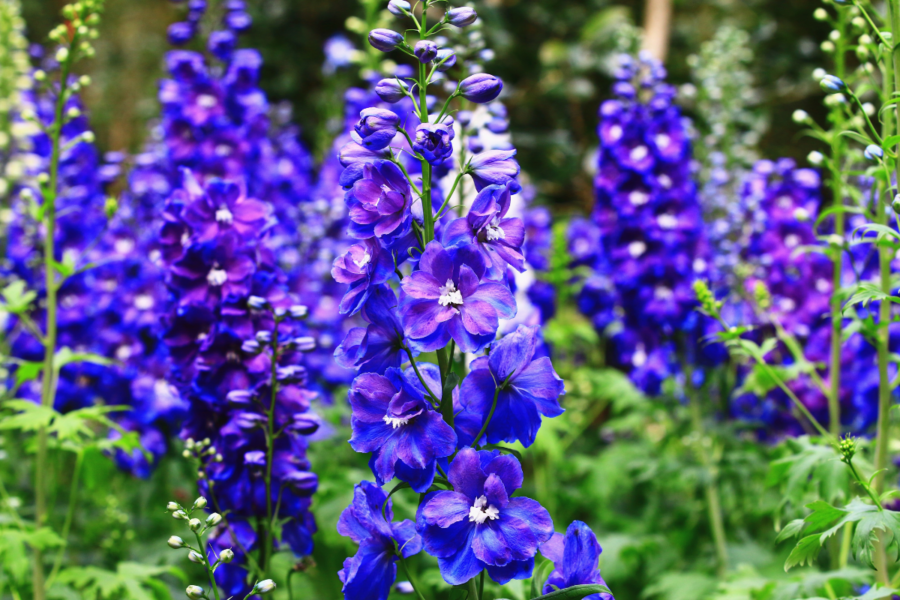
Shoots of delphiniums, asters, phlox and lupins emerge from the base of their crown and some of this new growth can be removed and potted up. They are known as ‘basal’ cuttings and are not to be confused with basil cuttings!
Basal cuttings are easy to take and in my experience reliable to grow. All you need is a sharp, clean garden knife, some rooting compound, a pot of seed and cuttings compost mixed with vermiculite and grit that has been watered and left to drain, some slim sticks and a clear plastic bag.
When the plants have produced a generous clump of shoots around 4in (10cm) high, scrape some soil away from the base of the plant then cut a few shoots free, as close to the soil as you can. Don’t take too many as that can weaken the plant, then firm the soil back as soon as you can.
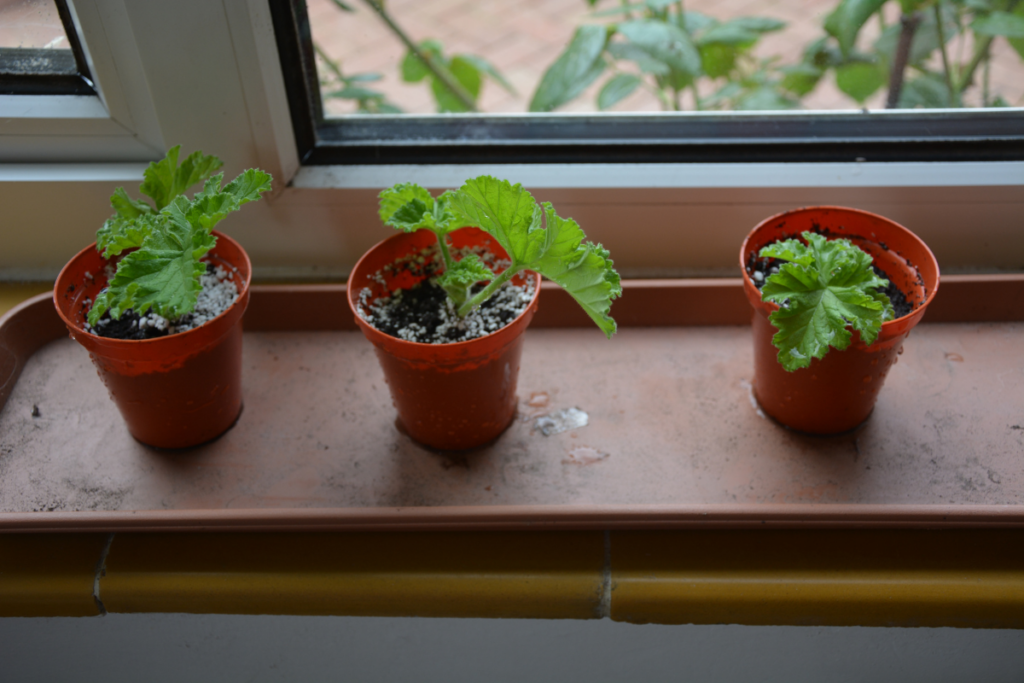
Once potted up, place the cuttings on a light windowsill out of direct sunshine and they will soon take and grow. At this point, remove the plastic bag covering them and keep their compost just moist, not soggy.
Cuttings success
Two tips for healthy growth
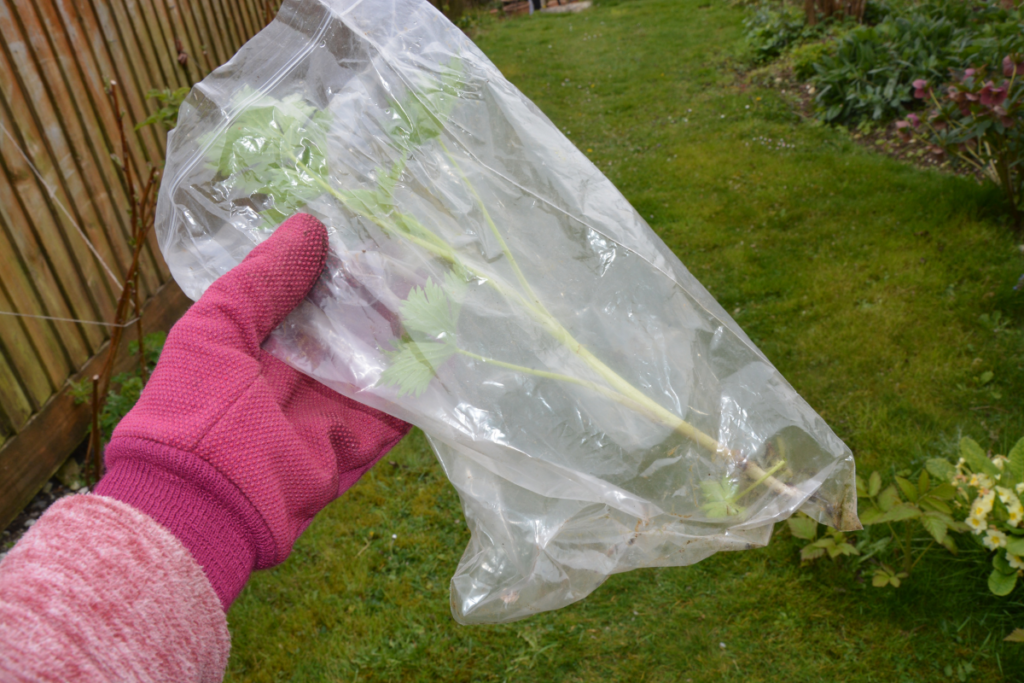
1. If you can’t pot up cuttings immediately, store them somewhere cool and shady (the fridge is excellent) in a plastic bag with a few drops of water to stop the dehydrating.
2. Most cuttings are sealed in a plastic bag to keep the compost damp and air humid. Not pelargonium cuttings though, as too much moisture will rot their fleshy leaves.
How to take and pot up basal cuttings
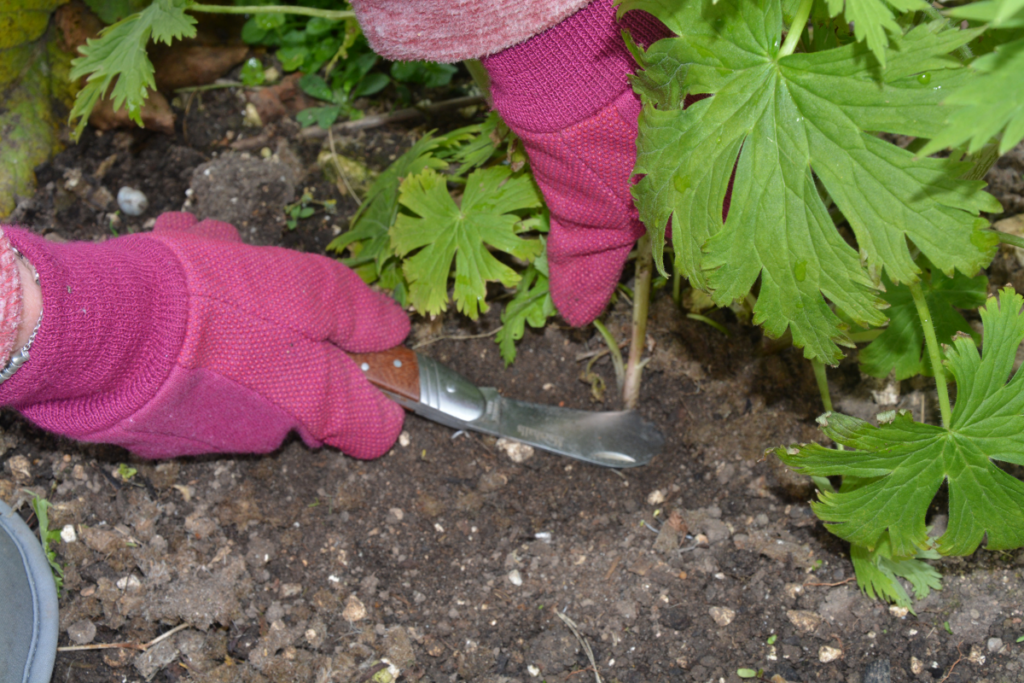
1. Cut away new growth from the base of the plant using a sharp, clean knife then firm the soil back.
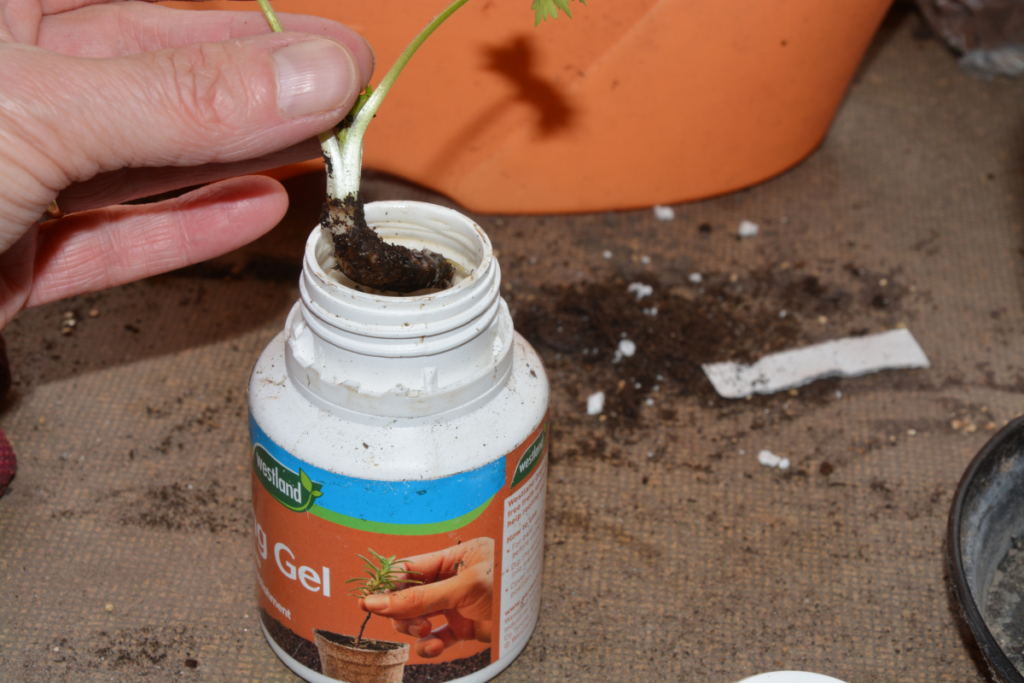
2. Dip the cut end in hormone rooting powder or gel to help promote robust rooting.
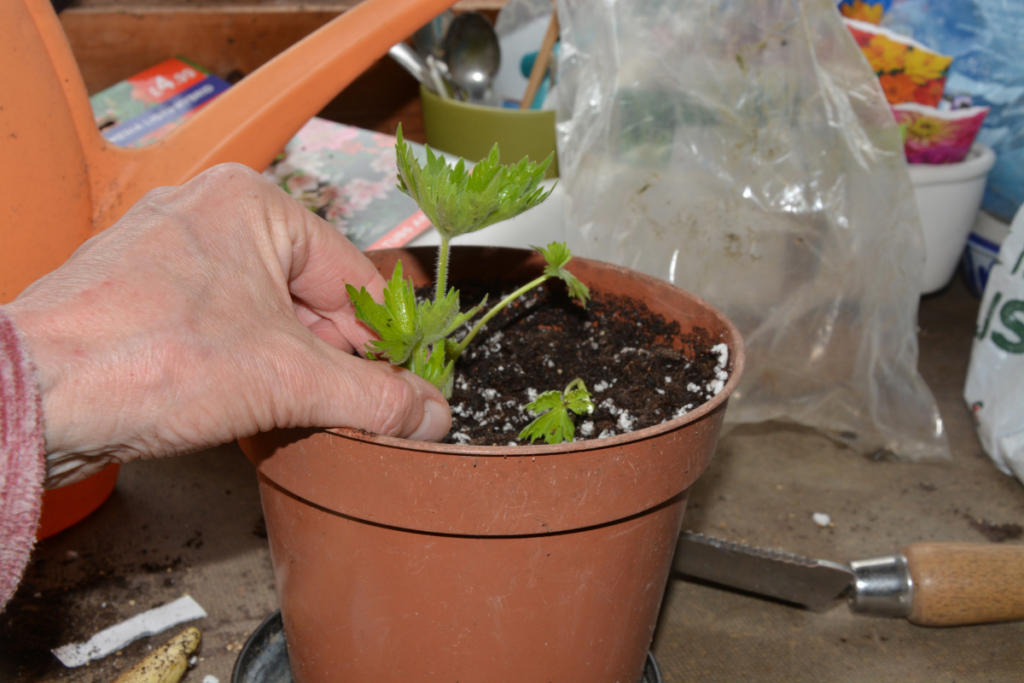
3. Insert the cuttings into a dampened pot of seed and cuttings compost mixed with vermiculite. Form them in.
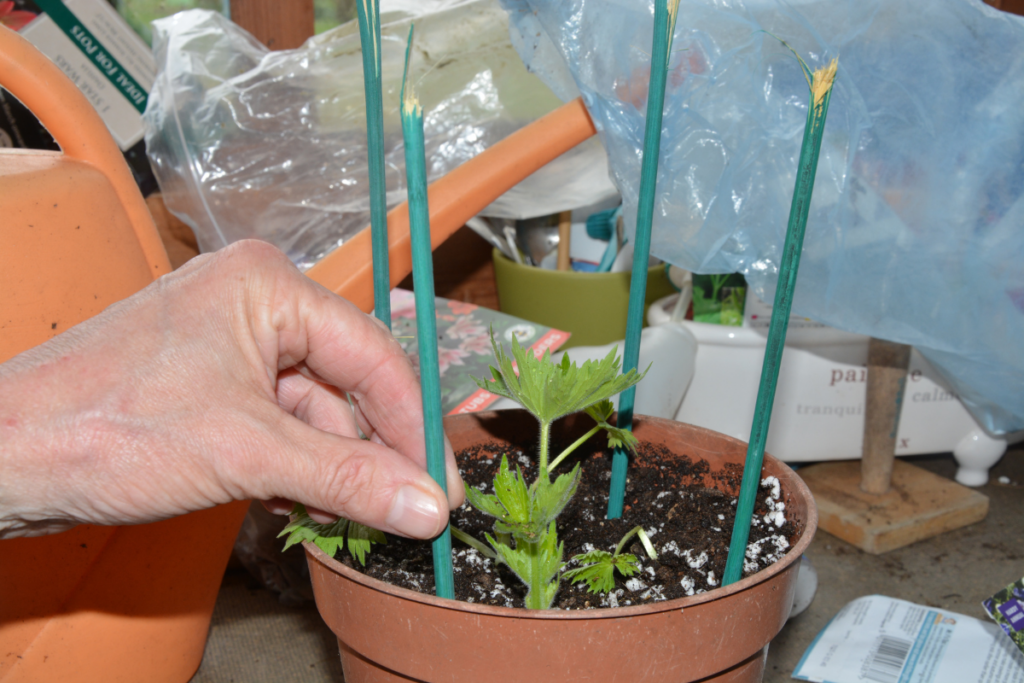
4. Place sticks around the edge of the pot and cover with a plastic bag – the sticks keep the bag off the growing cuttings.
Find more tips, advice and articles like this at the Amateur Gardening website. Subscribe to Amateur Gardening magazine now.