How to get your polytunnel going
The first thing to decide when getting a polytunnel is where to put it. If you have plenty of space, then ideally place your polytunnel on level ground with a north/south orientation. This means that both sides of the structure receive equal amounts of daylight, but thankfully, orientation is not critical and east /west will be fine.
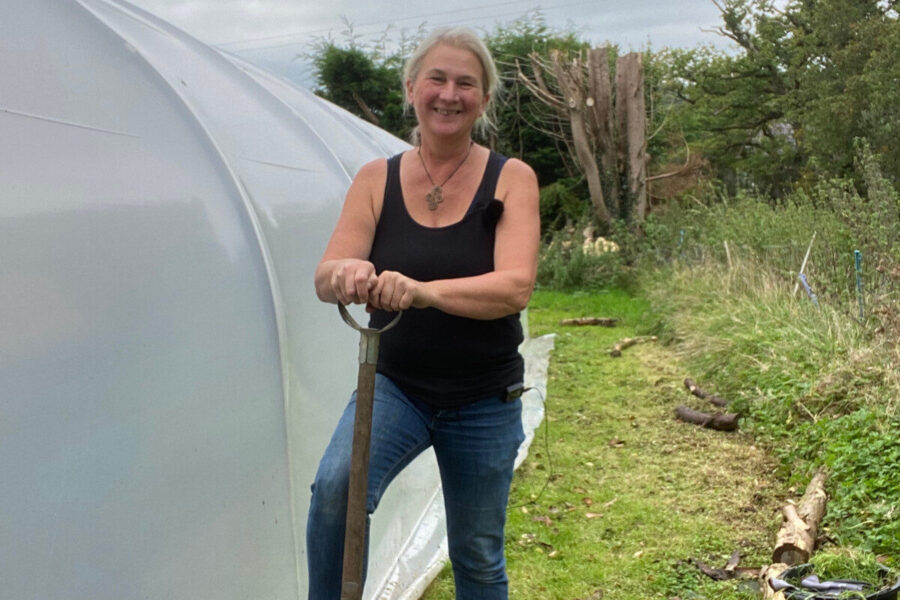
Most of us have to make do with fitting it in where there is space, and this is what I have done here in Wales. The good news is that despite not being perfect, the polytunnels have worked really well, growing produce throughout the year.
If siting on a slope, it is best to construct it vertically along the slope rather than horizontally across. This ensures good airflow, and good tension for the polythene, which makes the structure more stable and helps the polythene last longer. Other considerations include proximity to trees and buildings which can cast shade. Place the sloping sides towards the prevailing wind so that it flows over the top during gales. Try to avoid locating the polytunnel in frost pockets or areas prone to waterlogging.
Think about access
Ideally, locate the tunnel with at least 1m (3.5ft) access all around, for maintenance. In my previous garden I had to locate the tunnel just 30cm (1ft) from a low hedge, which meant that I had to do a side-shuffle to maintain both hedge and polythene. I looked a bit strange but it was manageable!
Ventilation is crucial for the health of plants.
To encourage airflow year round, even when the doors are shut, ensure that the doors are 1/3 covered with fine mesh. In hot locations, side ventilation is also a good option.
Stability is important, especially in windy locations.
Base plates help to secure the structure firmly to the ground, and storm braces add stability. Tight polythene further ensures stability and increases the lifespan of the cover.
Good construction is key
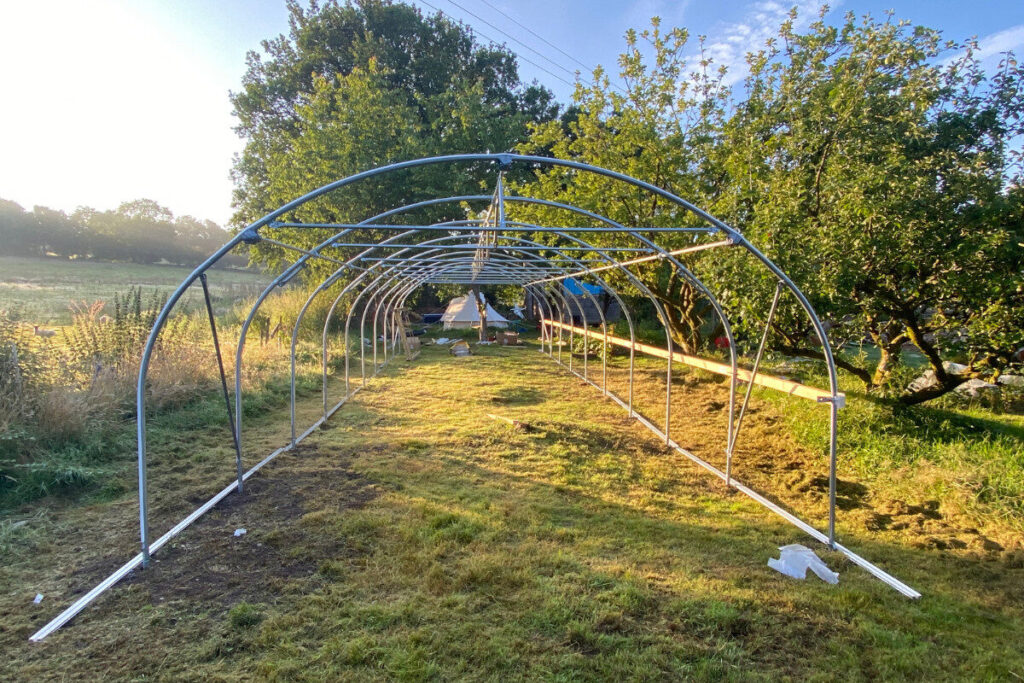
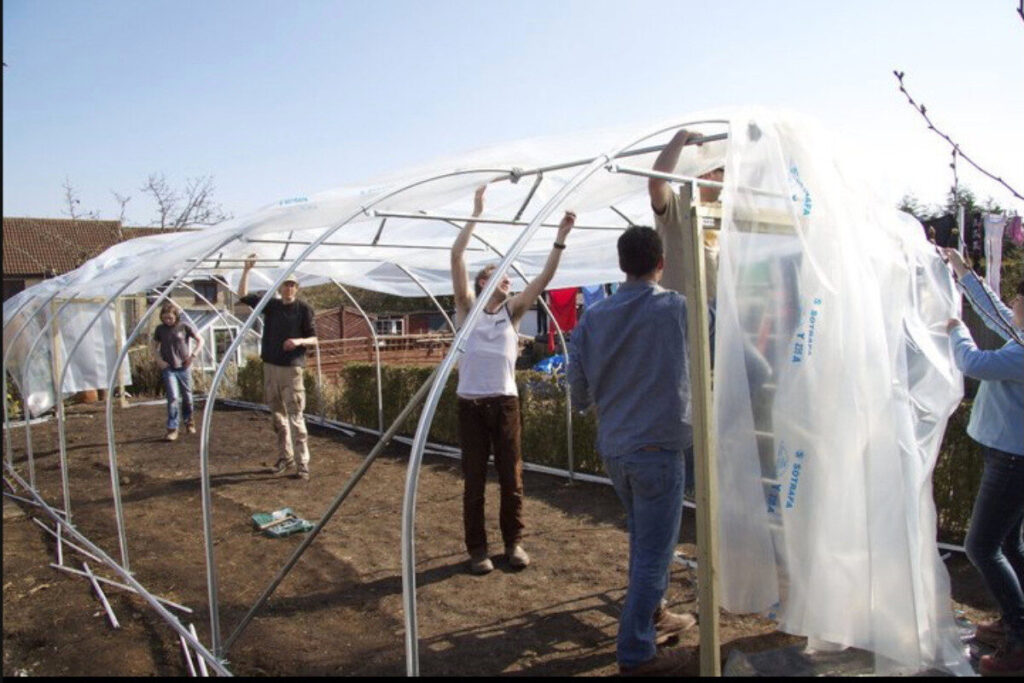
Building the frame is surprisingly easy, and covering it works best if you can gather a few people together to help. Choose a warm, dry and – crucially – calm day. A broom with an old soft towel tied across the brush is invaluable for helping the polythene slide across the top without needing a ladder.
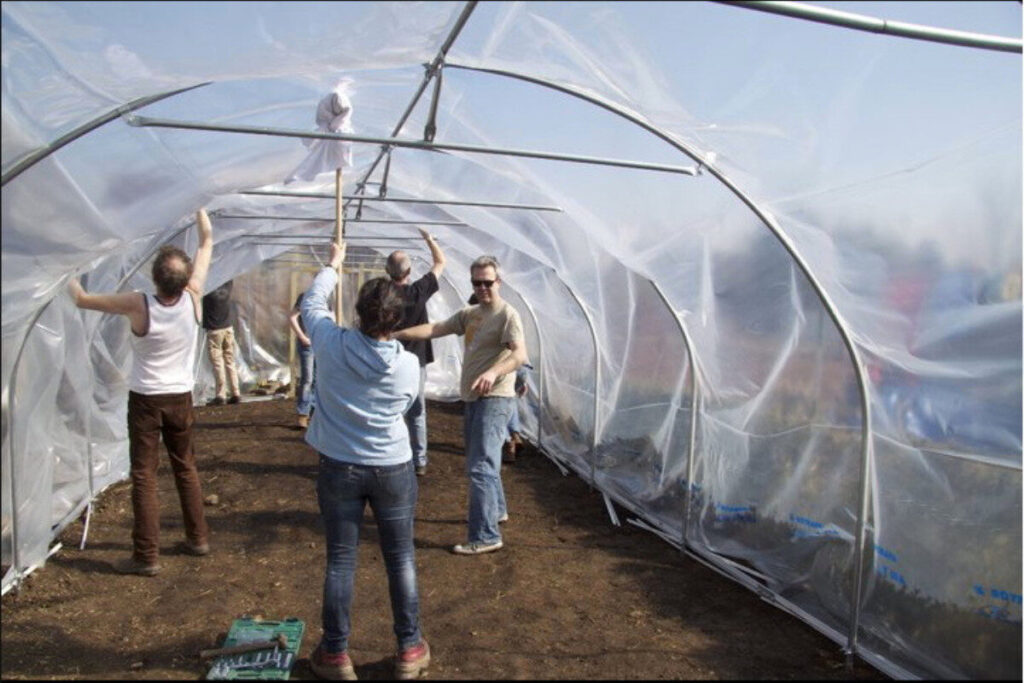
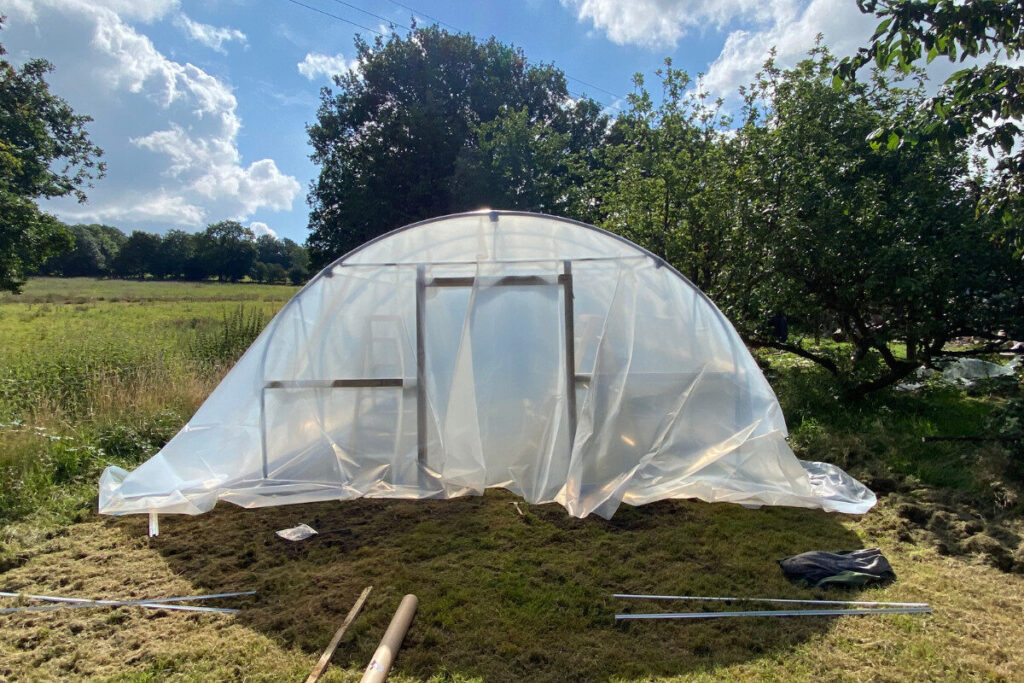
Alternatively, you can hire a qualified polytunnel construction team to do this.
Time then to create the beds
Whether to use the sides or an on-the-ground approach is personal preference, and both work well. In wider tunnels, having a wide bed down the middle makes the most of the available height, with two narrower beds down the sides. For smaller tunnels, one central path with beds on either side can be the best use of space.
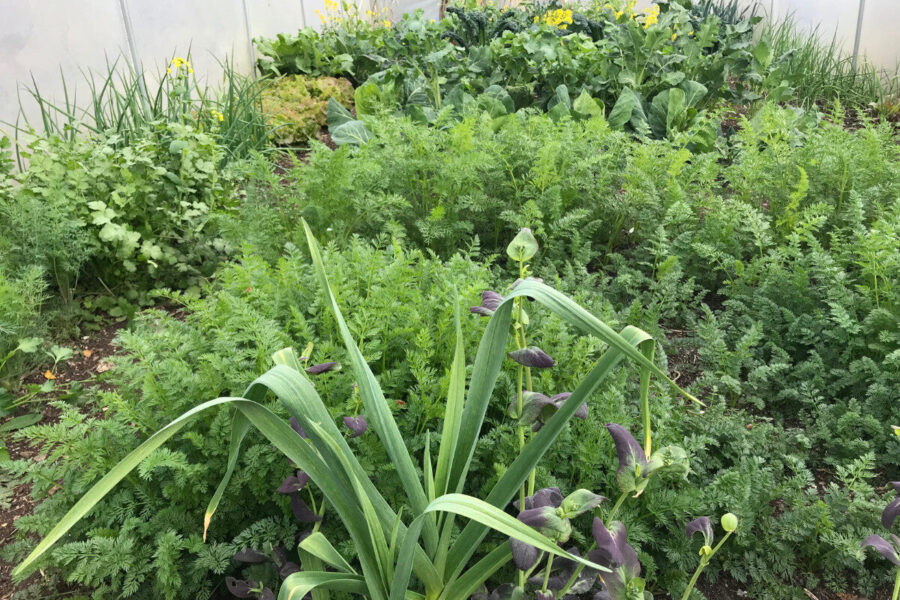
I made my beds using cardboard and compost, no-dig style. These can be sown and planted up right away.
………………………..
Fortnight tips to do now undercover

-Continue ventilating every day if possible, to reduce the risk of mildews and mould.
– Sow summer-cropping plants for growing undercover: tomatoes, tomatillo, basil, melon, cucumber, courgette, summer squash, luffa, shark fin gourd, perilla shiso and cape gooseberry.
– Sow seed for companion flowers for undercover: marigold, viola, calendula, borage and nasturtium.
– It’s a bit late now for sowing aubergines, chillies or sweet peppers, so buy in small plants and pot on.
– Clear over wintered crops as they finish and compost.
– Mulch beds as the winter crops are cleared.
– Check the polythene and repair any small holes or tears with clear repair tape.
– Check under pots and down the sides of the polytunnel for slugs and snails, relocating them to a wild patch outside. They love to lurk in the area where the soil meets the plastic.
– Keep crop bars and support wires clean. They are ideal for hanging up your washing on wet days!
Find more tips, advice and articles like this at the Amateur Gardening website. Subscribe to Amateur Gardening magazine now

