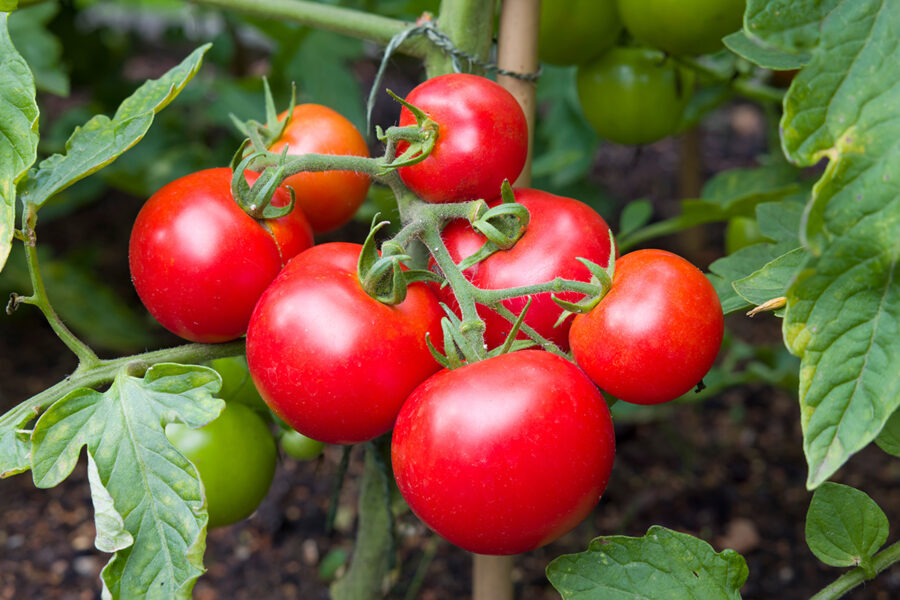
Tomatoes have long been a favourite with us Brits. We started growing it as long ago as 1554 and it’s still as popular as ever
Well, that’s not entirely true. If you’d visited my garden last summer you’d have noticed the air had taken on a blue hue, thanks to me getting rather upset about the state of my tomato plants both inside and outside of the greenhouse.
Blight had felled my ‘Garden Pearl’ plants and the tomato moth caterpillar – a pest I’d never seen before, despite having grown tomatoes in greenhouses for years – was chomping its way through a yellow cultivar I was trialing.
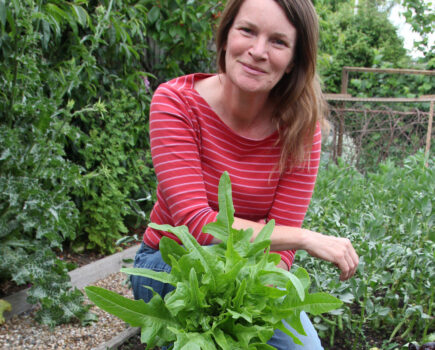
The previous two summers had been a disaster, too, thanks to blight. So at the end of last year I decided I would take a break from growing toms and allow someone with an infinitely better track record to show you how it should be done: my mum Sue.
She gardens in south Devon, where the mild, damp climate should be even more conducive to blight. But she grows her toms in a greenhouse (the same one I used as a kid) in the soil, and in 20 years of tom growing there has never been an attack of blight.
Despite my recent woes, tomatoes are, in fact, pretty easy to grow, although there are a few things you need to know. First off, check whether the variety you want to grow is suitable for cultivating indoors or out. All outdoor types can be grown in a greenhouse or conservatory, too, but indoor types don’t stand much chance outside unless the weather is dry and hot all summer.
There are two types of growing habit: cordon (or indeterminate), where you pinch out side shoots that form in the leaf axils; and bush (determinate), where you don’t.
If you grow cordons outside you also need to pinch out the growing tip when the fifth truss has set fruit. This will speed ripening and ensure you get good crops before the weather turns cold. Cordons under glass have a longer growing season so plants can reach the top of their supports before pinching out.
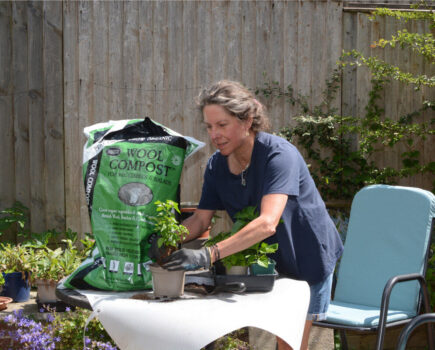
As mentioned, my mum has been growing tomatoes in the greenhouse border for years. Each winter, well-rotted manure is dug into the soil ahead of the growing season. This is vital as they’re hungry plants. Last winter I picked up a few bags of Zoo Poo – it’s ‘produced’ by herbivorous animals at Paignton Zoo in Torbay, and has done a grand job as her plants are in tip-top condition.
It’s not just nitrogen that tomatoes take from the soil; they also need trace elements. It was obvious, even in mum’s early days of growing toms, that her gritty soil was low on magnesium, which showed up as yellowing between the leaf veins. This was remedied by applying Epsom salts. However a feed of seaweed extract is better as it also contains other trace elements.
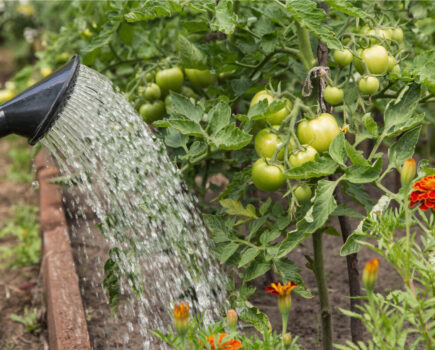
The majority of gardeners raise their toms in growing bags or large pots filled with multipurpose compost. Bags are fine but buy the best you can afford and don’t overcrowd them – two plants per bag max. Even then you’ll need to water at least once a day in sunny weather, and twice if it’s hot.
Regular watering is vital once the first fruit have formed, as is feeding with a high potash fertiliser. If you let plants dry out, the next time you water the sudden uptake can cause fruits to split – this tends to occur as they are reaching full size.
Get all that right and you should be well on your way to a successful tomato harvest!
Great varieties for you to grow
These three can be grown indoors or out and are among the tastiest tomatoes available:
1) ‘Ferline’ F1
Ideal for growing outdoors as it’s blight and wilt resistant.
2) ‘Legend’about:blank
Beefsteak type that can also be grown indoors or out, and doesn’t need side shoots removing.
3) Cherry tomatoes
Ideal for growing for your family meals.
How to grow tomatoes
Follow our easy guide for a great summer crop
Step 1) Sow seeds from March to April. Fill a tray with seed compost, water, and scatter the seed across the surface. Lightly cover with compost. Put the tray in a heated propagator at 18˚C (64˚F) or cover it with cling film to speed germination (2-4 weeks). Place in a well-lit spot. Uncover seedlings as soon as they appear.
Step 2) Prick out seedlings when the first pair of true leaves forms. Plants will grow quickly so pot up into 3in (8cm) pots initially, filled with good quality multipurpose compost. It’s essential to keep them in a warm ( 16˚C-61˚F will be fine), bright location to avoid them getting lanky (like mine, pictured).
Step 3) Plants can go out once frosts are finished – early May in the greenhouse and late May (after hardening off) outdoors. Add cane supports when planting (right), or train stems up string lines in the greenhouse. Begin feeding with high potash fertiliser weekly when first flowers appear. Water regularly.
Step 4) Remove sideshoots (right) from cordons as they appear in the leaf axils (bushes won’t need this). Tackle whitefly/caterpillars with sticky traps or a spray suitable for use on edibles. Tie in main stem as necessary, and give an occasional feed of seaweed extract. Open all greenhouse vents and the door early in the morning.
Beating the dreaded blight
Few diseases are as deadly as potato blight, which also affects tomatoes. The spores of Phytopthera infestans start to cause trouble in warm, wet spells, when humidity is high. The tomato plant leaves blacken and collapse. Fruits take longer to show symptoms and should be picked even if they’re still green, and taken indoors to ripen.
Once blight strikes there’s nothing you can do other than bin the plants (don’t compost them). But as a preventative measure you can spray plants with fungicide such as Bayer Fruit & Vegetable Disease Control or Bio Dithane 945 before blight strikes.
Watch out for tomato moth caterpillar!
It pays to check your plants around August time for pests, I returned home from a few days away to find that my greenhouse toms had been almost defoliated by a pest with a voracious appetite. Crumbly brown chunks of poo on the floor, and on staging, were tell-tale signs that something was seriously amiss. And it didn’t take long to track down the culprit: the tomato moth caterpillar.
As fruits are already ripening, you don’t want to spray with chemicals, so you need to hand-pick the caterpillars, and cut out damaged foliage (and binning the waste, not composting it, to avoid spreading the beasts around).
You will then need to give your greenhouse a good clean out, but you maybe removing plenty more caterpillars over coming weeks. The babies hide under leaves and in empty plant pots, tending to come out in early evening and at night when temperatures are cooler. So keep checking plants carefully before dusk.
By Marc Rosenberg
Find more tips, advice and articles like this at Amateur Gardening.