Claire Gill from Marshalls Garden explains how to grow garlic, onions and shallots and keep them safe from problems
Every kitchen should have a fresh supply of alliums. The likes of onions, shallots and garlic add such intense flavours to a huge range of home-cooked dishes. Growing them is a pleasure and simple to do if you follow these guidelines for your own harvest of delicious and versatile vegetables.
Planting sets and cloves will give you a great harvest, but can be slow to establish and birds do like to pull at them to get to the earthworms below, which have been attracted by the explosion of microbial activity in the rootzone. Using pre-rooted sets and cloves therefore can get the plants off to a quicker start, leading to larger and earlier crops – and they are harder for the birds to pull up too!
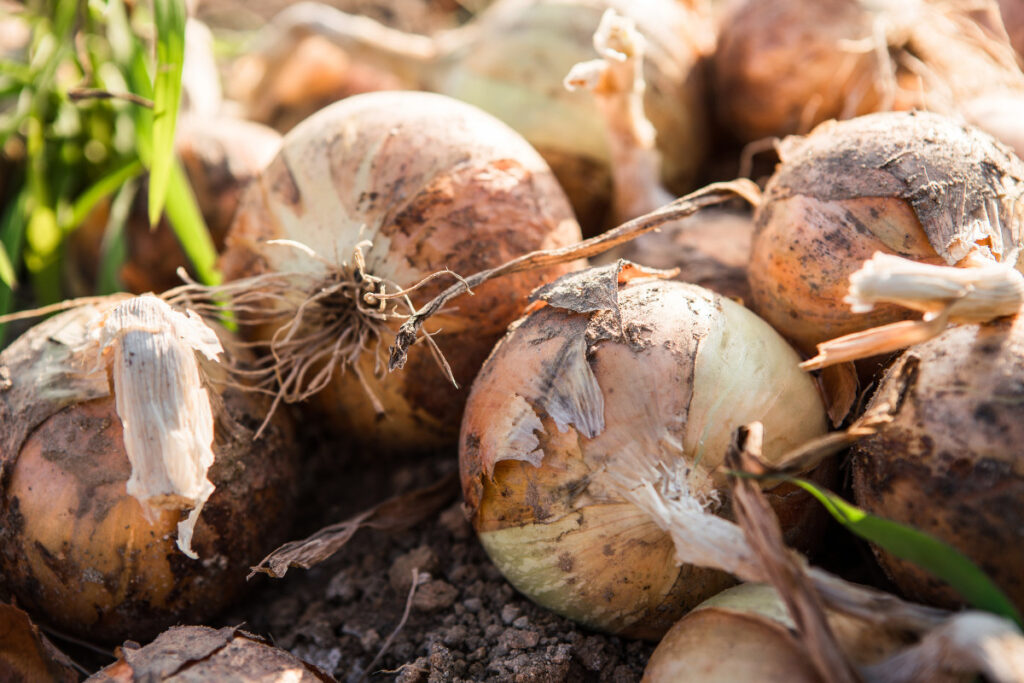
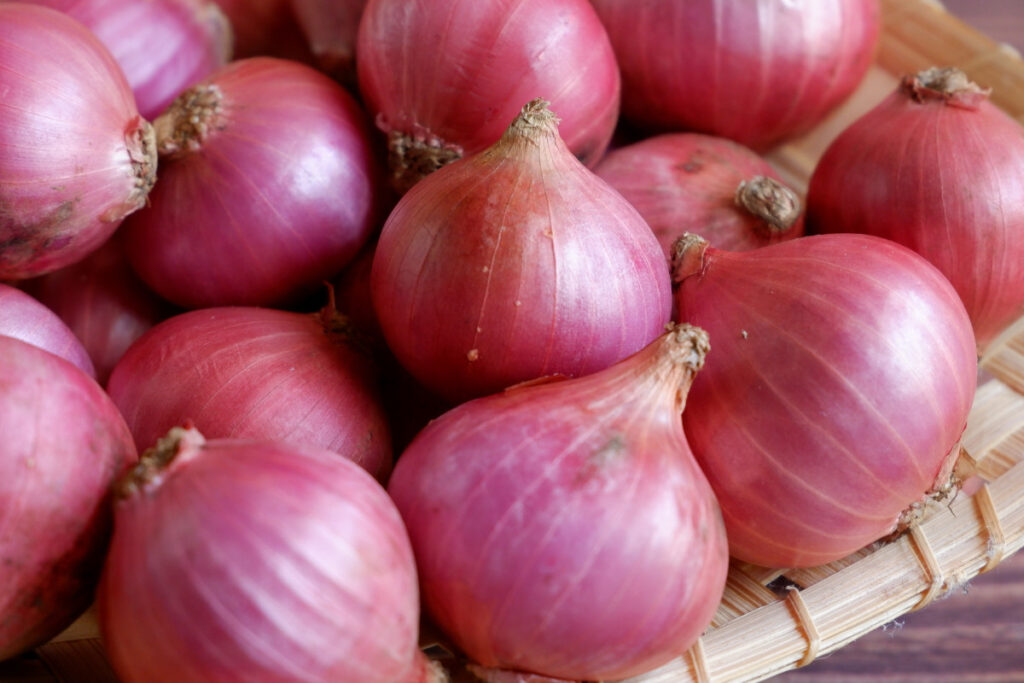
STEP ONE – prepare the soil
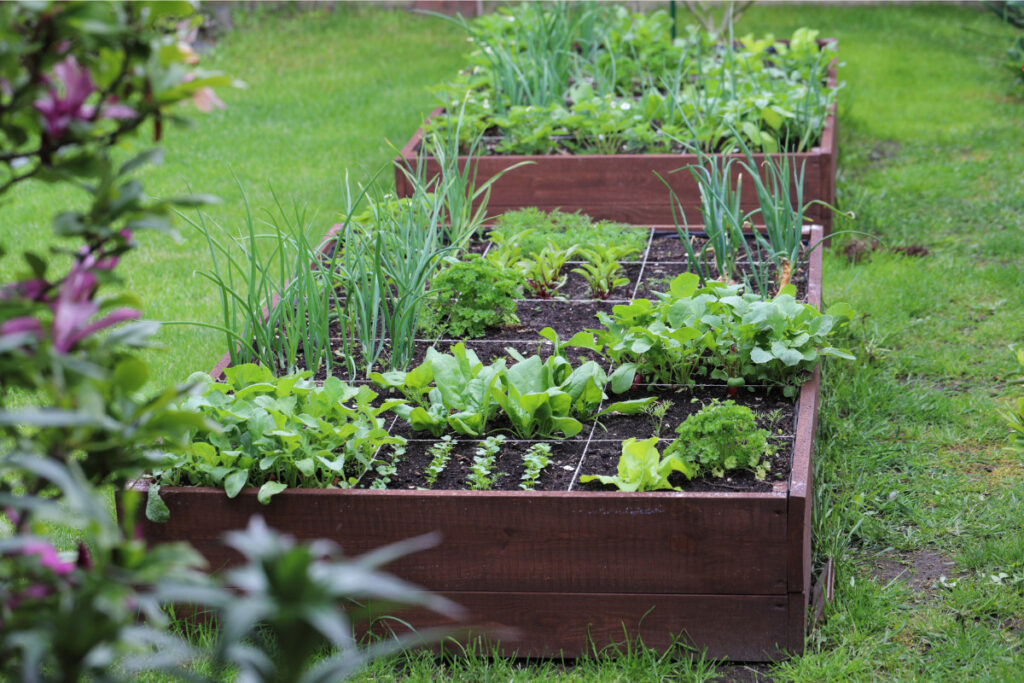
Onions, shallots and garlic prefer an open, sunny site and light, free-draining soil. If you garden on heavy soil, add a generous amount of grit and organic matter into the planting area to ensure better drainage. Avoid planting in very heavy or freshly manured soil. Onions are sensitive to acidity, so if you have acid soil add some garden lime to the area well before planting, or a proprietary pre-planting onion, shallot and garlic fertiliser.
STEP TWO – time to get planting
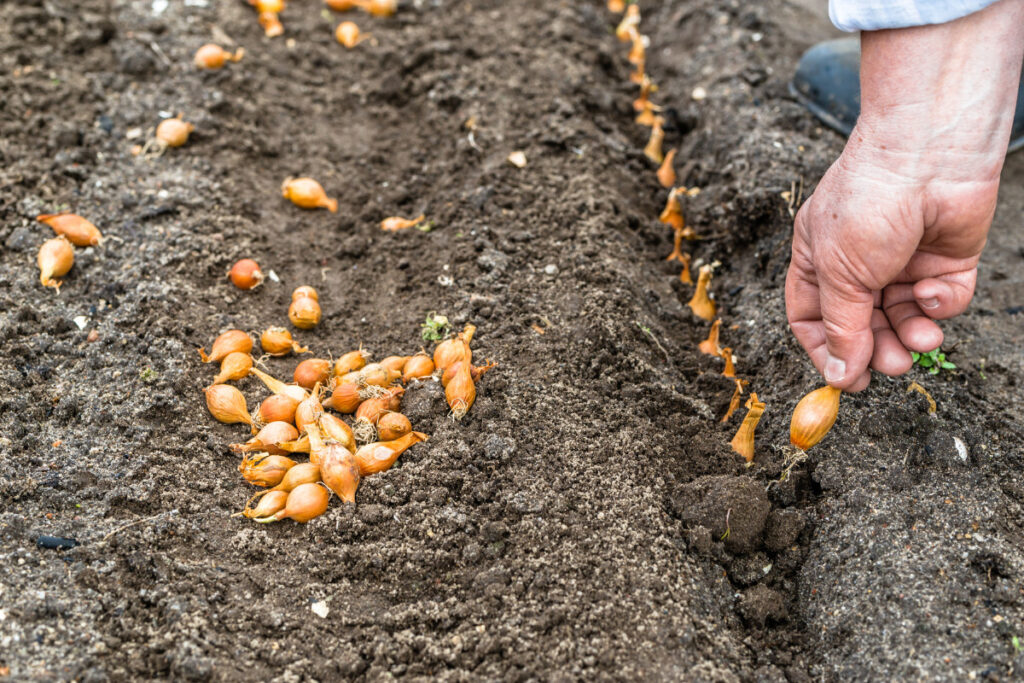
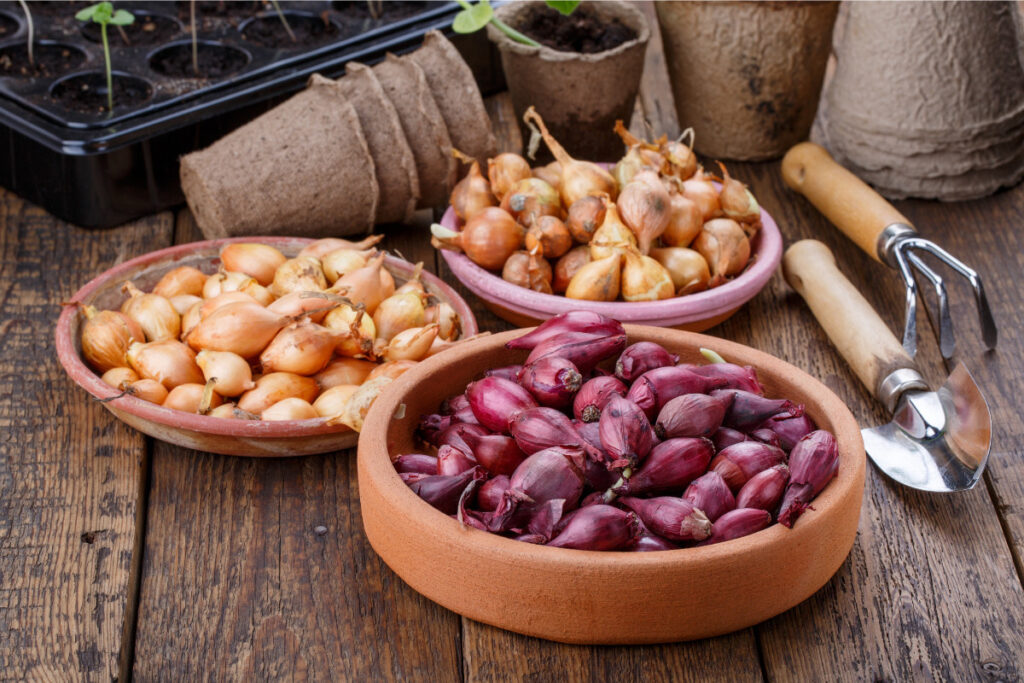
Both autumn and spring varieties can be planted straight outside into prepared soil. Loosen the soil and dig in some pre-planting fertiliser for added nutrients.
Plant onion and shallots with the tips of the sets showing at the soil surface. Onions should be spaced 5-10cm (2-4in) apart with 25-30cm (10in to 1ft) between rows, and shallots 15-20cm (6-8in) with 30-45cm (1ft to 18in) between rows.
Garlic cloves should be planted so the tip of each clove is 2cm (1/2in) below the soil surface. We suggest leaving 15cm (6in) between individual cloves and 30cm (12in) between rows. Plant pre-rooted plugs deeper than the plug they are grown in.
STEP THREE – ongoing care
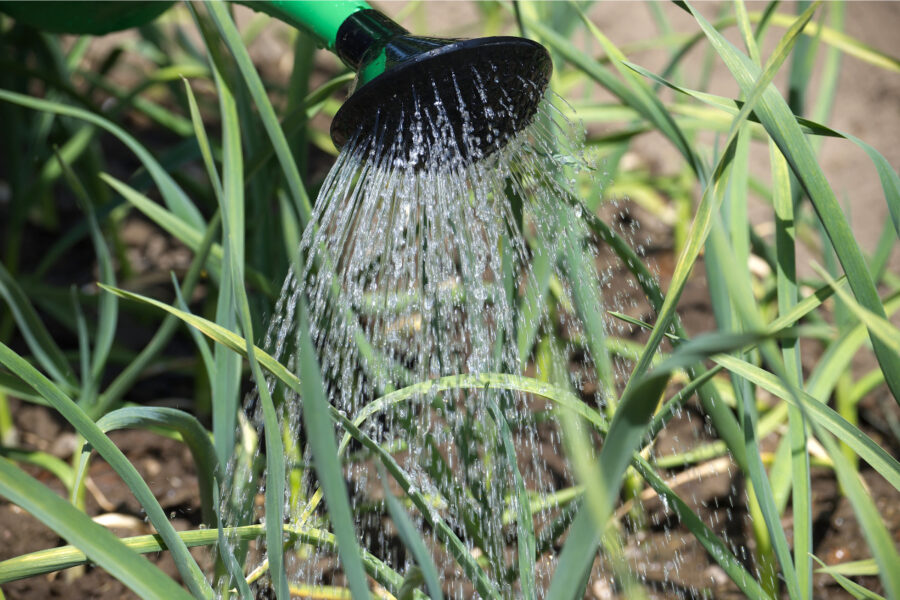
During the growing season, water your sets if the weather is dry, give an occasional feed with a general liquid fertiliser and keep the area weed free. Keep watering towards harvest time, as the bulbs can almost double in size in the last four-six weeks before harvest.
You might not know, but hardneck garlic varieties may produce a curly flower stem (commonly known as a scape) and cutting this off can increase the bulb size. The scape has a fresh, garlicky flavour that is absolutely perfect for use in stir fries.
STEP FOUR – harvesting tips
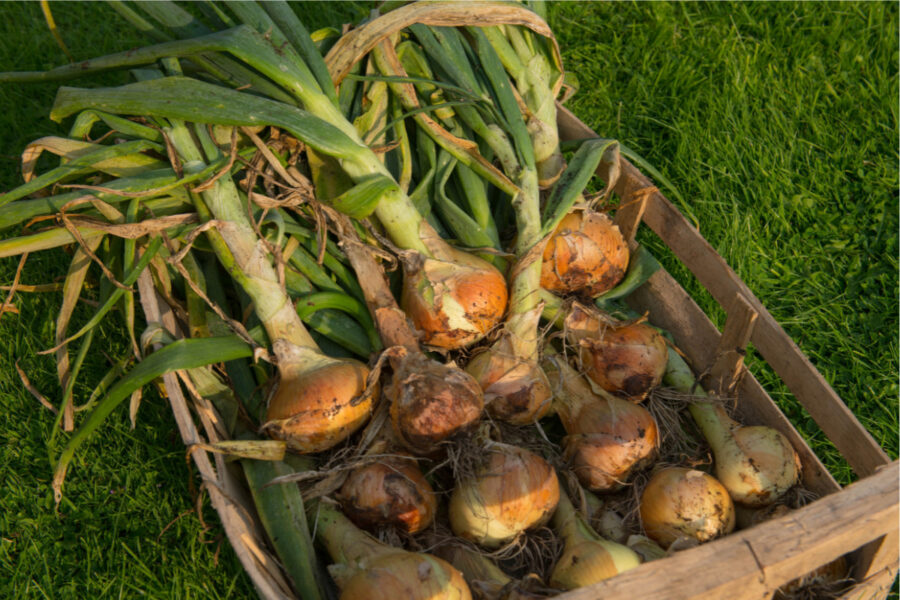
Onions and shallots can be lifted fresh in summer as soon as they reach a usable size. However, if you’re harvesting for storage we recommend waiting until the foliage bends over and dies down naturally before lifting.
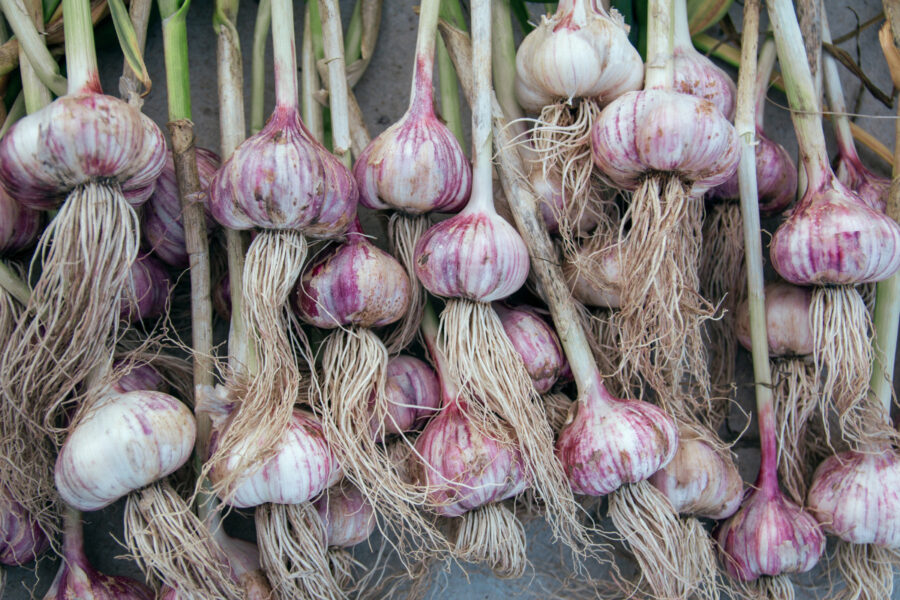
When harvesting garlic, we’ve found that a good indication is when their foliage starts to turn yellow and wither. Use a fork to gently remove the bulbs from the ground.
To lift, simply ease your bulbs out of the ground and allow them to dry outside for a couple of weeks (if the weather is fine) or in a well-ventilated greenhouse or shed.
STEP FIVE Storing safely
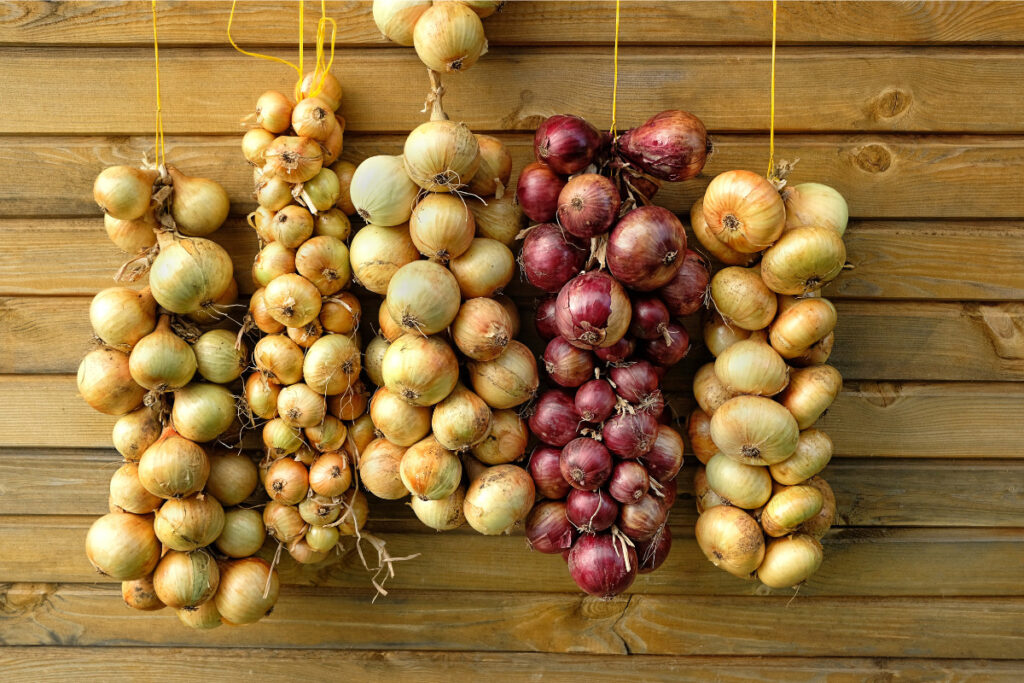
Onions, shallots and garlic are ready for storage when the skins are completely dry and papery. They should be kept in a light, cool and well-ventilated place. Onions can be braided into long bunches and hung up to improve length or harvest and look great too.
Pests and Diseases
Onions are prone to various fungus-borne diseases, so we recommend changing their growing position each year so you’re not planting in contaminated soil. Some of the most common pests and diseases are:
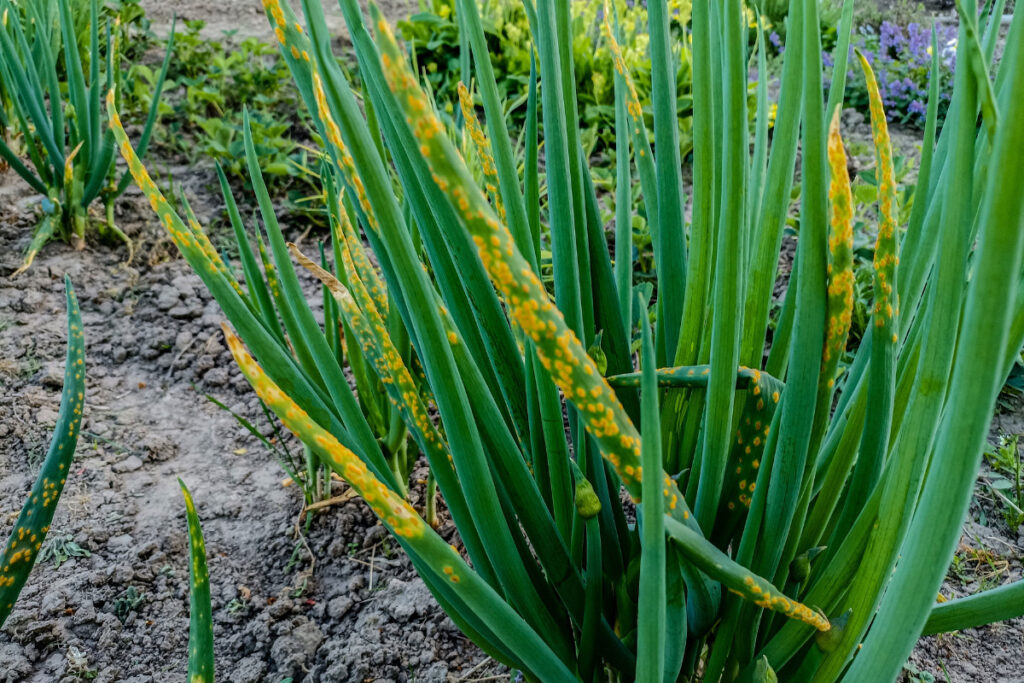
Rust disease
Rusty spots form on infected leaves and break open to release dusty, orange airborne spores. Severe attacks may cause the leaves to shrivel prematurely and will reduce vigour. There is no solution or cure to rust disease so we recommend keeping a close eye out for the signs and removing and destroying any infected plants to prevent it spreading. Do not compost removed plants.
Onion white rot
The leaves start to turn yellow and wilt, which prevents the bulbs from forming properly. A good way to tell if the bulbs have been infected is they will have white, fuzzy spots. Again, watch for rot and remove any infected bulbs to prevent it spreading.
Onion fly
The leaves will start to wilt and turn yellow, preventing the bulbs from developing. Onion fly can affect garlic and leeks as well as onions. The larvae of onion fly live in the soil and eat the roots of the bulb, eventually burrowing into the bulb itself. Protect crops with insect netting.
Onion downy mildew
The leaves turn yellow and die off from the tip downwards. In wet weather, white mould develops on dead parts and turns darker later. Remove and destroy affected bulbs.
Onion neck rot
This fungal disease can occur in storage. We have found that to avoid neck rot, you should water regularly and stop feeding in August, and then keep your crops dry after harvesting.
Find more tips, advice and articles like this at the Amateur Gardening website. Subscribe to Amateur Gardening magazine now

