Create a memory with summer’s floral bounty
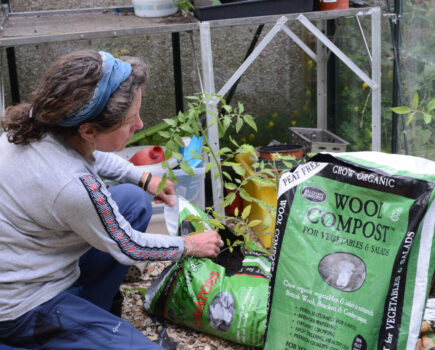
Now we’re in the depths of summer, I hope that your gardens are flourishing and throwing out an abundance of flowers all over the place. Truth be told, mine still feels a little bit behind, but there are still sufficient blooms to enjoy. The dahlias are getting into their stride (slowly!), the salvias are stunning and the geums, after being given the Chelsea chop in May, have bounced back! All of this means that there are plenty of blooms with which to fill vases around the home.
So in this issue, I thought I’d come up with a project that combines the opportunity to showcase our lovely cut flowers with an activity that’s ideal for children and grandchildren to get involved in, perfect for the school summer holidays!
More often than not my two girls are happy to get involved with gardening. But from time to time, as attentions wane, I have to get inventive with things they’ll enjoy doing. While we were outside recently, I had a flash of inspiration and came up with this little idea to keep their creative minds whirring, and the end result was rather special. I hope you enjoy making your own cardboard cut flower display.
Step 1
Find yourself an old cardboard box from your recycling bin or from your last plant shop. Decide on the size you’d like your ‘vase’ to be and cut out a rectangular piece of card big enough to accommodate it, plus some space above it for your flowers to sit in. Using a pen or pencil, draw out your vase at the bottom of your rectangle.
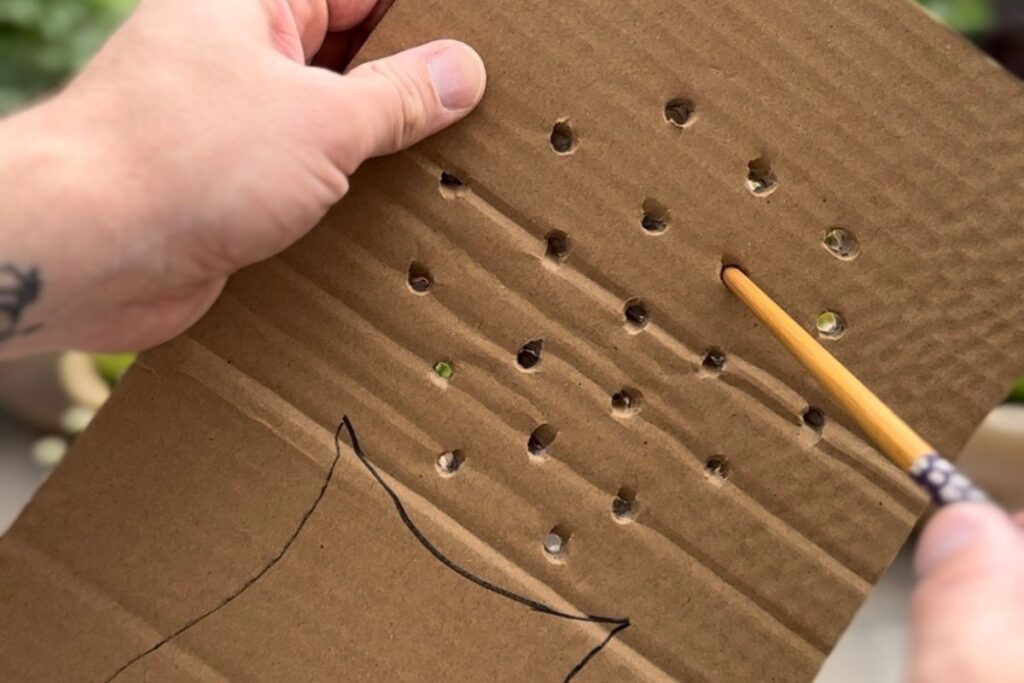
Step 2
Using something sharp or pointy, poke holes in the empty space above your ‘vase’ drawing. I ended up using a chopstick I found in our kitchen drawer, but you can use anything as long as the holes are big enough to take the stems of the flowers and plants you plan on using for your display. You could even use a pen or pencil for these holes too. Make more than you think you’ll need as you’ll be surprised just how much you can find in the garden.
Step 3
Now for the best part – find your flowers! The beauty of these displays is that no two will be the same because each time you forage for the flowers, you’ll probably come across new things. When cutting, don’t forget to try and add in some foliage too, not just flowers, because as with a conventional bouquet, foliage adds a different element and new textures and brings the flowers to life.
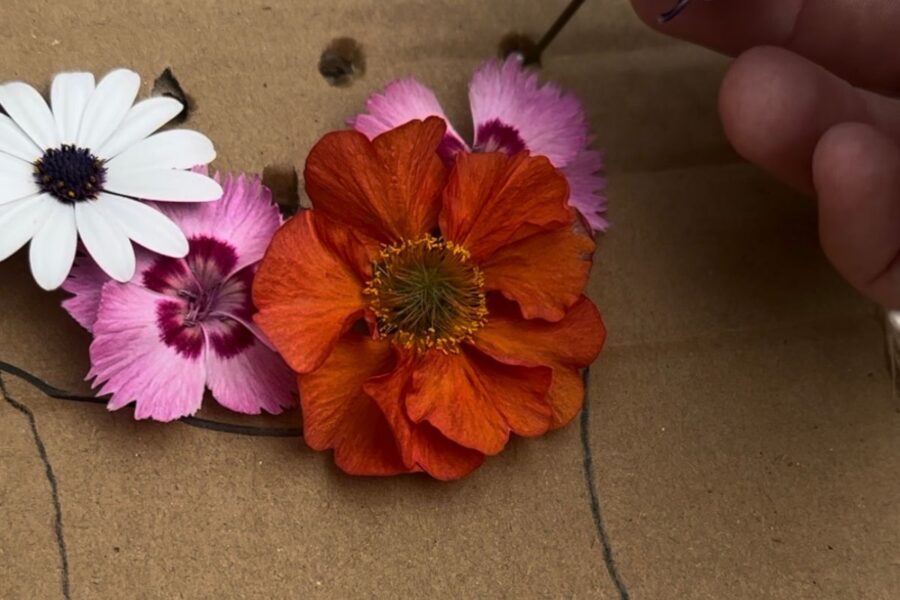
Step 4
Add your cuttings. Play around with placement and after a while you’ll have a display that you’re really happy with. As an added bonus, why not try pressing the whole display inside a thick book to create something to keep forever? We’ve made a number of these over the past few months and pressing them gives you something to look back on as a reminder of your garden at that time.
Find more tips, advice and articles like this at the Amateur Gardening website. Subscribe to Amateur Gardening magazine now