Andrew Oldham explains how to maximise growing space for next to nothing
In the past I’ve unfortunately bought plant staging that has caused me trouble. Some that has been ‘snappy’ when folding it down – with many a finger caught in its folding legs and many a four-letter word uttered. I have had staging that purports to fold narrow but attacks me like an uncoiling spring when I try to get it out of the shed.
Then there is the staging that I made myself, rough and ready affairs that used what I had hanging around, but which did the job plainly. Some of these hand-made affairs are fold-up builder’s trestle frames, which take up no room at all and in spring are put up in the greenhouse and then covered with roofing laths (battens). In the past I have used an old shed door to top them, until it crumbled away. I like to call this ‘instant staging with minimum fuss’: easy to get in and out of the greenhouse and with not a broken pane of glass or swear word in anywhere.
Making use of an old gazebo
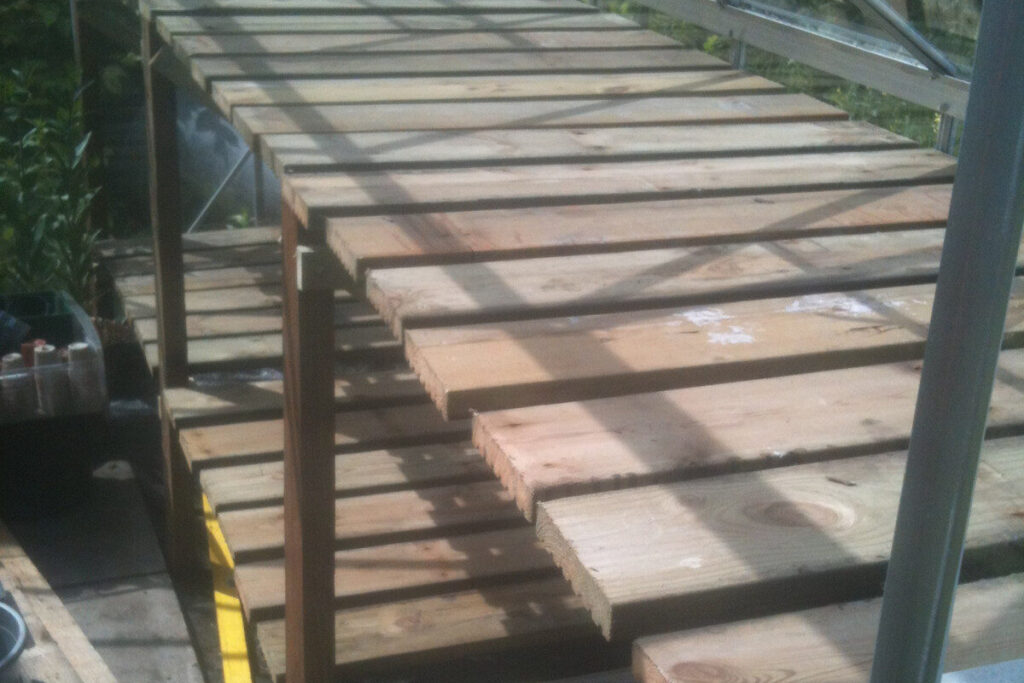
You’d think I would have stopped there, smug in the knowledge that I had reused what I had, and had fun doing it. But no, over the years I have become more adventurous. When my dad gave me his old gazebo, I decided to make my own custom-staging that would be the right height for me in the greenhouse. My carpentry skills are minimal, but even I managed to build something that I used for a decade.
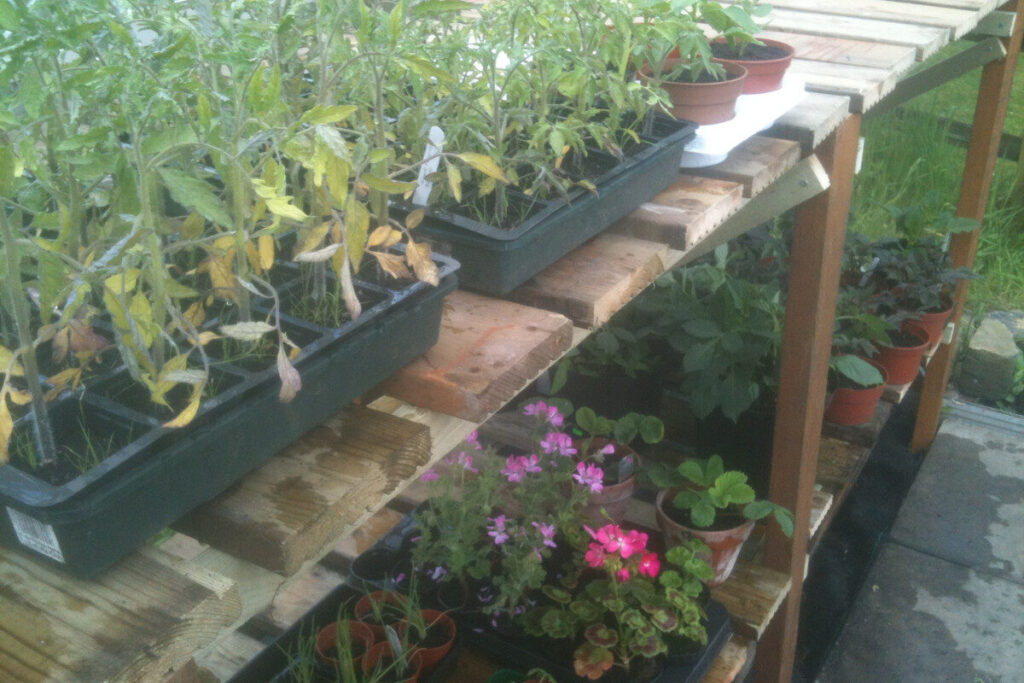
My staging was constructed from the gazebo’s decking, posts and roofing laths. I bought nothing but the screws, which cost less than £5. Preparation is key with building your own gold standard staging; always measure twice and cut once. Do a plan of the staging: it doesn’t have to be perfect, mine wasn’t, but it reminded me how long the legs would be, how wide the supports would be, and so on. The shelves were cut from the old decking and merely laid on, so I could take them off and clean them when needed.
Other easy ways to make your own staging
If that’s too much for you, there are other ways to make staging. In the past I’ve used old plastic bread trays set on top of an old bath. It did the job and lasted years. I have used an old wallpaper trestle table which I strengthened by adding additional legs in the middle after discovering the hard way that there isn’t a wallpaper table around that can take the weight of plants! So do add two legs, one on either side, screwed in so that you can unscrew them and fold the whole thing down after use.
Experiment and learn from your mistakes
The great thing about building your own equipment and not having to buy it in is the way it makes you feel and what you learn. Yes, you will make mistakes but that’s part of gardening. It’s about saving money and recycling materials. In fact, when my first attempt at staging was finished with, I didn’t have the heart to chuck it away and recycled it into more fencing and outdoor shelving.
You see, after my dad died, that gazebo staging for me was no longer about saving money. Dad was a joiner, he could do amazing things with wood that I will admire for the rest of my life and every time I reuse it, I can hear him standing beside me, saying, ‘Not bad, Andrew, not bad at all, my son.’ So, be brave, look at the things you chuck away and ask it, what can you be today?
…………………….
Jobs for the fortnight
1. Clean the greenhouse
If you cleaned inside your greenhouse over winter, it’s time to turn your attention to the outside. Do it on a sunny day and the glass will dry quickly.
2. Finish pruning roses
This is your last chance to check your roses before they grow. You want to create an open goblet shape on roses to minimise disease and allow air flow.
3. Sow wildflowers direct
There is always space for wildflowers and annuals. Make up your own mix: I have a fondness for cornflowers but there are many wildflowers out there. Rake out the area you want to sow in, remove all weeds. Then mix the wildflower seed with sharp sand. This allows you to see where the seed has fallen. Cast a handful at a time, which should do around a square metre. Then gently pat down with the flat end of a rake so that the seeds are in contact with the soil and water with a fine rose.
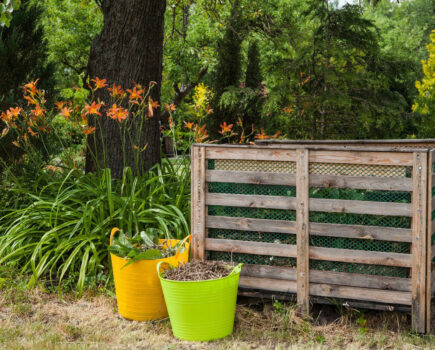
4. Find things in the rubbish that you can put to good use
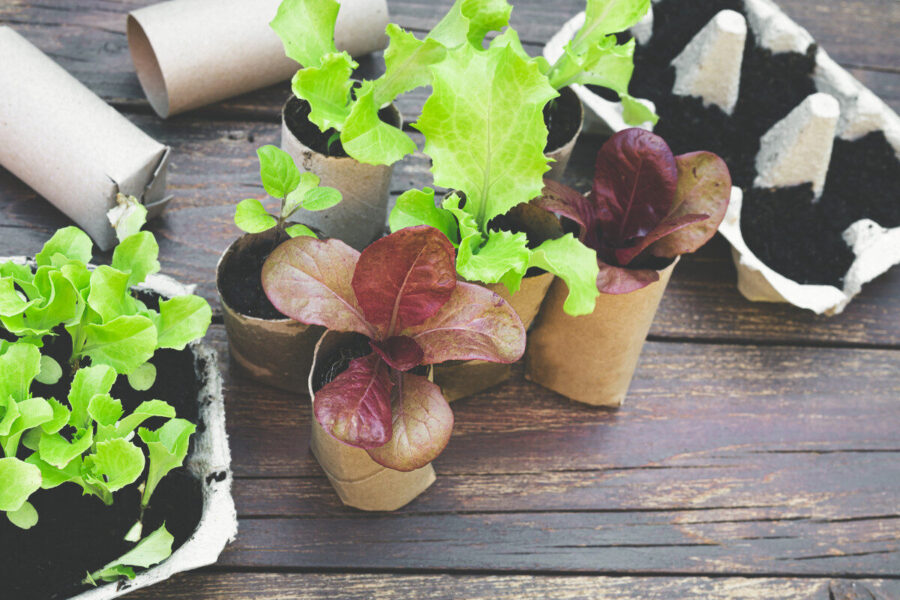
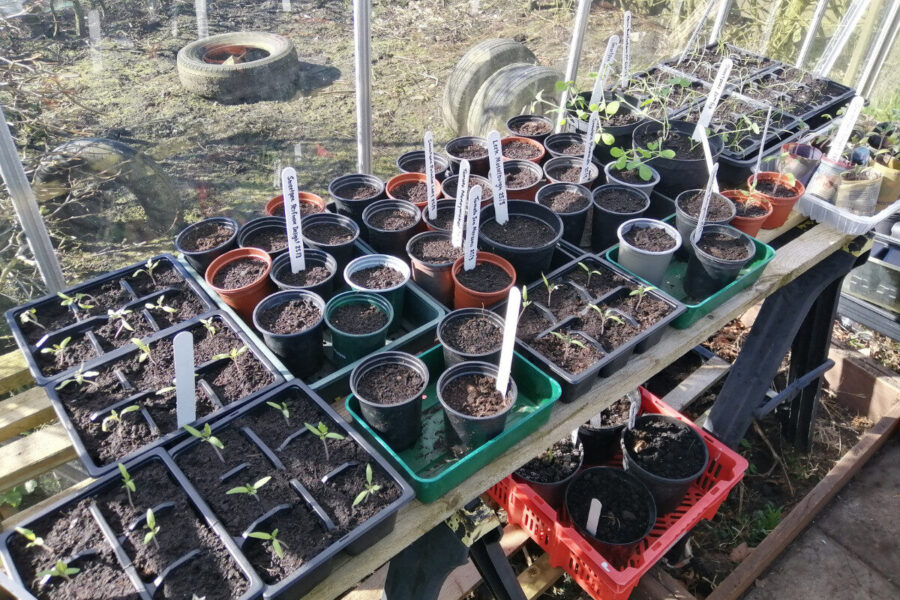
All those eggs boxes, yoghurt pots and mushroom trays have a future in your garden. Egg boxes make great seed modules, and yoghurt pots are great seed pots, while plastic bottles with the bottom cut off make the best cloches.
……………..
How to get the best from a small plastic greenhouse/coldframe
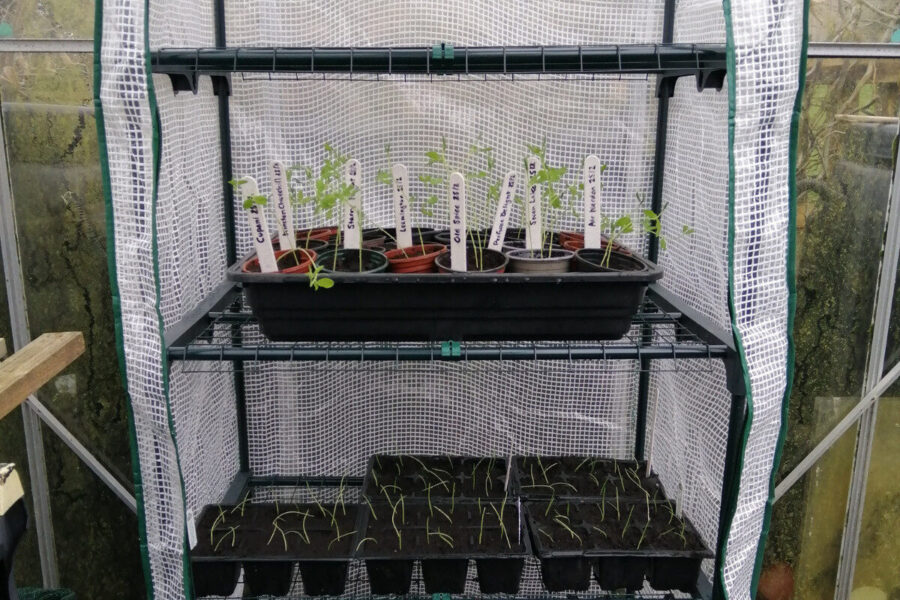
Many of us have plastic pop-up greenhouses and many of us bemoan the fact that the slightest wind blows them away. There are a number of ways to stop this but the best one for me is to place some kind of weight on the bottom shelf. Better still, if you have a greenhouse, put the pop-up plastic greenhouse in there. It becomes a warm area in your greenhouse to start seedlings off and frees up those windowsills.
……………..
Future thinking
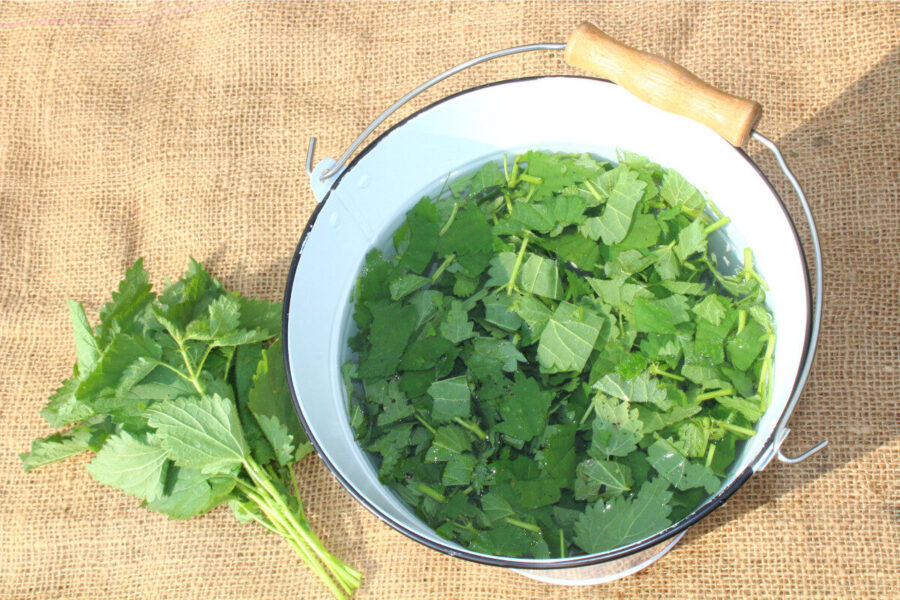
Start your plant-feeding teas, using everything from nettles to manure. What are you waiting for? The nettles have a head start, so don your gloves, grab your shears and get cutting.
There shouldn’t be any seed at this time of the year and the nitrogen-rich growth can go straight into a bucket of water to steep for a month and give your young plants a tonic.
BIO
Andrew Oldham is a self-sufficient(ish) gardener who believes in the joy of down-to-earth growing and cooking. He lives high on the Saddleworth hills with his family at Pig Row. Find him on all social media platforms as @lifeonpigrow
Find more tips, advice and articles like this at the Amateur Gardening website. Subscribe to Amateur Gardening magazine now