It’s easy – and free – to make compost at home which is ideal for improving the soil in your borders, veg plot or allotment. And it’s a great way of recycling; cutting down on the amount of waste that would otherwise end up in landfill.
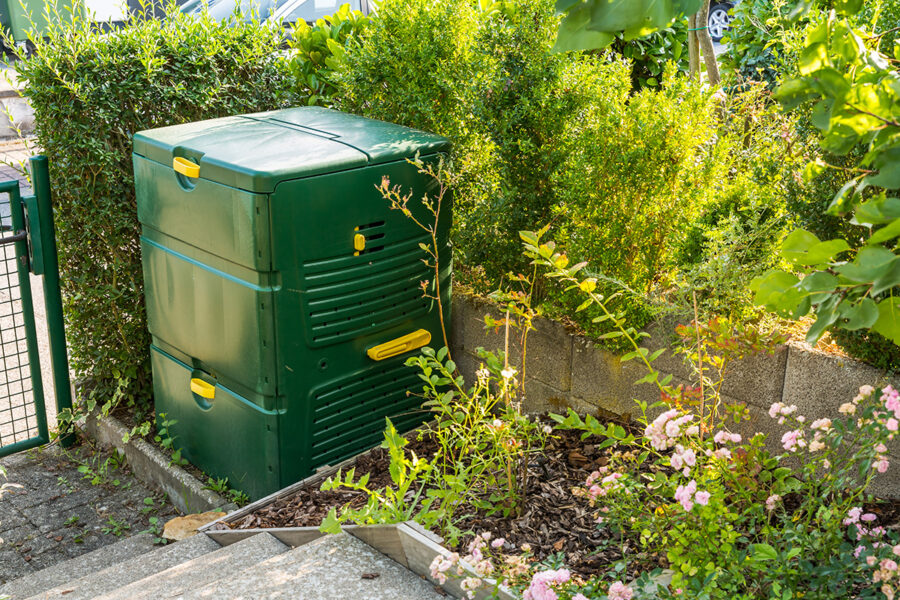
The easiest way to start composting at home is to invest in a compost-maker. Most garden centres will stock two sizes: 220-litres or 330-litres. The golden rule is to buy the biggest that you can afford and your garden can accommodate – it’ll fill up faster than you think!
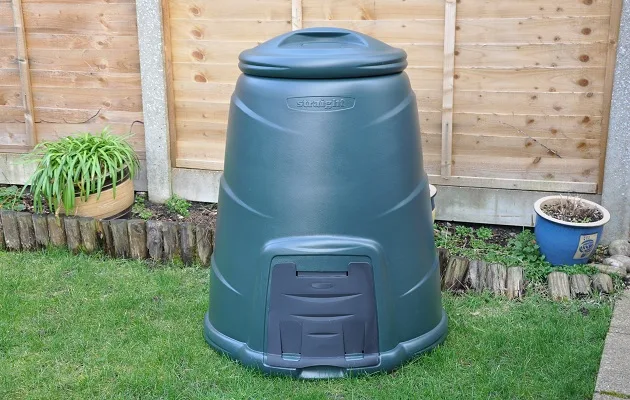
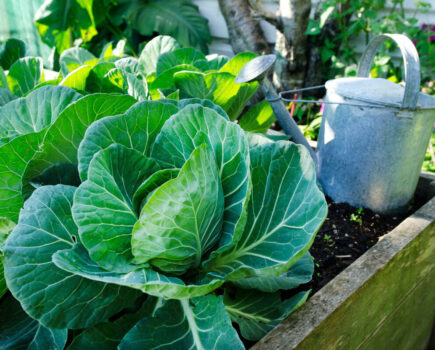
For best results, sit your compost maker in a sunny position on well-drained soil. If that’s not an option, these plastic composters can be placed on concrete or hard surfaces (not decking, as it will rot). Simply place a layer of soil under the compost maker if you’re putting it on a hard standing. A bit of kitchen waste or manure placed on top of this loose earth will help to attract worms and micro-organisms, which will help turn the garden waste into compost.
So what can go in the compost bin? Grass cuttings are a good start, along with leaves, prunings (chop them up small) and evergreen clippings.
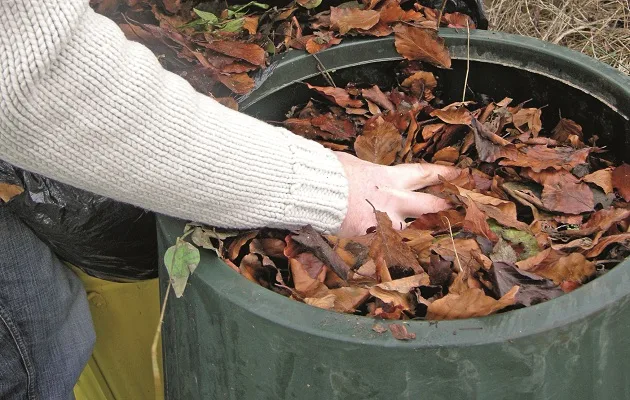
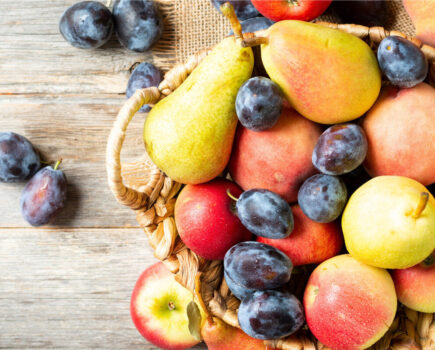
Vegetable and fruit peelings from the kitchen are fine, as are tea leaves, coffee grounds and crushed egg shells. You can even add small amounts of paper and soft cardboard, but ideally it should be shredded or scrunched-up.
Mix all ingredients thoroughly though – large amounts of any one ingredient can slow or stop the rotting process.
Some items must be avoided. Never put cat or dog waste into the compost bin, and take care to avoid introducing hard objects such as stones or bits of plastic. Anything treated with chemicals is a no-no, as is meat (cooked or raw), as this can attract rodents which are a pain if they set up home in your compost. Fish and dairy products are not recommended either.
Occasional turning of the rotting material in the bin (use a garden fork) will speed up composting, and don’t let it dry out – you may need to add a bit of water in very hot weather. Always keep the lid on.
The compost is ready when material at the bottom is brown and crumbly (lift the flap to have a look). In early-spring or late autumn, dig it into the soil, where it’ll act as a slow-release fertiliser. It can be used as a mulch, too – spread several inches deep on the soil surface where it’ll gradually release nutrients into the soil, and it’ll help prevent weeds from growing as well.
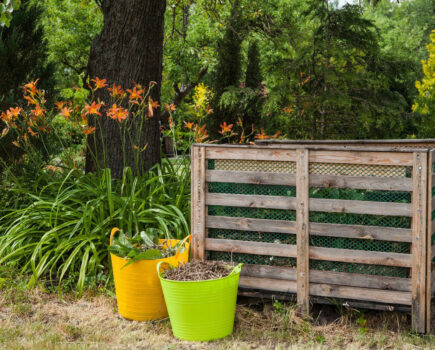
Of course, you don’t have to buy a composter. You can make your own out of old pallets or bits of wood – or even four tree stakes hammered into the ground with strong chicken wire wound around them. Whatever option you choose, it’ll be good for your garden – and the environment.
Find more tips, advice and articles like this at Amateur Gardening.