Chris Collins, Garden Organic’s Head of Horticulture shows you how to save money and make your own easy worm bin
Compost creatures have always fascinated me – and none more so that the humble worm. In a compost bin, these are not earthworms however, but smaller, redder ‘brandling’ or composting worms (Eisenia foetida). And they do a fantastic job of turning your kitchen waste into a valuable and free soil conditioner.
If you don’t have space for a compost bin, a wormery is an ideal way to recycle small amounts of food waste all year round. Worm composting relies on worms consuming organic material and breaking it down in their gut, and it’s these ‘worm casts’ that become nutritious compost for your garden.
Ready-made wormeries are purpose built and come complete with taps to siphon off the liquid feed, but they can be expensive. So why not have a go at making your own?
How to get started
All you need is three stacking trays: the top one for adding material, the middle one for the worms and for processing, and the bottom to collect the excess liquid. Simply drill holes every few centimetres in the top two trays (sand around the holes so there’s no sharp edges). And place the third tray (with no holes) on the bottom. Cover the top tray with five double sheets of newspaper, and this will stop the worms leaving the tray until they get used to it.
A wormery needs 1,000 worms
Now you just need worms! Composting worms can be bought from fishing shops and specialist suppliers but if you already have a compost heap, or a neighbour has one, you can also transfer them. You need about 1,000 worms (500g).
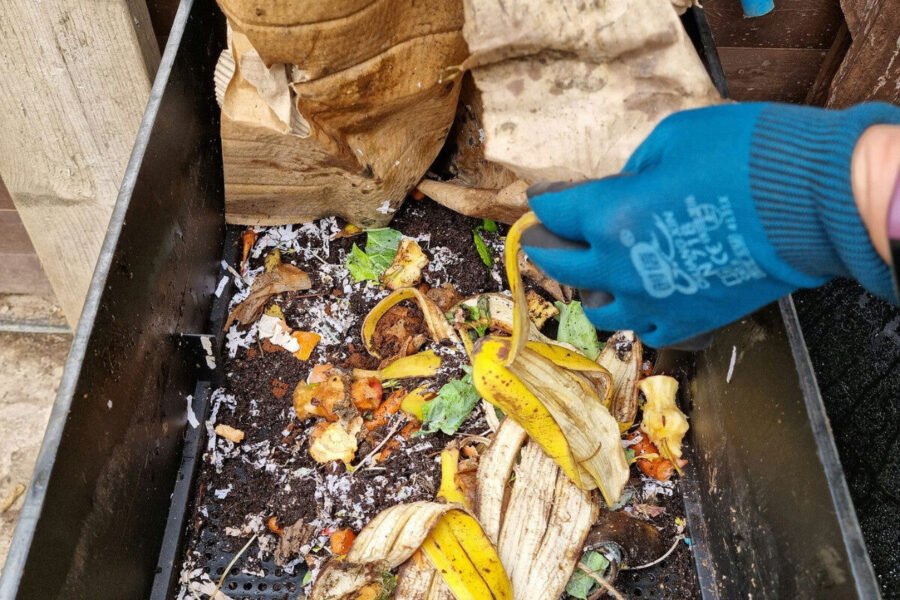
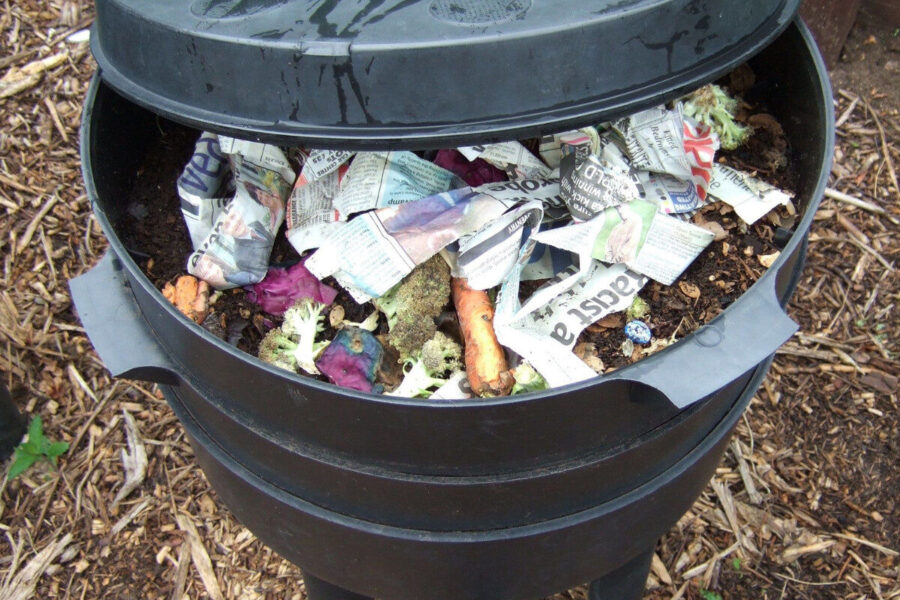
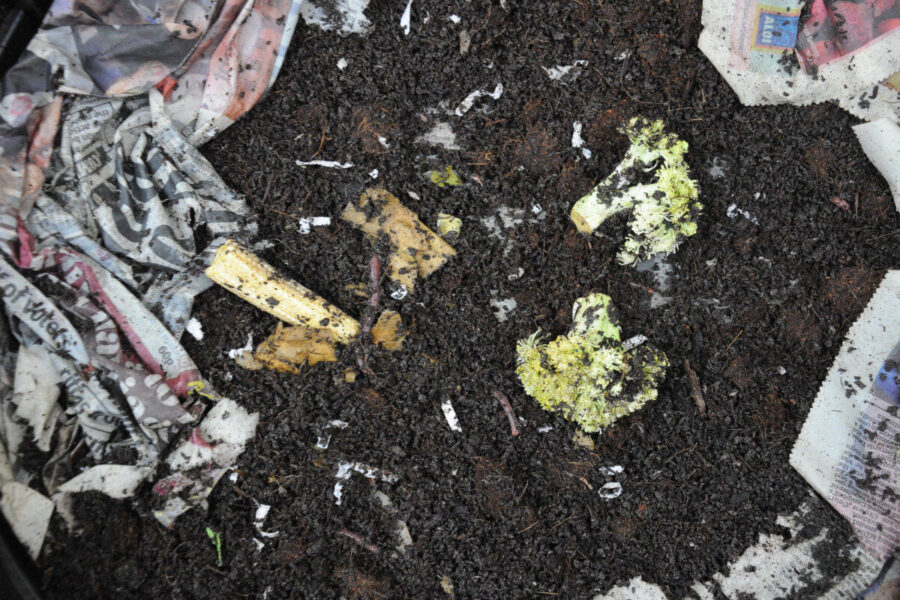
Once they’ve acclimatised to their new home, simply start adding materials to the top tray as you would a compost heap. This needs to be a mix of kitchen scraps, as well as eggshells, and torn paper/cardboard.
In no time at all, you’ll be benefiting from this nutrient-rich ‘vermicompost’. You can use it as a top dressing on veg beds and containers (houseplants love it) and don’t forget to siphon off that valuable and free ‘worm tea’ fertilisers too!
………..
Question & Answer
Q. What can I put in a worm bin?
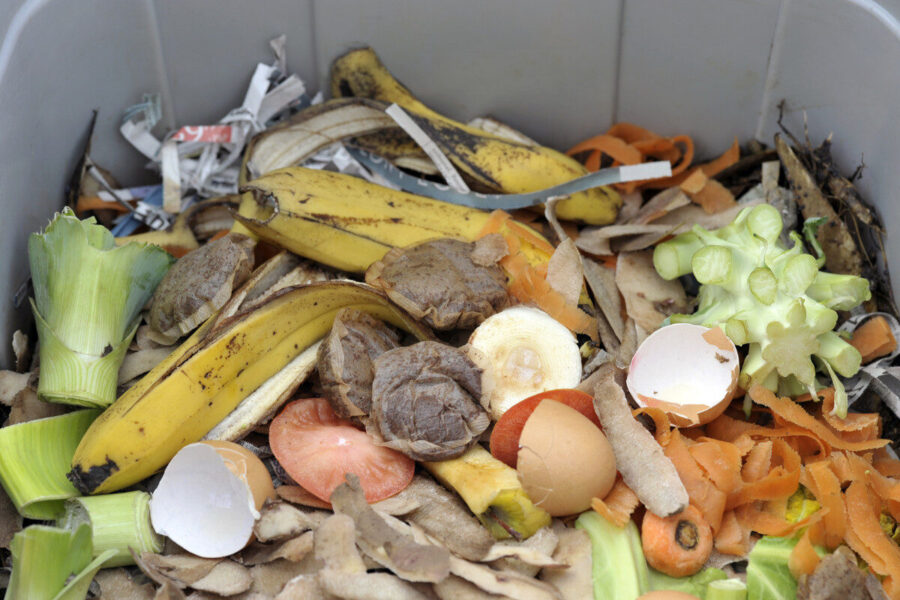
A. My favourite worm foods include vegetable peelings, tea leaves, eggshells, pasta, soft plant waste and coffee grounds. Paper is important for creating air pockets. Avoid onions and citrus, as these can turn the wormery acidic, and leave out cooked food and dairy products as this can attract flies and rats.
Q. Where is the best place for my wormery?
A. Worms prefer a bit of shade, so pop it in a sheltered spot away from direct sunlight. In the winter, you can move it into a warmer garage/shed or porch/balcony. Luckily, a healthy wormery doesn’t smell!
Q. How often should I be adding to my wormery?
A. It’s best to leave the wormery for two weeks to let the worms get used to their new home, then add food every couple of days. The ideal temperature range is between 12-25C. Wormery contents should feel damp, so add or remove paper to suit conditions.
For more advice on organic gardening head to www.gardenorganic.org.uk, where you can also find out how to become a member and support the charity.
Find more tips, advice and articles like this at the Amateur Gardening website. Subscribe to Amateur Gardening magazine now