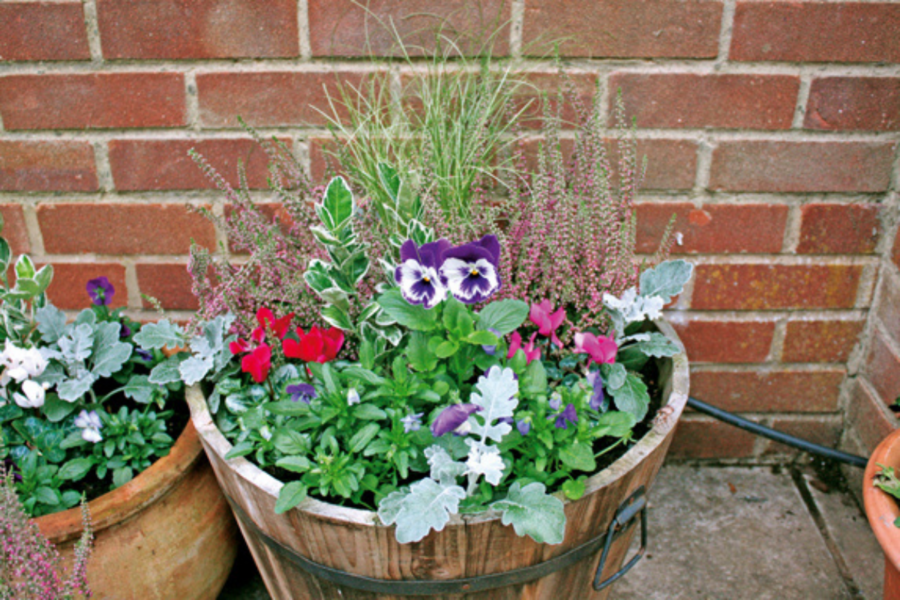
We show you how to plant large winter containers in this simple step by step guide.
Follow our simple guide to planting winter containers:
The plants we used:
1 x Carex ‘Frosted Curls’, 1 x Euonymus ‘Emerald Gaeity’, 2 x heather, 2 x pot cyclamen (red and white), 3 x cineria, 2 x viola, 1 x pansy.
The best time to plant your winter container is Autumn or early winter.
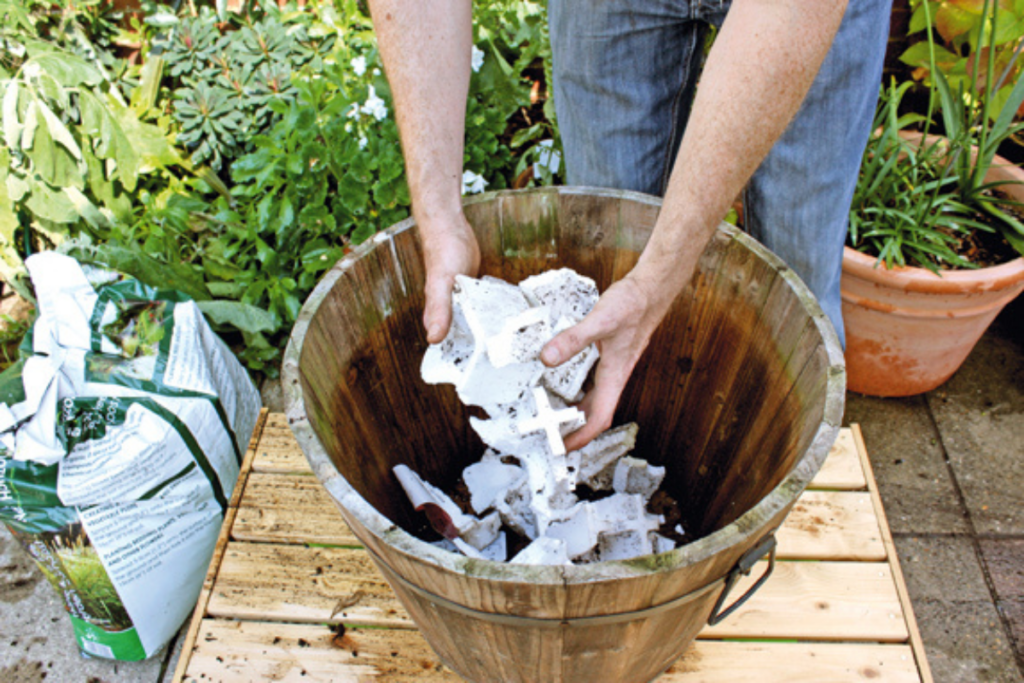
Step 1) All winter containers should have drainage in place to prevent plants sitting in wet. I’ve used broken up polystyrene plant trays. If possible, also raise the pot on feet or bricks for increased drainage.
Step 2) Mix some slow release fertiliser with multipurpose compost and part fill your pot, gently firming in as you go. Place the largest rootball (in this case, carex), teasing out any dense roots
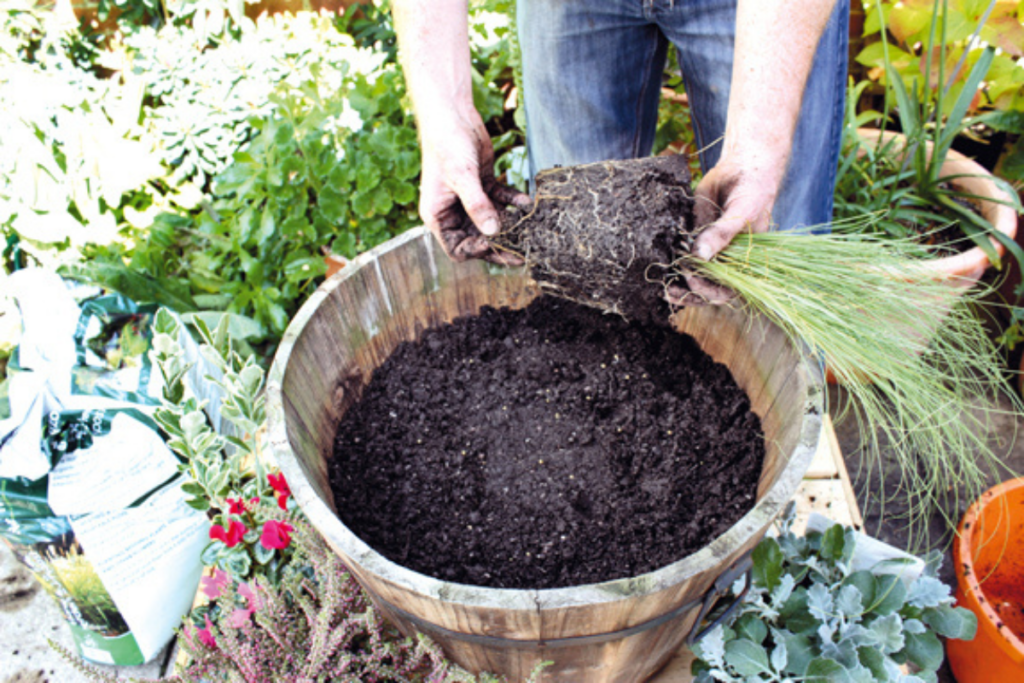
Step 3) With your ‘backbone’ plant in place, experiment with the layout of other plants before committing to planting. Aim for a good contrast between the foliage and flowering plants.
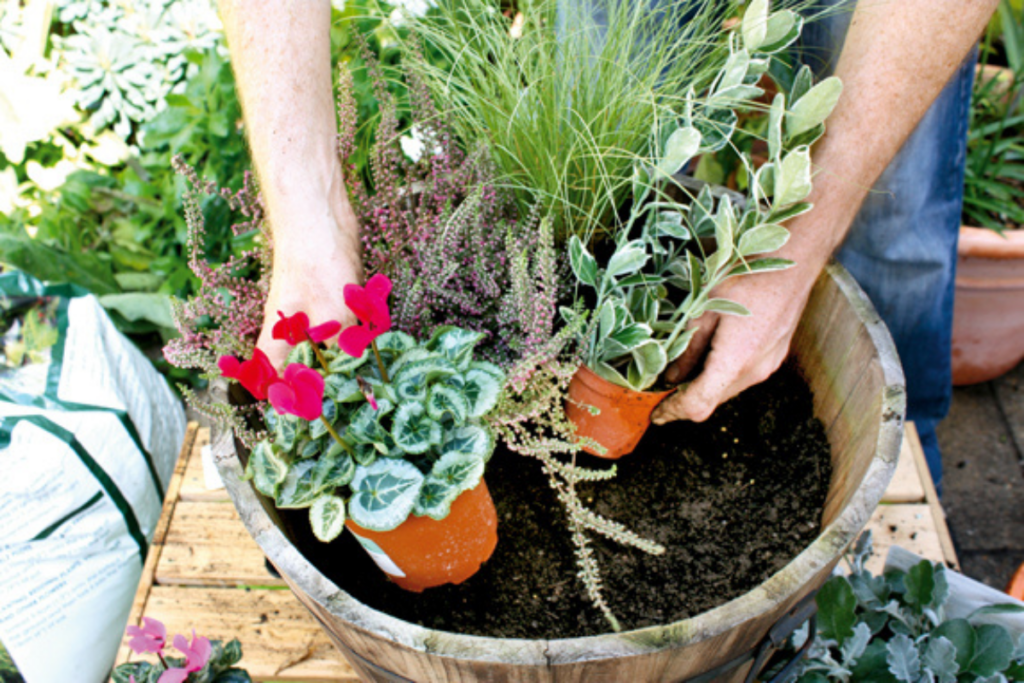
Step 4) Work from one side of the pot to the other. Rather than fill the pot with compost and then dig out planting spaces, place individual plants, pack around the rootball and repeat with each plant.
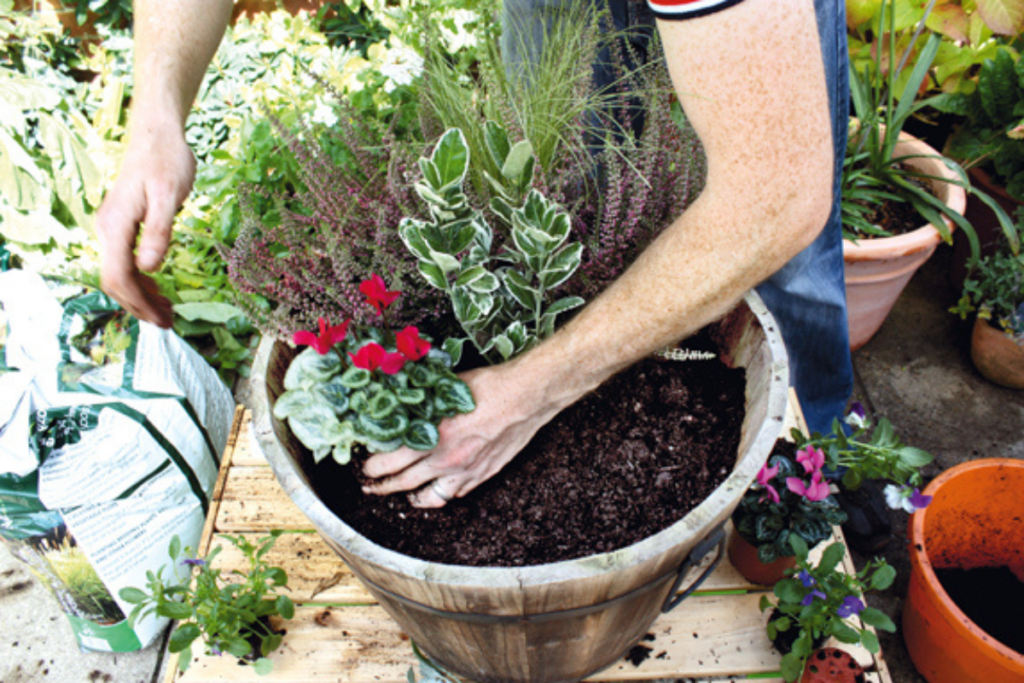
Step 5) With all plants in place, slightly lift the pot and drop it a few time to settle in the compost and knock out any air gaps. If hollows appear top up with more compost to get a level surface.
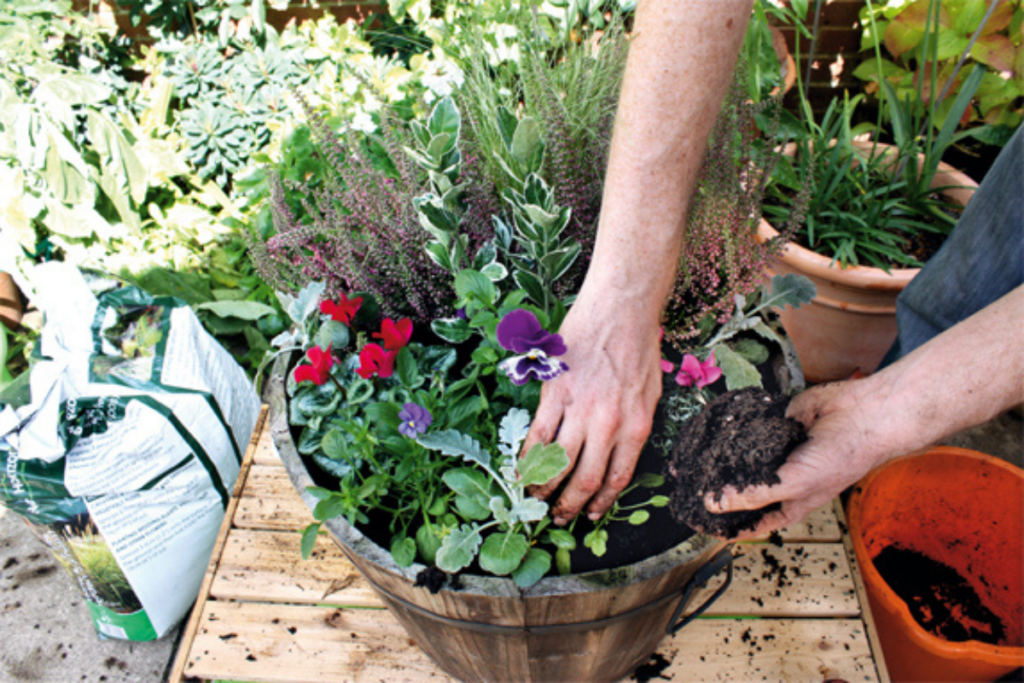
Step 6) If temperatures and light levels are still high moving further in to autumn, keep the pot in a cooler, shadier spot to prevent quick growth. Water regularly, but let compost nearly dry out in between.
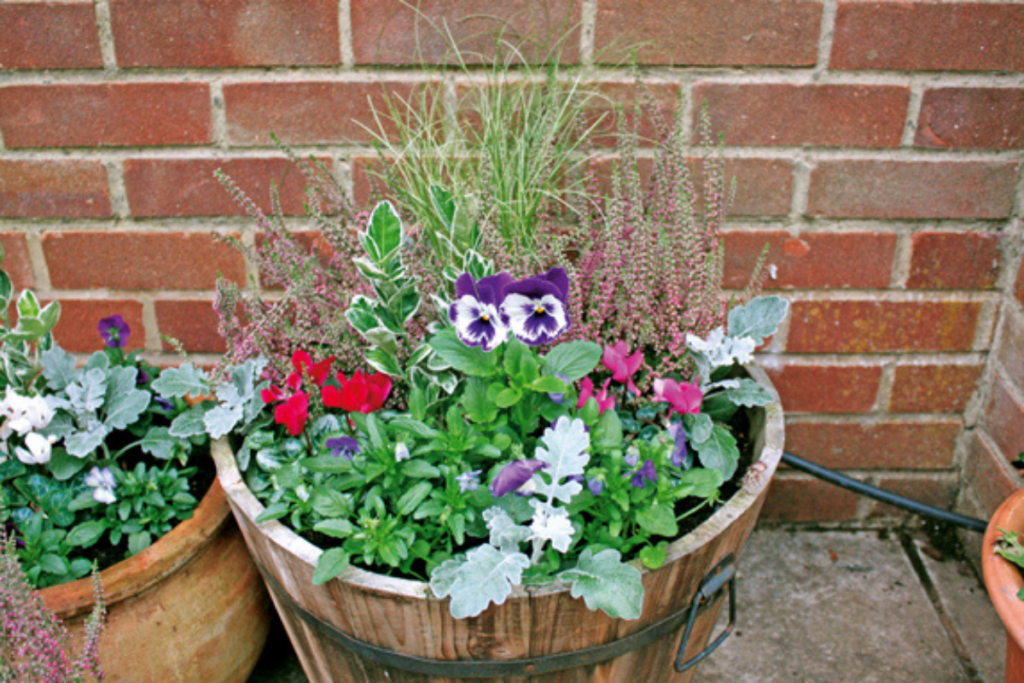
And there you have it stunning winter containers.
Find more tips, advice and articles like this at the Amateur Gardening website. Subscribe to Amateur Gardening magazine now.

