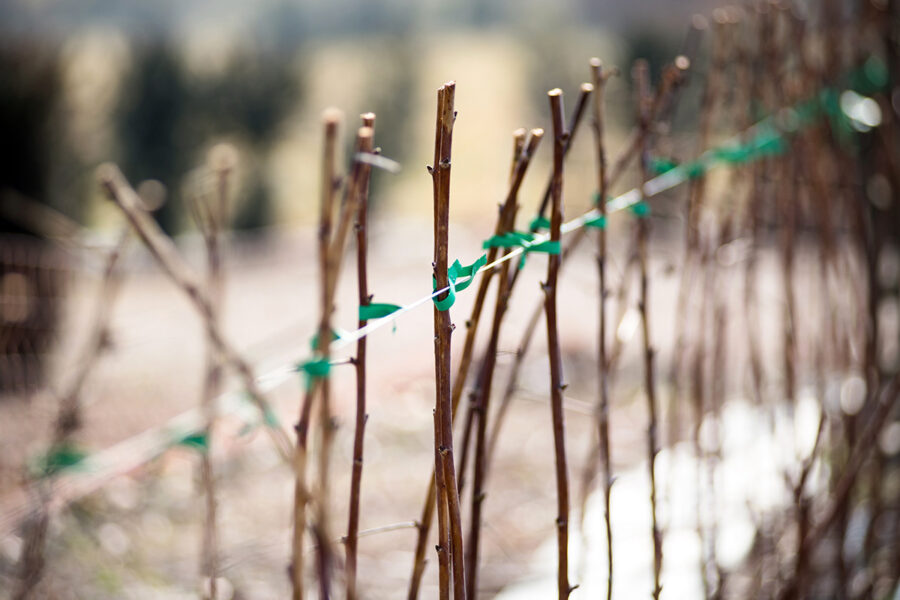
If you’re after a quick fix, where results outweigh the initial work you put in, follow the steps below for planting raspberry canes in November, for a bumper crops next year. We show you how to plant raspberry canes in this simple step by step guide.
Step 1) Dig a trench 1ft (30cm) deep and 3ft (90cm) wide. Add a 3in (7.5cm) layer of compost. Mix sand with the dug out soil and replace. Sprinkle on a layer of general fertiliser such as growmore on top and fork in
Step 2) Remove canes from the pot and knock compost from the roots. Gently tease roots apart to separate canes. The white ‘mould’ you may find is actually beneficial mycelium and will help your canes to establish
Step 3) Dig a hole large enough to accommodate the root system. Set the cane in place, back-fill and firm in. Leave 14-18in (35-45cm) between canes when planting rows. Cut a stick to use as a quick and easy spacer
Step 4) As with any newly set plant, canes will need a good watering to settle them in place. Use a hose or watering can and spray individual canes until a good pool of water forms around them
Step 5) New canes will benefit from a good layer of nutrient-rich mulch. Well-rotted manure or compost are ideal. I’m using the leaf mould made from last year’s autumn leaf fall
By Emilie Keen
Find more tips, advice and articles like this at Amateur Gardening.


