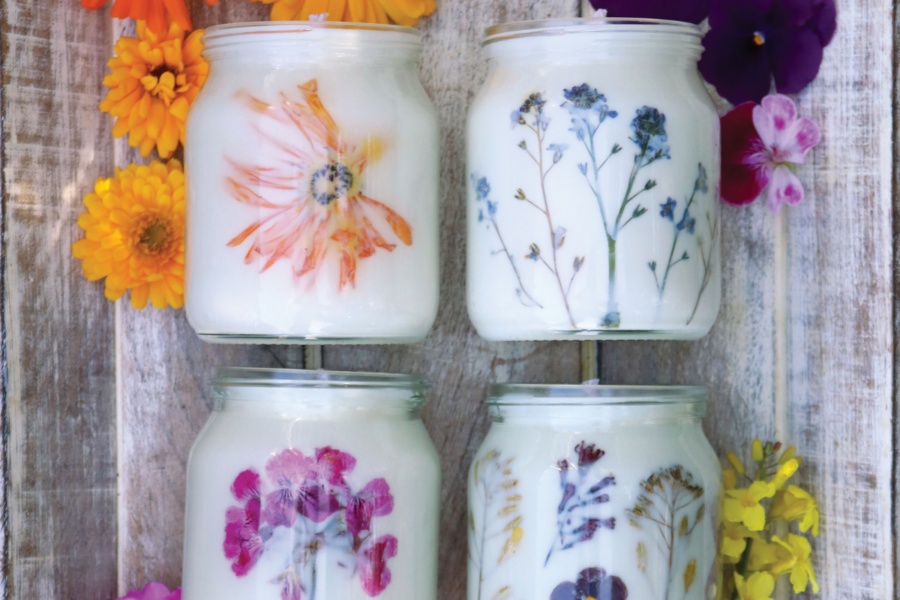
Author, Tanya Anderson explains how to make these attractive presents.
MAKING PRESSED flower candles is a creative project that preserves blossoms from the garden in a beautiful and useful way. After drying the flowers, the project takes about an hour, and you can begin using the candles immediately after they’ve cooled. They burn softly, and as the wax melts and becomes translucent, the dried flowers stand out even more.
Choose colourful and thin-petaled blossoms for visual impact, quickness in drying, and safety. Woody stems and thicker pieces are not suitable for this project.
Pick flowers late in the morning, when they’re dry yet still perky.
MATERIALS FOR TWO CANDLES
Colourful, thin-petaled flowers
4½ cups (560 g) soy or rapeseed candle wax
2 (16-ounce [475 ml]) glass jam jars
2 tabbed candle wicks, suitable for the wax and the jars’ diameter
glue dots
EQUIPMENT
» 2 pieces of cardboard
» 2 pieces of white printer paper
» heavy books
» 2 saucepans, 1 larger than the other
» paintbrush
» 4 wooden chopsticks
» 2 small towels
» digital thermometer
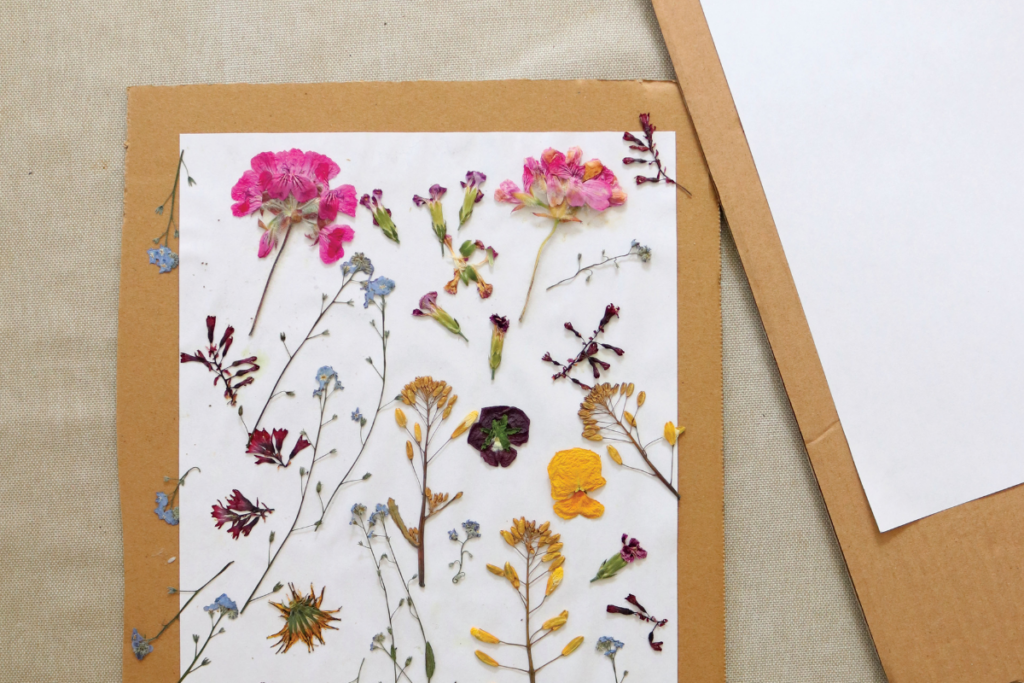
1 To dry the flowers and leaves, lay a piece of paper on cardboard and arrange the plant materials on top, making sure that none touch. Lay the other sheet of paper on top, then the second piece of cardboard.
Place the books on top and wait. Thin plant material will be fully dry in 1–2 weeks.
2 Melt the wax in the smaller saucepan, floating inside a larger one filled with boiling water. When it’s partially melted, begin decorating the jars.
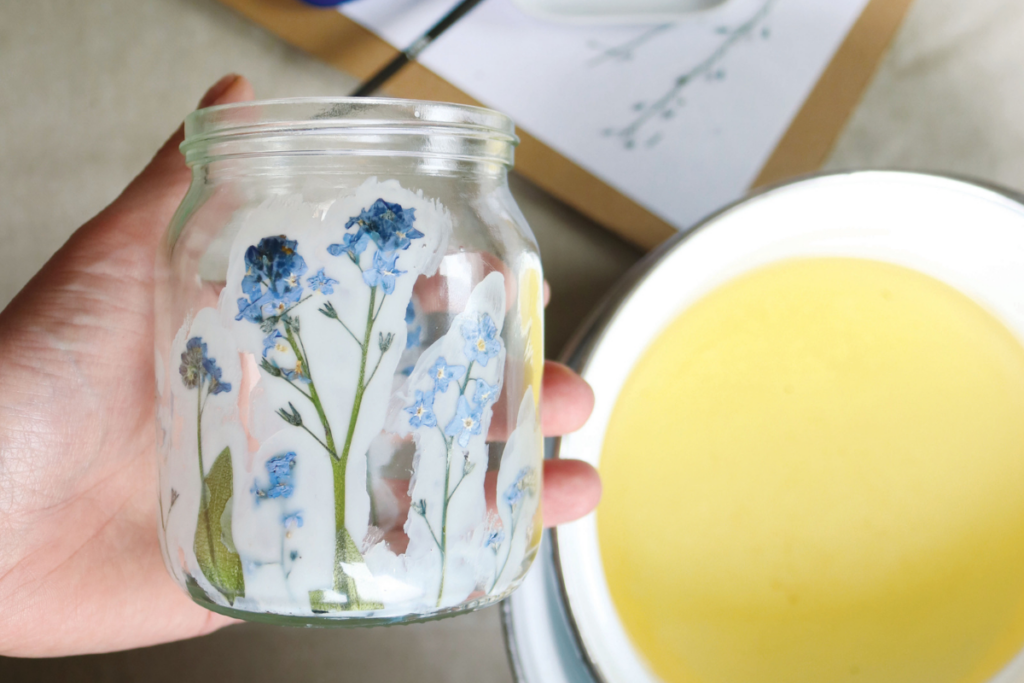
3 Arrange the first dried flower inside a jar, then paint it in place with melted wax. Any wax that comes between the flower and the glass will obscure the design, so painting around the flowers will protect it later. Continue decorating the inside of the jars until finished.
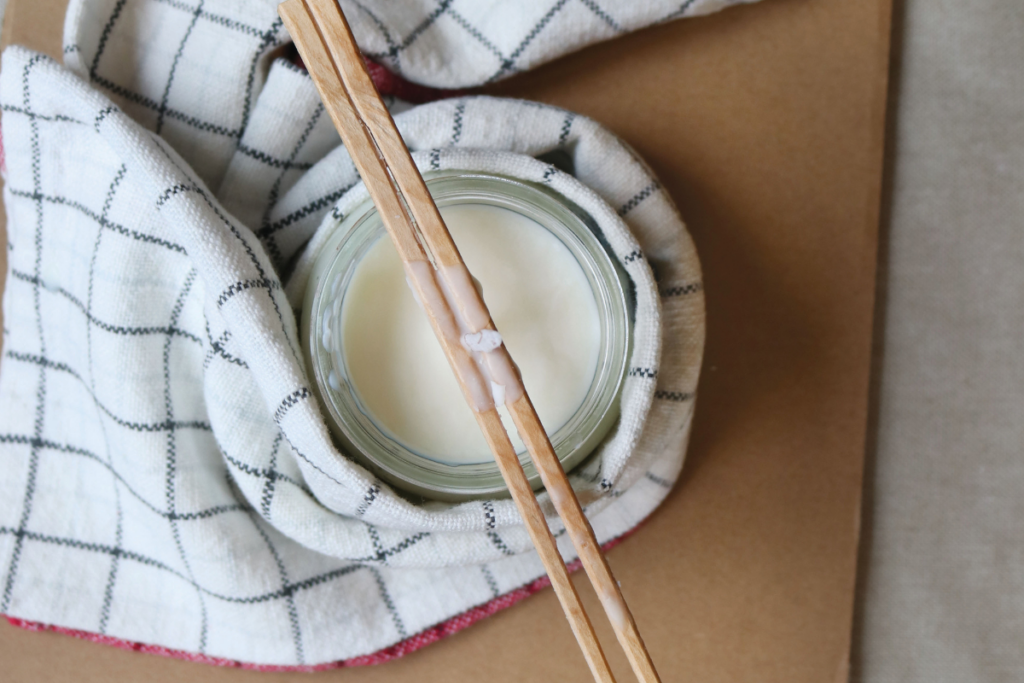
4 Secure a wick to the bottom of each jar using a glue dot. Centre the wicks on top with the chopsticks. Place the jars on a piece of cardboard and wrap a towel around each.
5 When the wax is completely melted, take its temperature. Each wax will have its optimal pouring temperature, and you’re aiming for that. Once it’s at the right temperature, pour it into the jars to within ¼ inch (0.6 cm) from the top and allow them to cool to room temperature. Trim wicks to ¼ inch (0.6 cm), and you can use them immediately. Never leave candles burning unattended. Natural waxes can sometimes pull away from glass or develop frosty splotches. It doesn’t impact the candle’s function, but to avoid them, work in a warm room, let the candles cool slowly, and ensure the jars are clean and dry.
Top tips:
Choose colourful flowers. Light-coloured petals won’t stand out against the wax.
Paint melted wax all around the edges of each flower.
Keeping the candle insulated helps it to cool slowly and evenly.
Find more tips, advice and articles like this at the Amateur Gardening website. Subscribe to Amateur Gardening magazine now.