Get vertical growing with this thrifty project idea
One thing that has always intrigued me about growing in a small space is just how we can make the most out of every possible surface. As modern gardens get smaller and smaller and we try to cram more plants into them, all of that ground comes at such a premium, with every plant vying to earn its place. So why not also look up at those otherwise free spaces such as fences and walls?
I’m been looking into ways in which we can all make use of these vertical spaces and I’ve got to say that most of the solutions on offer don’t particularly inspire me or my creative brain. So I put pencil to paper, and after a quick rummage in the shed, (where I found some scraps of wood left over from a previous project ) I set to work making something that I hope will inspire you to grow upwards (and downwards) too!
Think about the space
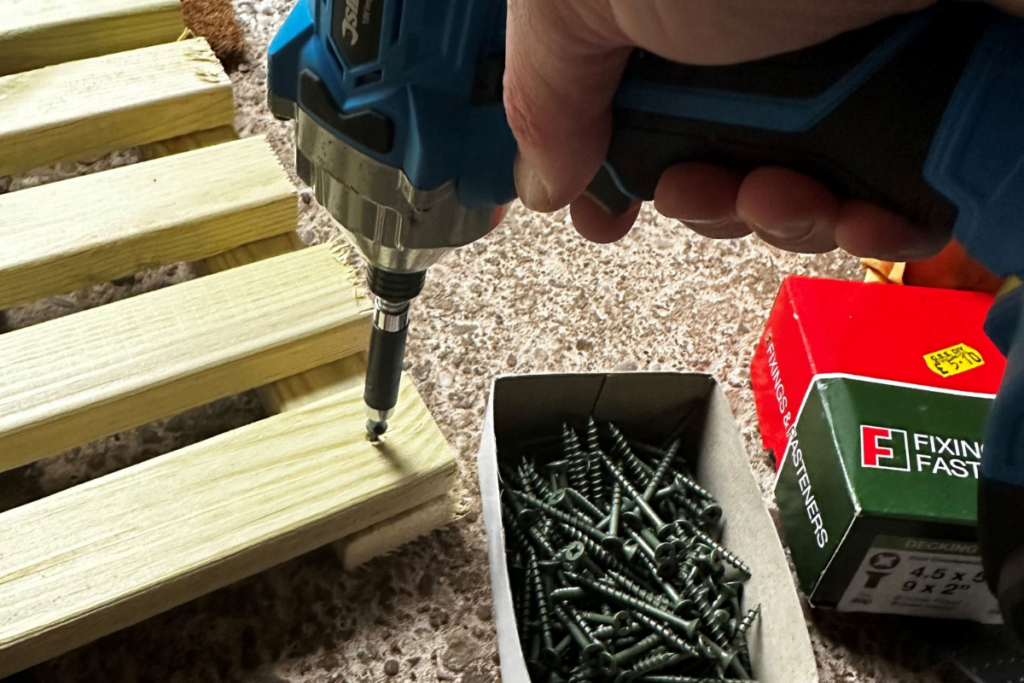
Although in this project I’ve used wood that I had left over, you could easily use a discarded wooden pallet and chop it up, or visit your local sawmill or timber merchant and buy these materials for around £10-£15. Other equipment you’ll need are: wood screws suitable for outdoor use (decking screws are best), a drill or screwdriver, pots with hooks and, finally, the plants of your choice! The pots were the main inspiration for this project and you’ll find them in a lot of garden centres and also online in all the usual places.
Step 1
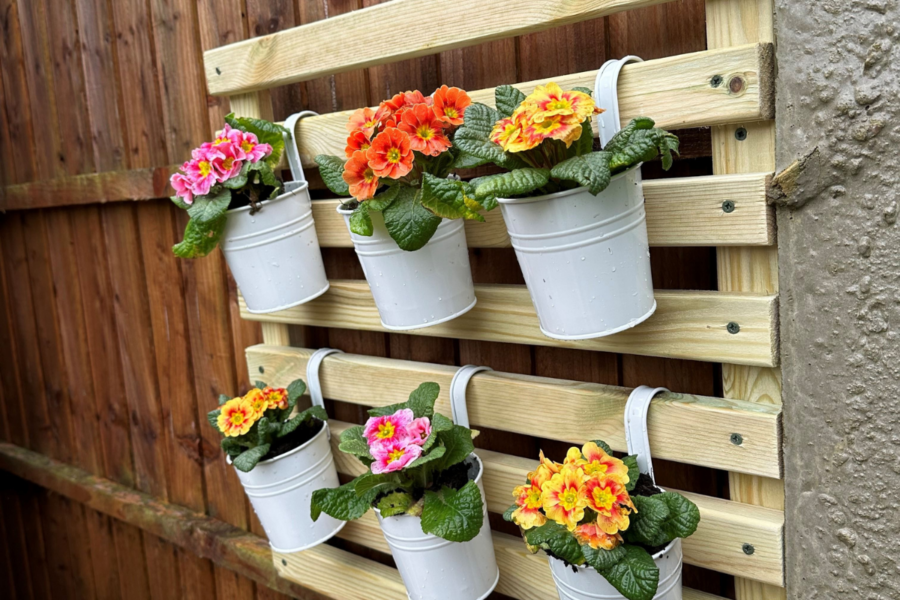
Think about the space you have available and cut your wood to fit it. The wall planter that I’ve made is 24in by 24in (60cm x 60cm), but you could make it smaller or larger, depending on your space.
Step 2
Cut your wood. Using my project as a template, you’ll want to cut yourself 10 pieces that are 24in (60cm) long. If you’re using a sawmill or a home DIY store then they may offer a cutting service for free, which saves you lots of time at home later.
Step 3
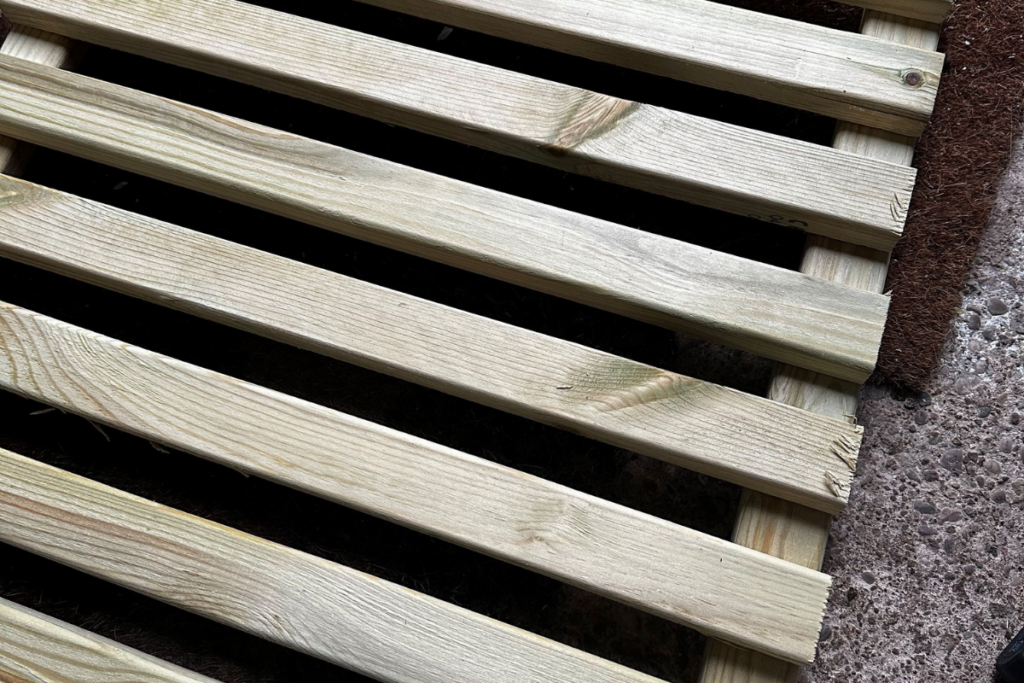
Once you’ve cut your wood, start by making a square shape with four lengths of wood with two opposite sides sitting on top of the other two sides. When that is squared up, put it together with a screw in each corner to secure the whole thing in place.
Step 4
Add your slats on the front. Try to spread them out evenly all the way along, leaving just enough room for the hooks on the pots. I’ve found that eight slats looks right and gives you space to arrange your pots.
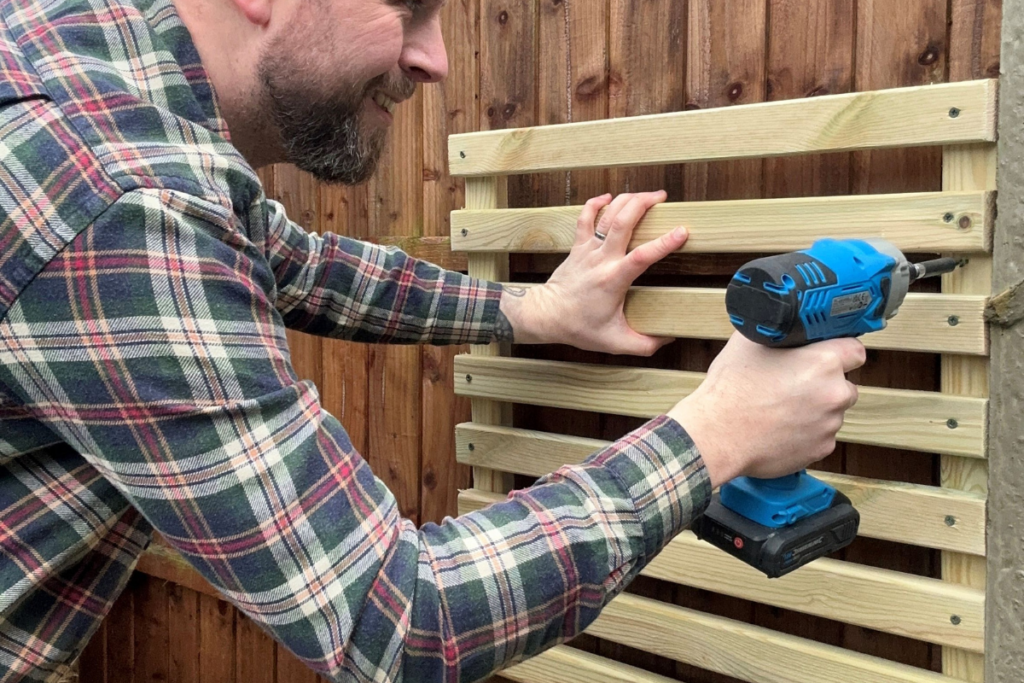
Step 5
Secure the structure to a fence or wall. If it’s going on a fence, four screws, one in each corner, will be enough to hold it in place but if you want to give your wall some pizzaz then you’ll need to drill into the brickwork, add rawl plugs and fix the screws into those.
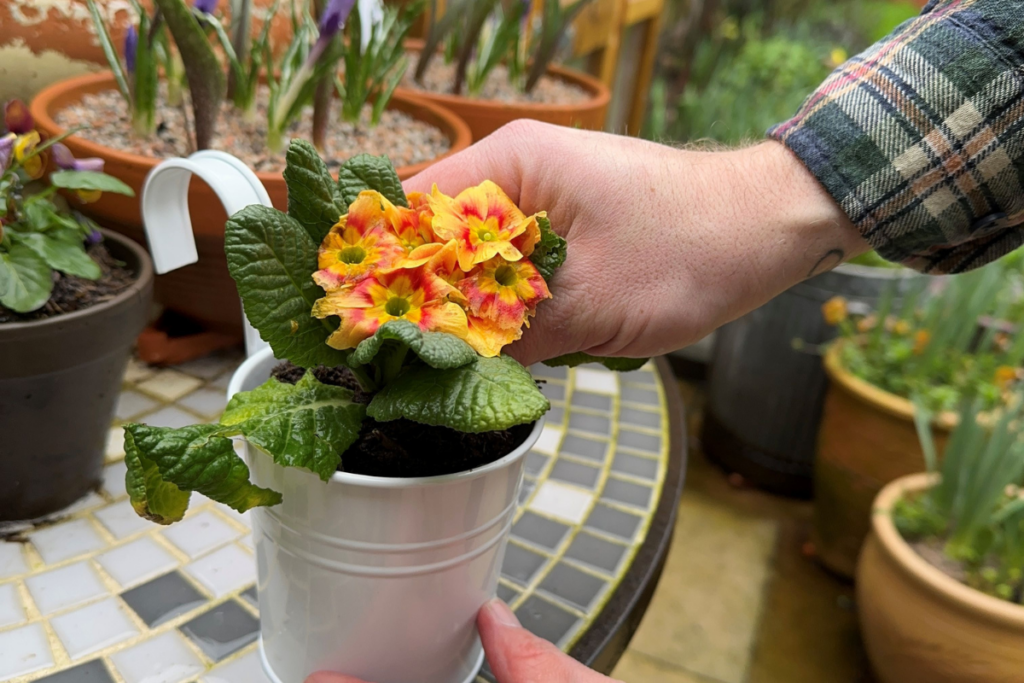
Step 6
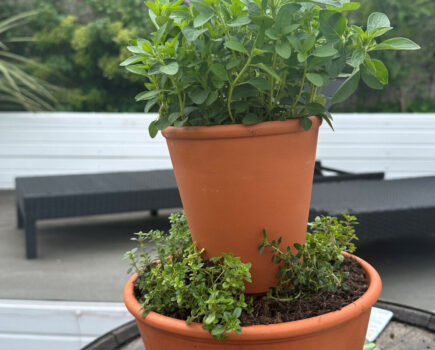
Now add your plants of choice to your pots! You could opt for bedding plants, but herbs would also work well in these smaller pots – just make sure to poke some holes in the bottom for drainage. The beauty of this planter is that it’s very easy to chop and change the plants depending on the season or what you fancy growing.

…
Top Tip
To give this some extra wow factor you could also stain or paint your finished planter. There are some fantastic wood stains available in a wide range of colours to suit your garden and any furniture within.
You can find Adam on Instagram @viewfromthepottingbench for more garden DIY, advice and nifty projects for you to try yourself.
Find more tips, advice and articles like this at the Amateur Gardening website. Subscribe to Amateur Gardening magazine now.