Lucy explains how to make the most of the next few weeks
Growing peas
Every spring I dutifully sow peas for my plot. I’m well aware that to grow enough to keep my hungry family self-sufficient in them is nigh-on impossible (peas take up a lot of space and don’t always give huge yields). I’m also aware that frozen peas are perfectly tasty and inexpensive (they’re one of the few veg that I buy). But, there’s absolutely nothing that beats sneaking to the plot, locating half a dozen plump pea pods and scoffing the contents then and there – they’re too delicious!
For shelling peas, ‘Hurst Green Shaft’ is my go-to variety – I sow it in February, in deep pots in the glasshouse (peas don’t enjoy being sown into cold, wet soil), then plant these outside in mid March. Getting plants into the ground early like this, before soil gets too hot and dry, encourages strong and extensive root growth which then translates into maximum pods. These pods have been yielding steadily since mid June.
Because you eat the pod, mange-tout and sugar-snap peas will give you bigger yields – great choices here would be ‘Shiraz’ (an eye-catching purple-podded mange-tout) and ‘Delikett’ (a compact sugar-snap variety) – heights of pea varieties vary considerably so always check this before deciding on your chosen supports.
Pea harvests will be coming in thick and fast now, so get your eye in to ensure you select pods when they’re perfectly ready (shelling peas can quickly turn starchy, and pods of mange-tout and sugar-snap varieties will become fibrous and stringy, if left to get old on the plant). If your plants are still flowering and setting pods, give them regular and thorough waterings – this not only swells pods and peas, it also helps keep powdery mildew at bay. If you’re finding tiny maggots inside the pea pods, say hello to pea moth. Say goodbye to it by growing dwarf varieties under fine insect-proof mesh, or sticking to mange-tout types.
…………….
Sow salads for winter
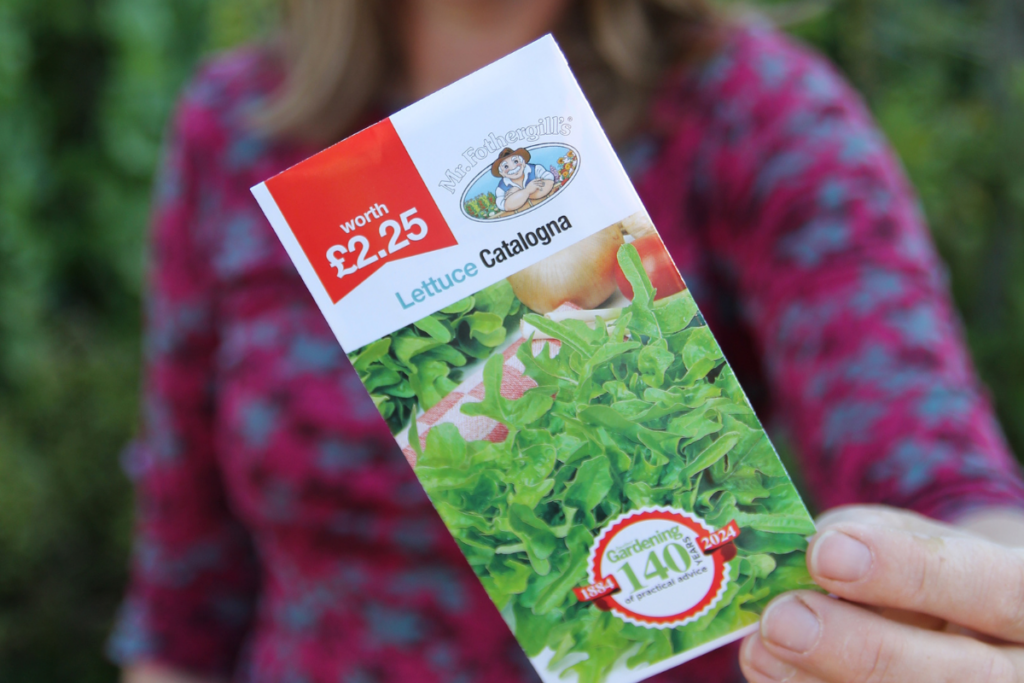
I’ve been busy sowing lettuce ‘Catalogna’, a variety I adore for its bulk and vigour.
Its joined a fine group of salad leaves that I sow annually for winter harvests – all started off in large modules in a shady spot, ready to be transferred into the greenhouse come late autumn. I sow hardier leaves (e.g. annual spinach, mustard, mizuna, chicory, endive, texsel greens, komatsuna, turnip tops, Swiss chard, American land cress, rocket, sorrel, coriander) because I don’t heat my greenhouse throughout winter, due to the cost. But it would be sacrilege to waste what essentially is a huge glass cloche!
By sowing now, these leaves bulk up beautifully come October, then I can plant them into my greenhouse borders (growbags and polytunnels work just as well) once the tomatoes and cucumbers fade. As good-sized plants, I can immediately harvest leaves, and do so right through until March. What’s not to love?!
Sowing in dry weather
There are still dozens of sowings to be made throughout summer, but what do you do if your earth is powder dry? Germination will be poor if your drills aren’t thoroughly damp and encouraged to stay that way, so let these three steps lead you to seedling success:
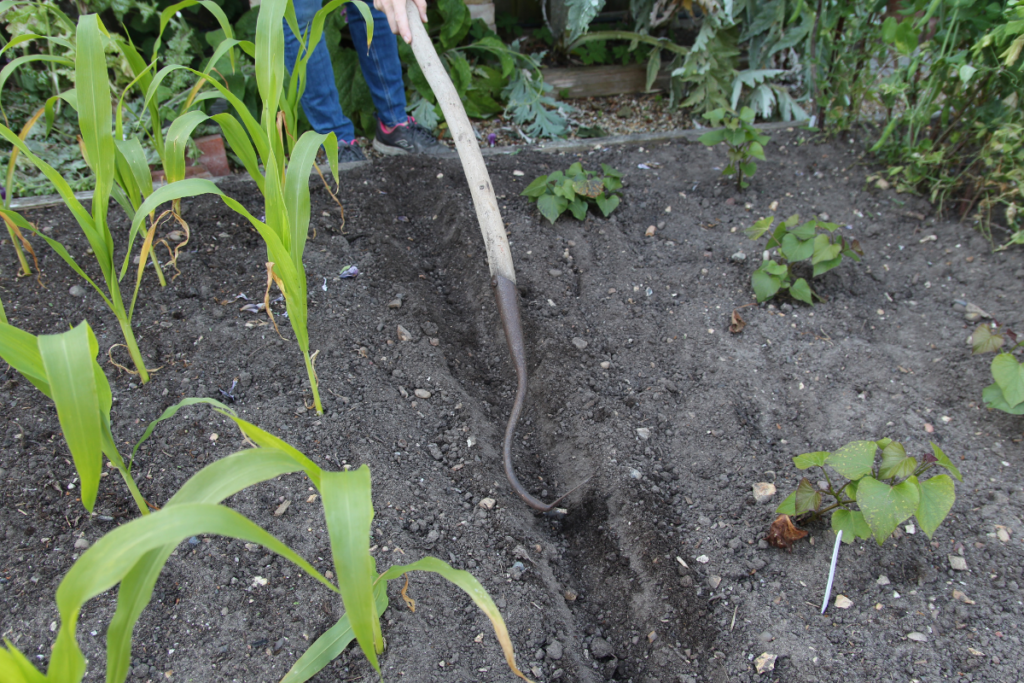
Step 1 – With the top layers of soil so parched, give seeds access to deeper soil moisture to ensure the fragile and lengthy process of germination isn’t interrupted. Make your drills slightly deeper than normal (but not excessively) – for example, if the packet says sow at 3cm deep, make it 4-4.5cm instead.
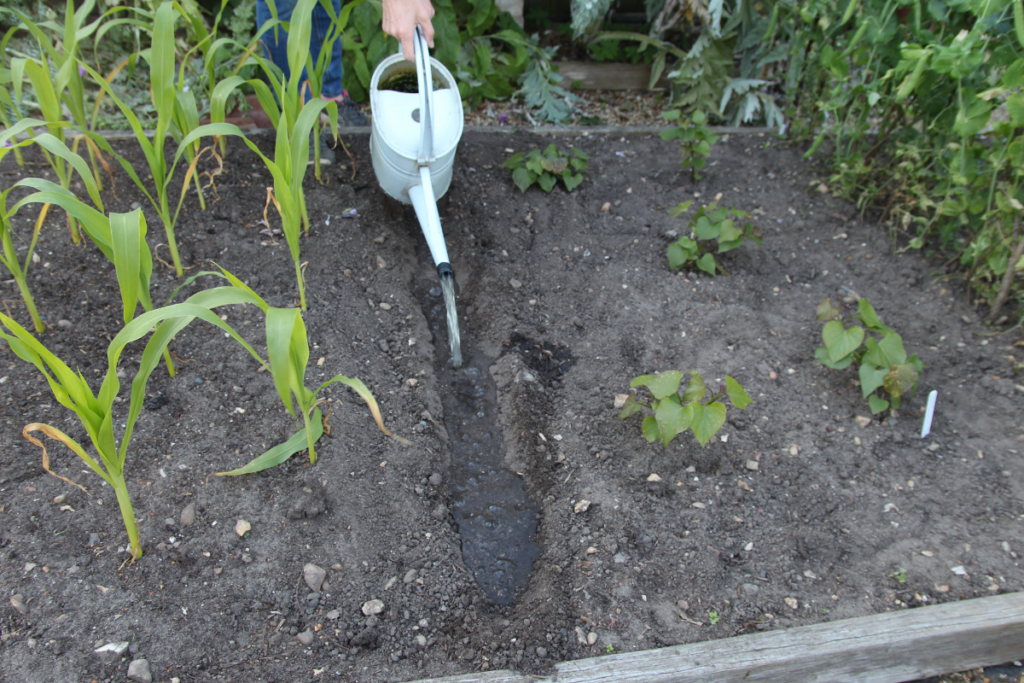
Step 2 – The drill needs to supply your seeds with water for the whole germination period, which can be anything from 5-14 days depending on what edible you’re sowing. To establish a suitable ‘reservoir’, flood the drill with water, letting it slowly soak in (flood each drill twice on very dry soils).
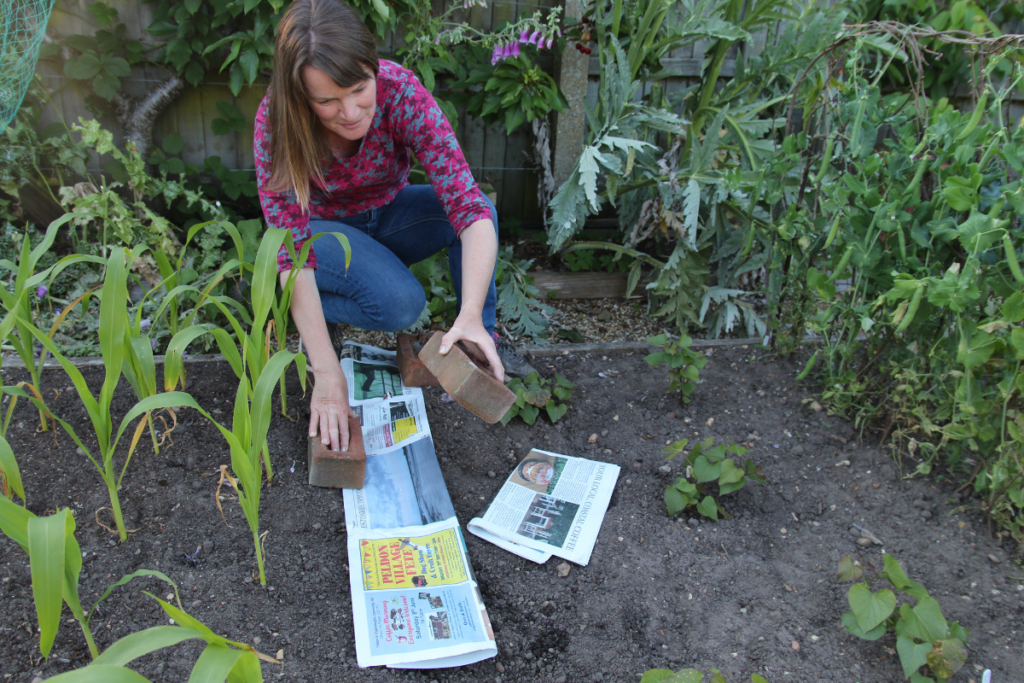
Step 3 – Sow your seeds thinly along the base of the drill. Carefully rake the surrounding soil back over the drill and gently firm the earth down over the seeds (the back of your rake is ideal for this). Cover the drill with sheets of newspaper, weighed along the edge with bricks or similar. Keep this in place until your seedlings emerge.
……………..
Caring for fan-trained plants
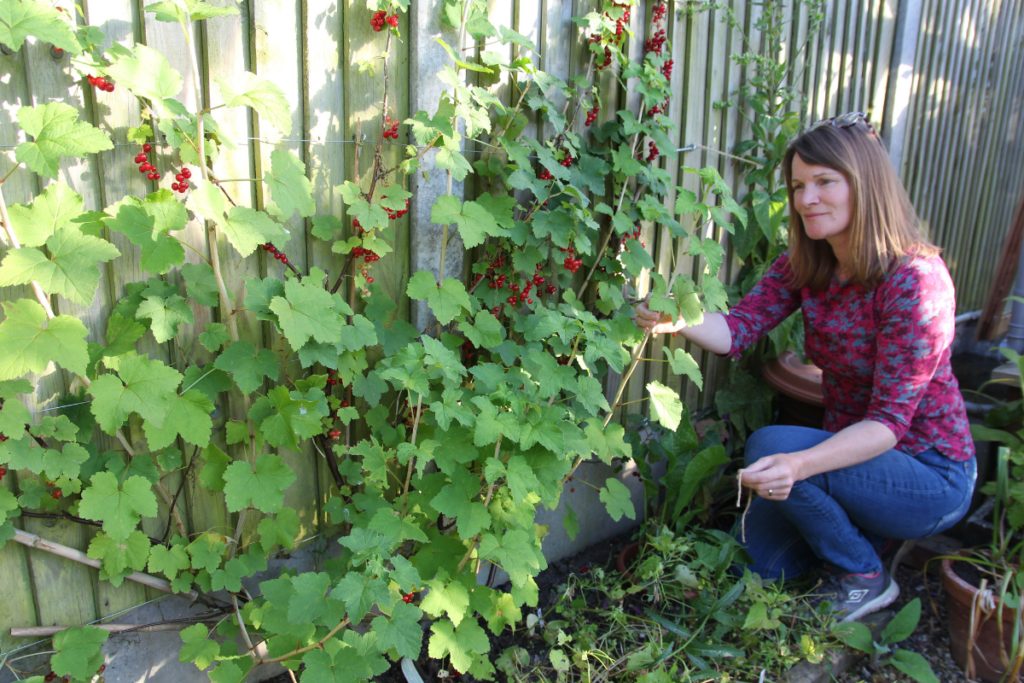
Growing fruit trees and bushes as fan-trained plants, where the branches are splayed out against a wall, fence or system of wires, is a great space-savvy hack. The footprint of your plant is tiny compared to its yield, plants are easy to harvest from and examine for pests and diseases, and maximum sunlight reaches the fruits to boost those all-important sugar levels. Peaches, cherries, plums, gages, gooseberries and red/whitecurrants especially enjoy fan training. To keep plants productive regularly cut out old branches (these often don’t fruit well) and tie in new ones (being more vigorous, they tend to give more fruit). The time to do this is now, because you can clearly see unproductive branches, and new growth would otherwise flail about. Use soft twine, and aim to keep the overall shape as symmetrical as possible.
Find more tips, advice and articles like this at the Amateur Gardening website. Subscribe to Amateur Gardening magazine now