Adam Kirtland explains how with a little time and effort, you can keep tools ticking over for longer.
As winter lingers on and impatience for spring seriously builds, there’s no better time to embark on a thrifty DIY journey, restoring garden tools to their former glory. Although the idea of cleaning tools may appear initially daunting, the reality is rather uncomplicated and very rewarding. All you need for these two projects will be likely lurking already in your shed, along with a bag of sand, but we’ll delve into that later – let’s get to it!
Shiny secateurs
The process of bringing your hand tools back to their finest, should always start with a clean and polish.
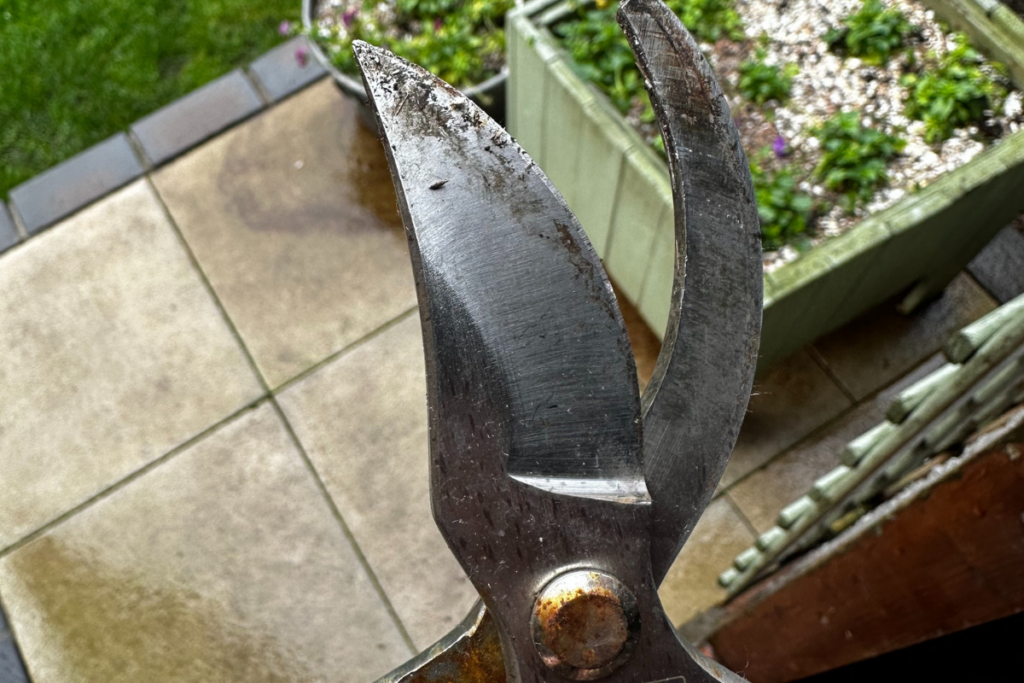
Begin by brushing off any dry debris or soil with a soft brush. Then once that’s done, give the rusty parts a spray with WD40 and let it soak in for a couple of minutes.
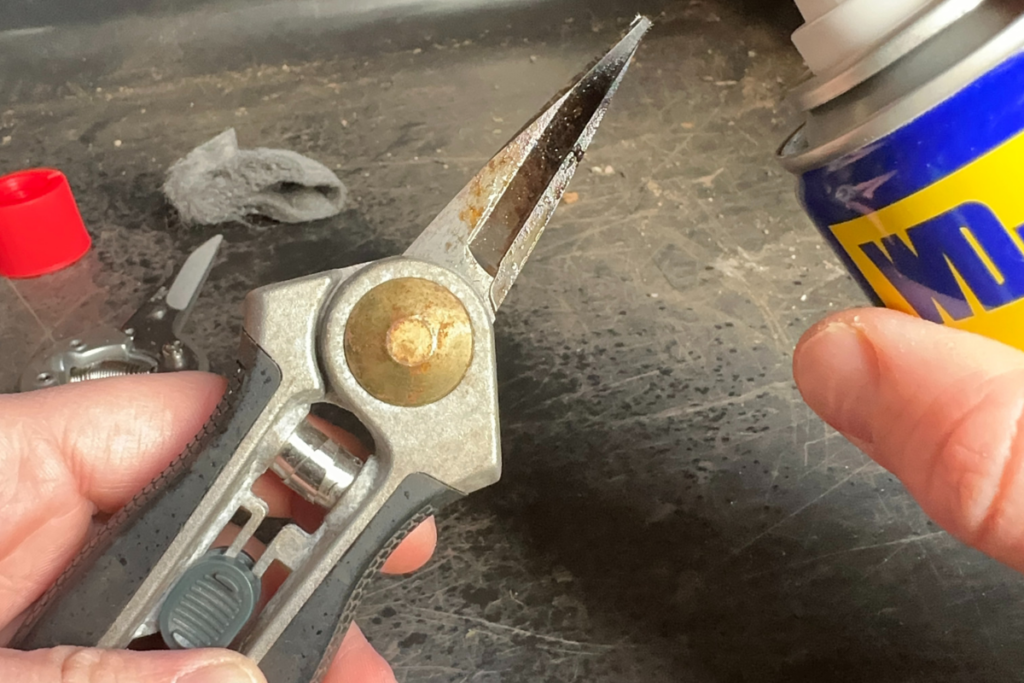
Wire wool can then be used to gently wipe away any rust from the blades. You may need to repeat this exercise a few times if your secateurs are particularly bad (I’ve got my fair share of mistreated pairs!)
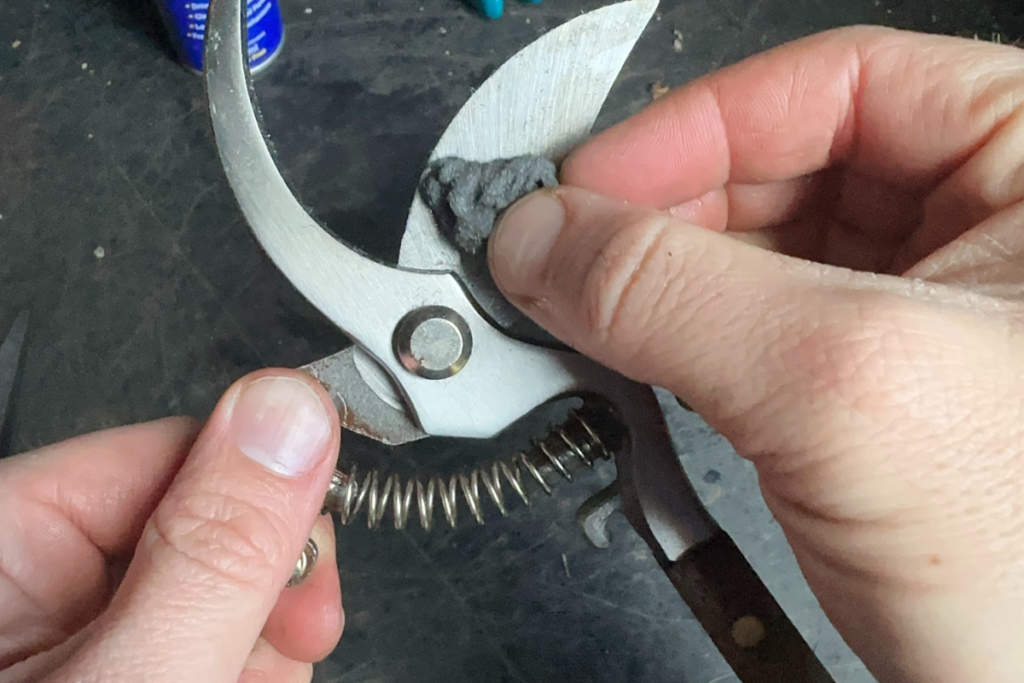
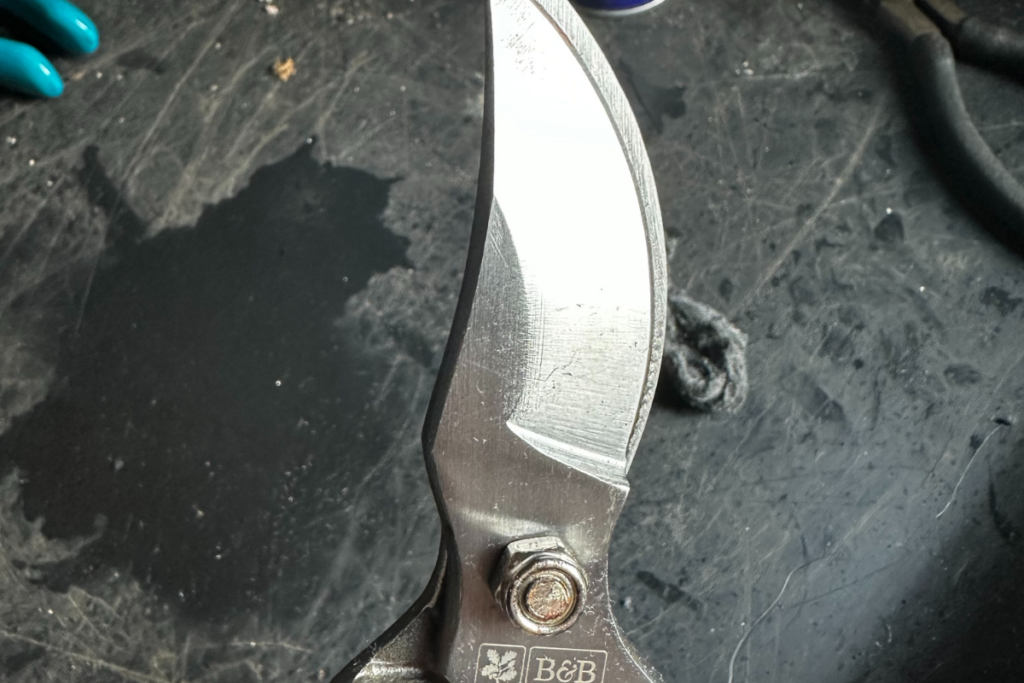
If you are feeling confident you could also go a step further by taking apart your snips to enable you to get into all the nooks and crannies unhindered. Most high-quality secateurs are relatively easy to take apart with a pair of pliers as the two main parts are held together with a simple, single nut and bolt through the middle. You can also use a sharpening stone to give them back their edge.
Find more tips, advice and articles like this at the Amateur Gardening website. Subscribe to Amateur Gardening magazine now.

