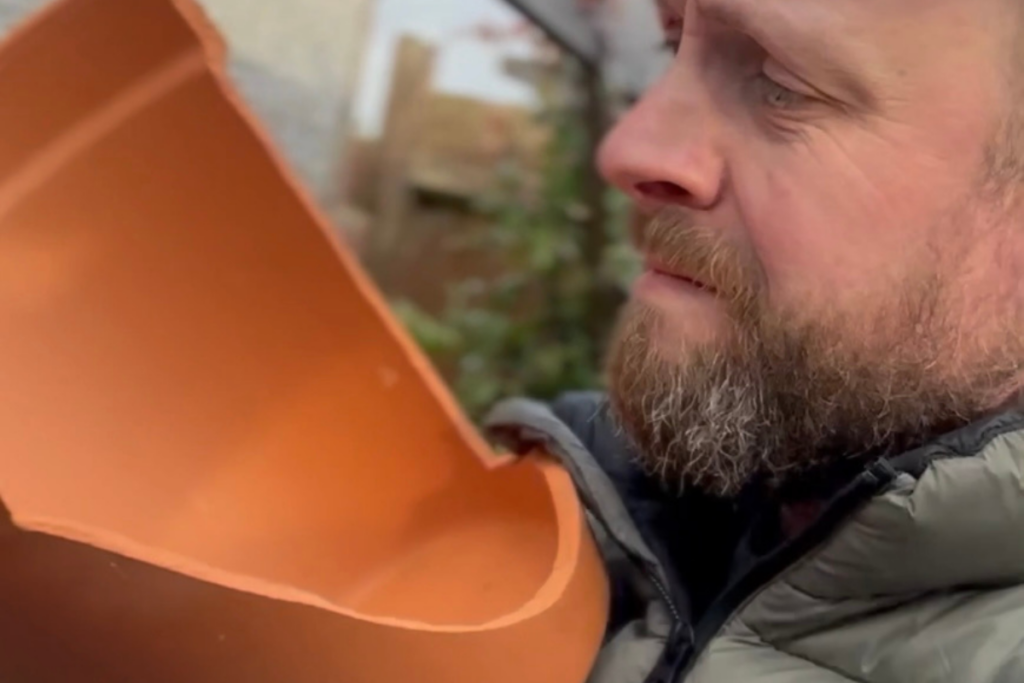
Adam explains how to recycle broken bits into a brilliant centrepiece with pizazz
I’m sure you’ll share in my dismay at the number of pots that have either been dropped and broken, or have succumbed to frost these past months. We’ve all been there with terracotta pots, in particular, that promise to be frost-proof yet one harsh winter and they’ve shattered or cracked.
They aren’t usually worth glueing back together because once their structural integrity is compromised, they’re likely to break again. Now, I’m not one to throw things away and if you’re anything like me you’ll keep hold of all of those broken bits, not really knowing what you’re going to do with them. Perhaps you save them to use as crocks in the bottom of your intact containers to cover the drainage hole? Or maybe they’re relegated to the bin.
Luckily, I’ve got a solution for turning some of those broken crocks into a project to be proud of and one that could make a real centrepiece in your greenhouse or just on a patio table.
Add some pizazz
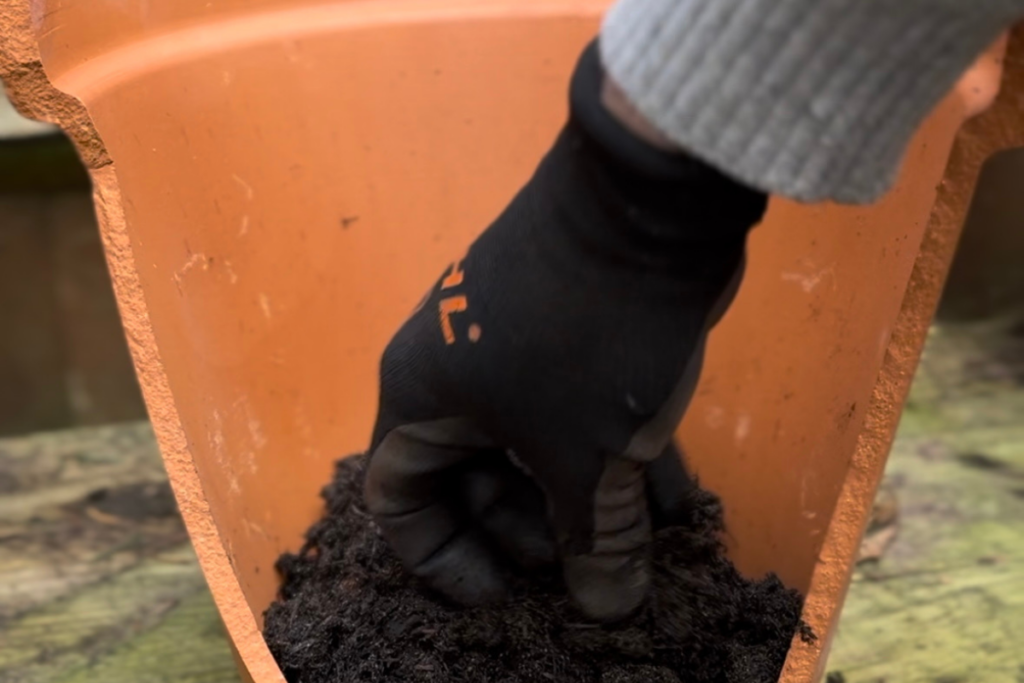
A word of advice – do be careful when handling any shards of cracked terracotta or ceramic, those edges can be sharp. Always wear gloves and keep fingers away from the edges.
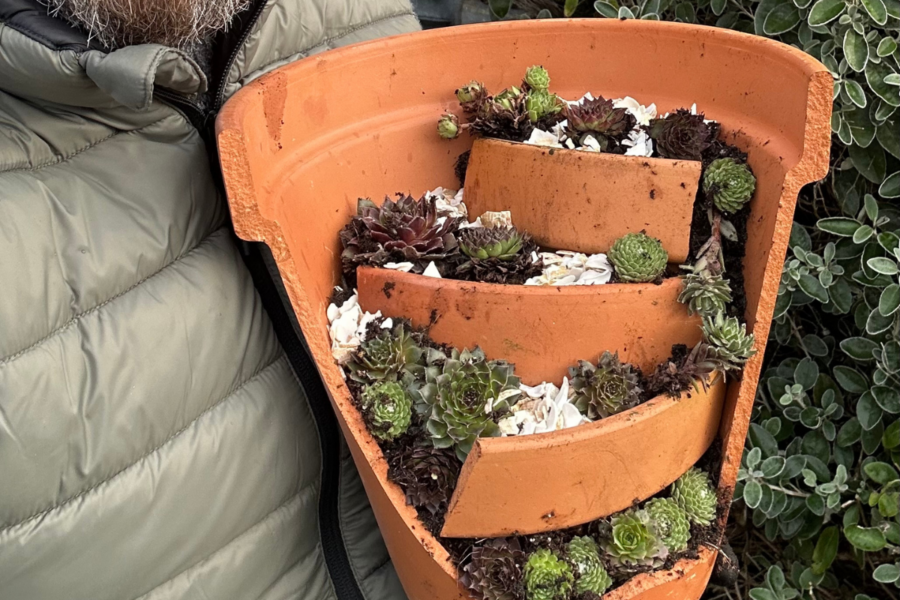
This project requires one broken but largely intact pot and several sections from other smashed pots. In fact, it would look even better if you’ve got pieces from several different types of pot all mixed in. You’ll also need some plants – I’ve used succulents, but small bedding plants would also work a treat too.
Step 1: Take your largest broken pot and add a shallow layer of free draining, peat-free compost to the bottom. If you’ve got any horticultural grit or similar, mix a good portion of that into the compost to aid drainage further.
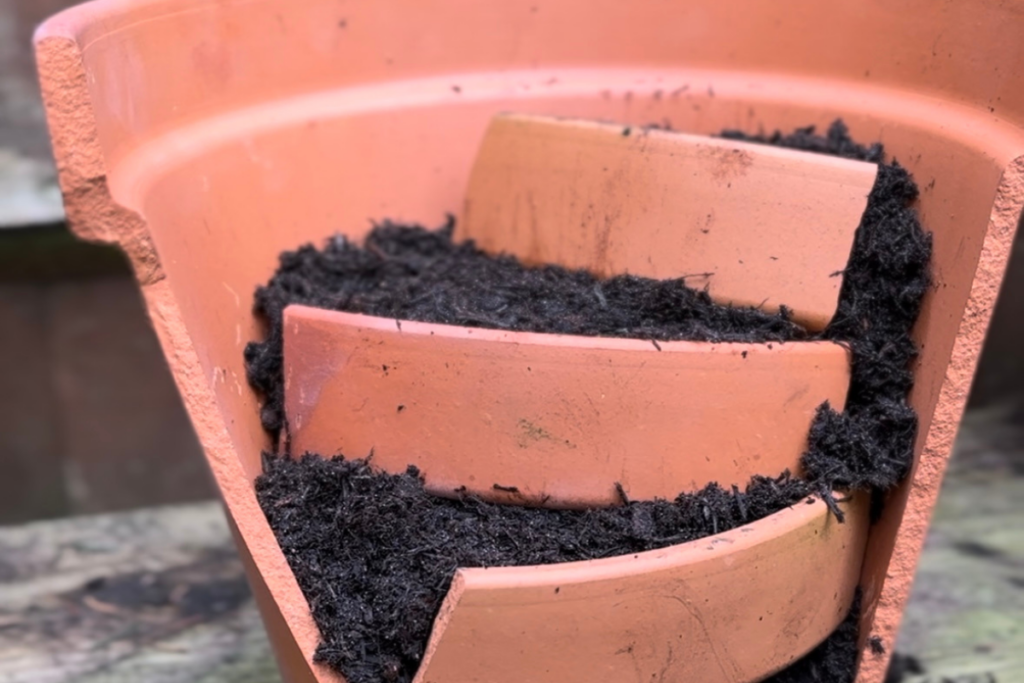
Step 2: Begin building up the tiers within your pot, adding larger and larger pieces as you reach the rim. After you’ve added each layer, add more compost behind every piece to secure them in place.
Step 3: In a 12in (30cm) pot you should be able to create three or four tiers, but you can experiment with all sorts of sizes of pot or pieces and add tiny sections to create a stepped effect.
Step 4: Once you’re happy with your overall structure you can begin to add your plants. Succulents are ideal, as this style of container won’t naturally hold moisture as well as other pots. You could also try pansies, violas of any other small plants – why not experiment with trying this indoors too with tiny houseplants?

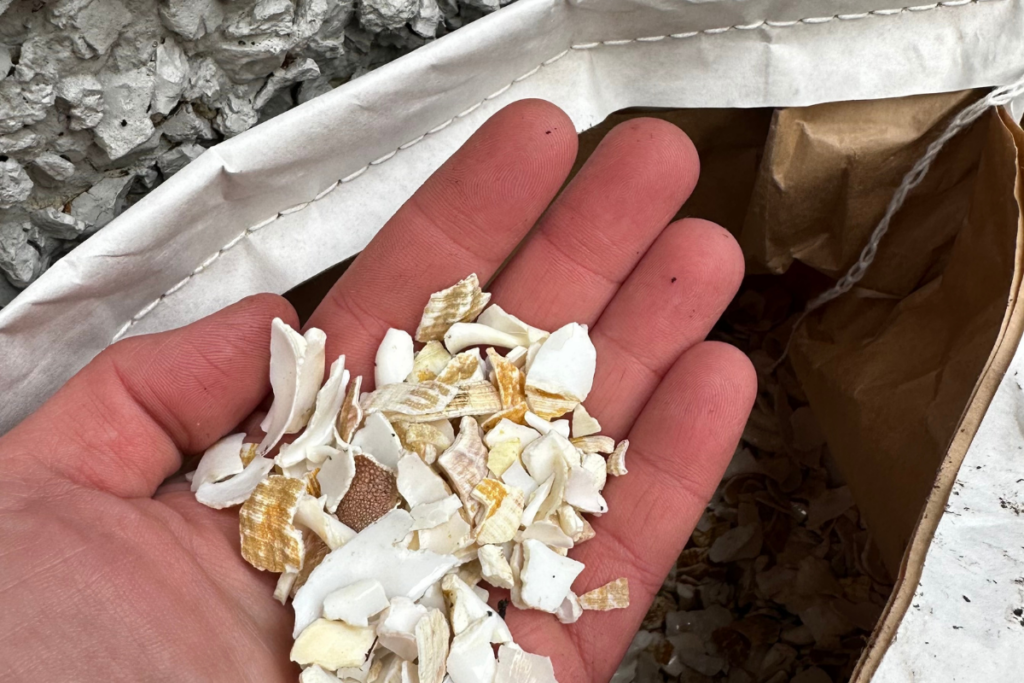
Step 5: To finish off your display, add grit or shells as a top dressing.
Top Tip: Keep your eyes peeled when you’re next at the garden centre. After I’d put this project together, I saw a section at my local garden centre, next to the reduced plants section called ‘Slightly Damaged’. It was full of cracked and chipped pots that were being sold off cheap, ideal for a project such as this.
You can find Adam on Instagram @viewfromthepottingbench for more garden DIY, advice and nifty projects for you to try yourself.
Find more tips, advice and articles like this at the Amateur Gardening website. Subscribe to Amateur Gardening magazine now.