Stephanie Hafferty reveals how to add the sensational taste of South America to your garden and roasted veg inspiration to your table
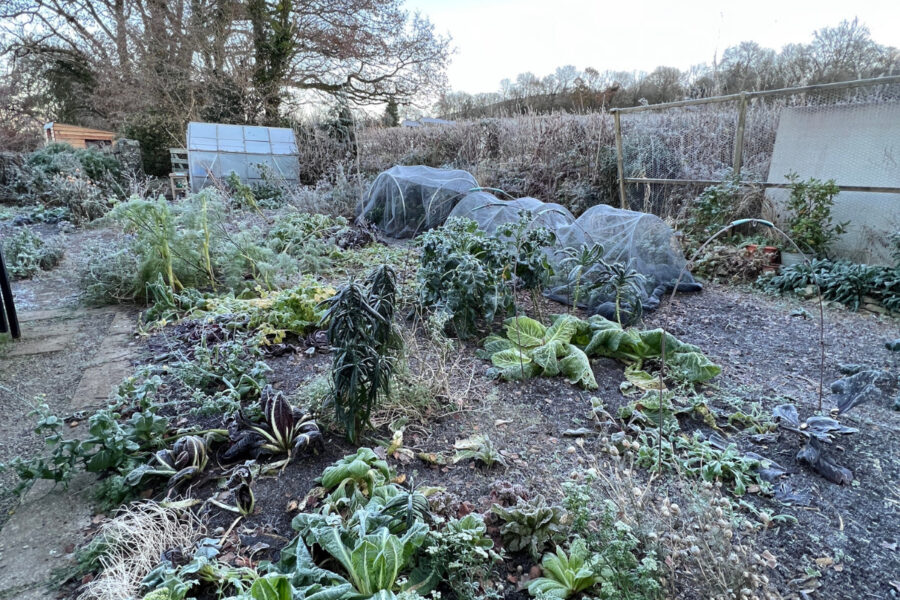
Almost everything has been gathered in now, except for overwintering vegetables that remain outside including brassicas, leeks and parsnips. The season’s frosty mornings have turned any remaining non-hardy crops into a mush on the soil, so I leave it there, to mulch the ground and feed the soil life.
There are still two root crops to bring in before the end of the year: yacon and oca. Both are ready to harvest in late November or early December and benefit from several hard frosts. These unusual vegetables originate in South America and are an excellent addition to the food garden, being very pest resistant, easy to grow and perennial, so you only need to buy them once. In the UK next year’s tubers just need to be stored over winter in a frost-free place, and planted out the following spring once the danger of freeze has passed.

Store (just as you would potatoes) and roots can be eaten either cooked or raw. I have been growing these for years, and really recommend them. If you’ve not tried them before they are well worth adding to your growing list for 2025. They don’t get blight, and slugs, aphids and butterflies are not interested in them, seriously.
Oca, a member of the oxalis family, is low-growing, with beautiful leaves and flowers. While, Yacon, a member of the dahlia family, is very structural with large leaves and flowers up to 6ft high, resembling small sunflowers.
Oca and yacon harvesting tips
Oca is about the size of a new potato and is beautifully coloured: red, orange, pink, white. It tastes a bit like a lemony spud. While harvesting using a trowel to find all of the tubers, brush off the excess soil and leave to dry. Next, select the largest roots to save for next year’s seed. I store mine in a paper envelope in the cupboard with my seeds. Place the rest on a sunny windowsill for two weeks to cure, and then store until you want to eat them.
Yacon produces large roots deep in the soil. It is one of the rare times that I can be seen in the garden digging with a spade! The tubers are huge, each one can be over 1kg, and each plant can produce 8-10 of these tubers, clinging onto a ‘crown’ made up of smaller tubers. Once harvested, remove the tubers and leave in a cool, light, frost free place for two to three weeks, so that they can dry out and the skins harden for storage. Meanwhile, bury the crown in a crate of damp but not soggy compost and store in a dark, frost-free place for the winter.
After all of this digging, I rake the soil back level again and mulch the ground with compost. Wintertime is excellent for mulching and I try to make sure that every bed and path has either green manure (sown in the autumn) or mulch on it, usually compost, leaf mould, sheep fleece, wood chip or ‘chop and drop’ plants.

Further vegetable garden tips for late November
There’s plenty of pruning to do in the orchard and hedgerows, which gives the opportunity to create shreddings and woodchips. As well as shredding tree prunings, the shredder chops up woody plant materials such as brassica, sunflower and sweetcorn stems, making them much easier to compost. Use these on perennial beds, pathways or add to the compost heap.
I use an electric domestic-sized shredder, which is substantial enough for my homestead needs. Shredders are often available to hire from tool hire depots, or ask your local allotment or permaculture association which may have a tool share facility.
………..
Roasted winter veg hummus

Over winter when the oven is on more, I make the most of the space (and reduce my cooking bills) by adding a tray or two of diced vegetables, drizzled with oil and seasoned with salt and pepper. This can be used in many different meals, and freezes well too. One of my favourite things to make with roasted veg is this simple, delicious and versatile hummus.
Hummus may seem like a dish more associated with summer months, but it is a delicious, wholesome and a healthy addition to many different meals.
As well as the more familiar sandwich filling to dip, hummus is fantastic in soups, pasta, grilled tostadas, whipped with feta cheese, nachos, mezze, pizza, salad dressings, quesadillas with roasted veg or meats and, one of my favourites, served with hot chips as a sauce.
This hummus recipe is made without oil, except for the oil used in cooking the veg and the small amount of sesame oil in the tahini.
I like to save some of the roasted veg to add to the top of the hummus with smoked paprika. Alternatively, just add all 200g of veg to the mix, and sprinkle the paprika on top, if desired.

Ingredients
200g roasted seasonal vegetables, reserving around 50g for the topping (optional)
1 x 400g can chickpeas, which gives approx 240g chickpeas (reserve the liquid – called aquafaba)
Aquafaba as needed
1 lemon, juice of
4 tbsp tahini
1-3 garlic cloves, depending on your tastebuds
2 tbsp chopped fresh seasonal herbs (or 1 tsp dried)
1/2 tsp ground coriander
1/2 tsp ground cumin
sea salt and freshly ground pepper, to taste
Topping
1-2 tsp smoked paprika, according to taste (optional)
50 of the roasted veg
finely chopped parsley or coriander
………………..
Roast veg suggestions

Squash, beetroot, parsnip, carrot, onion, sweet potato, broccoli, cauliflower, leek
Place everything except the aquafaba into a food processor. Or into a high sided bowl if you’re using a hand held blender.
Turn on and whizz into a puree, gradually adding some of the aquafaba.
If the veg ingredients are very moist you’ll need less oil, if they are drier you may need to add a little more oil, or a tablespoon or two of water.
Taste and season.
Whizz again, taste and add a little more salt and pepper if needed.
The hummus will keep for a few days in the fridge. It freezes well.
Tip: add any leftover aquafaba to soups, pasta sauce or stews where it is a natural thickener.

Find more tips, advice and articles like this at the Amateur Gardening website. Subscribe to Amateur Gardening magazine now


